Written by Kyle

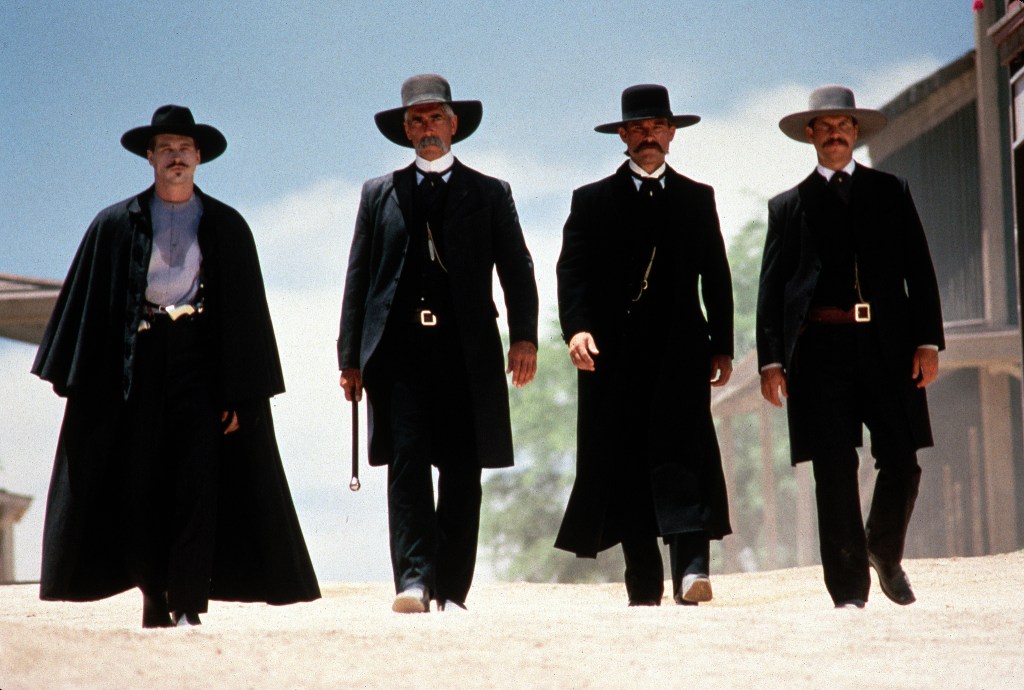
I have been an avid hat wearer for years, and have had many made for me by my friend Jamie Lo, but have always wanted to make my own hats. For a few years now I have seen the occasional hat-making class put on by Tom Hirt, a well known hat maker whose hats have an extensive movie background….You know the movie Tombstone? The Quick and the Dead? Conhager? Yeah, those are his hats!
About 4 months ago I saw they were hosting a class in Albuquerque, NM in April, so I booked it immediately before it filled up! Flash forward (four long months of waiting), and I headed down to ABQ from Creede, CO for my class. This trip felt different than usual as it was a solo adventure, and I avoided side quests; I was there for one reason! I checked into my hotel, grabbed some dinner, and a good night’s sleep.
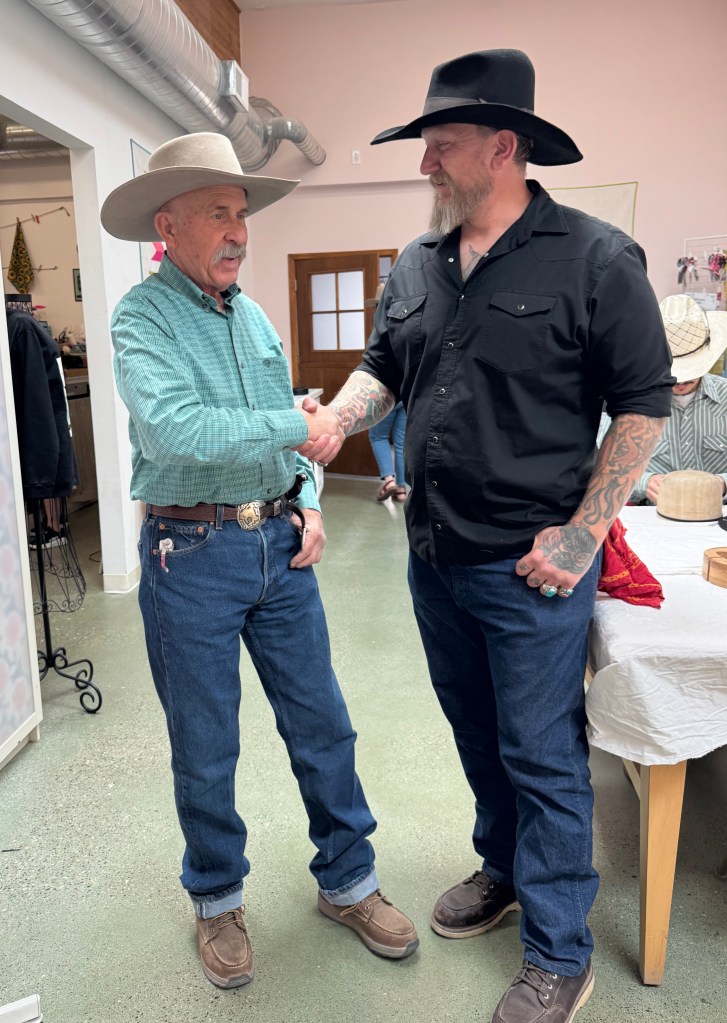
I showed up on Day 1 of the class and met the other 11 participants – there was a big age range, men and women, and people from as far away as Argentina! Tom showed up and explained the class’s purpose: to hand make your own beaver felt hat from start to finish, transforming a raw body into a unique, custom-fitted, finished hat. His class is designed to need a minimum of fancy hat making tools, so you can bring these skills home with you.

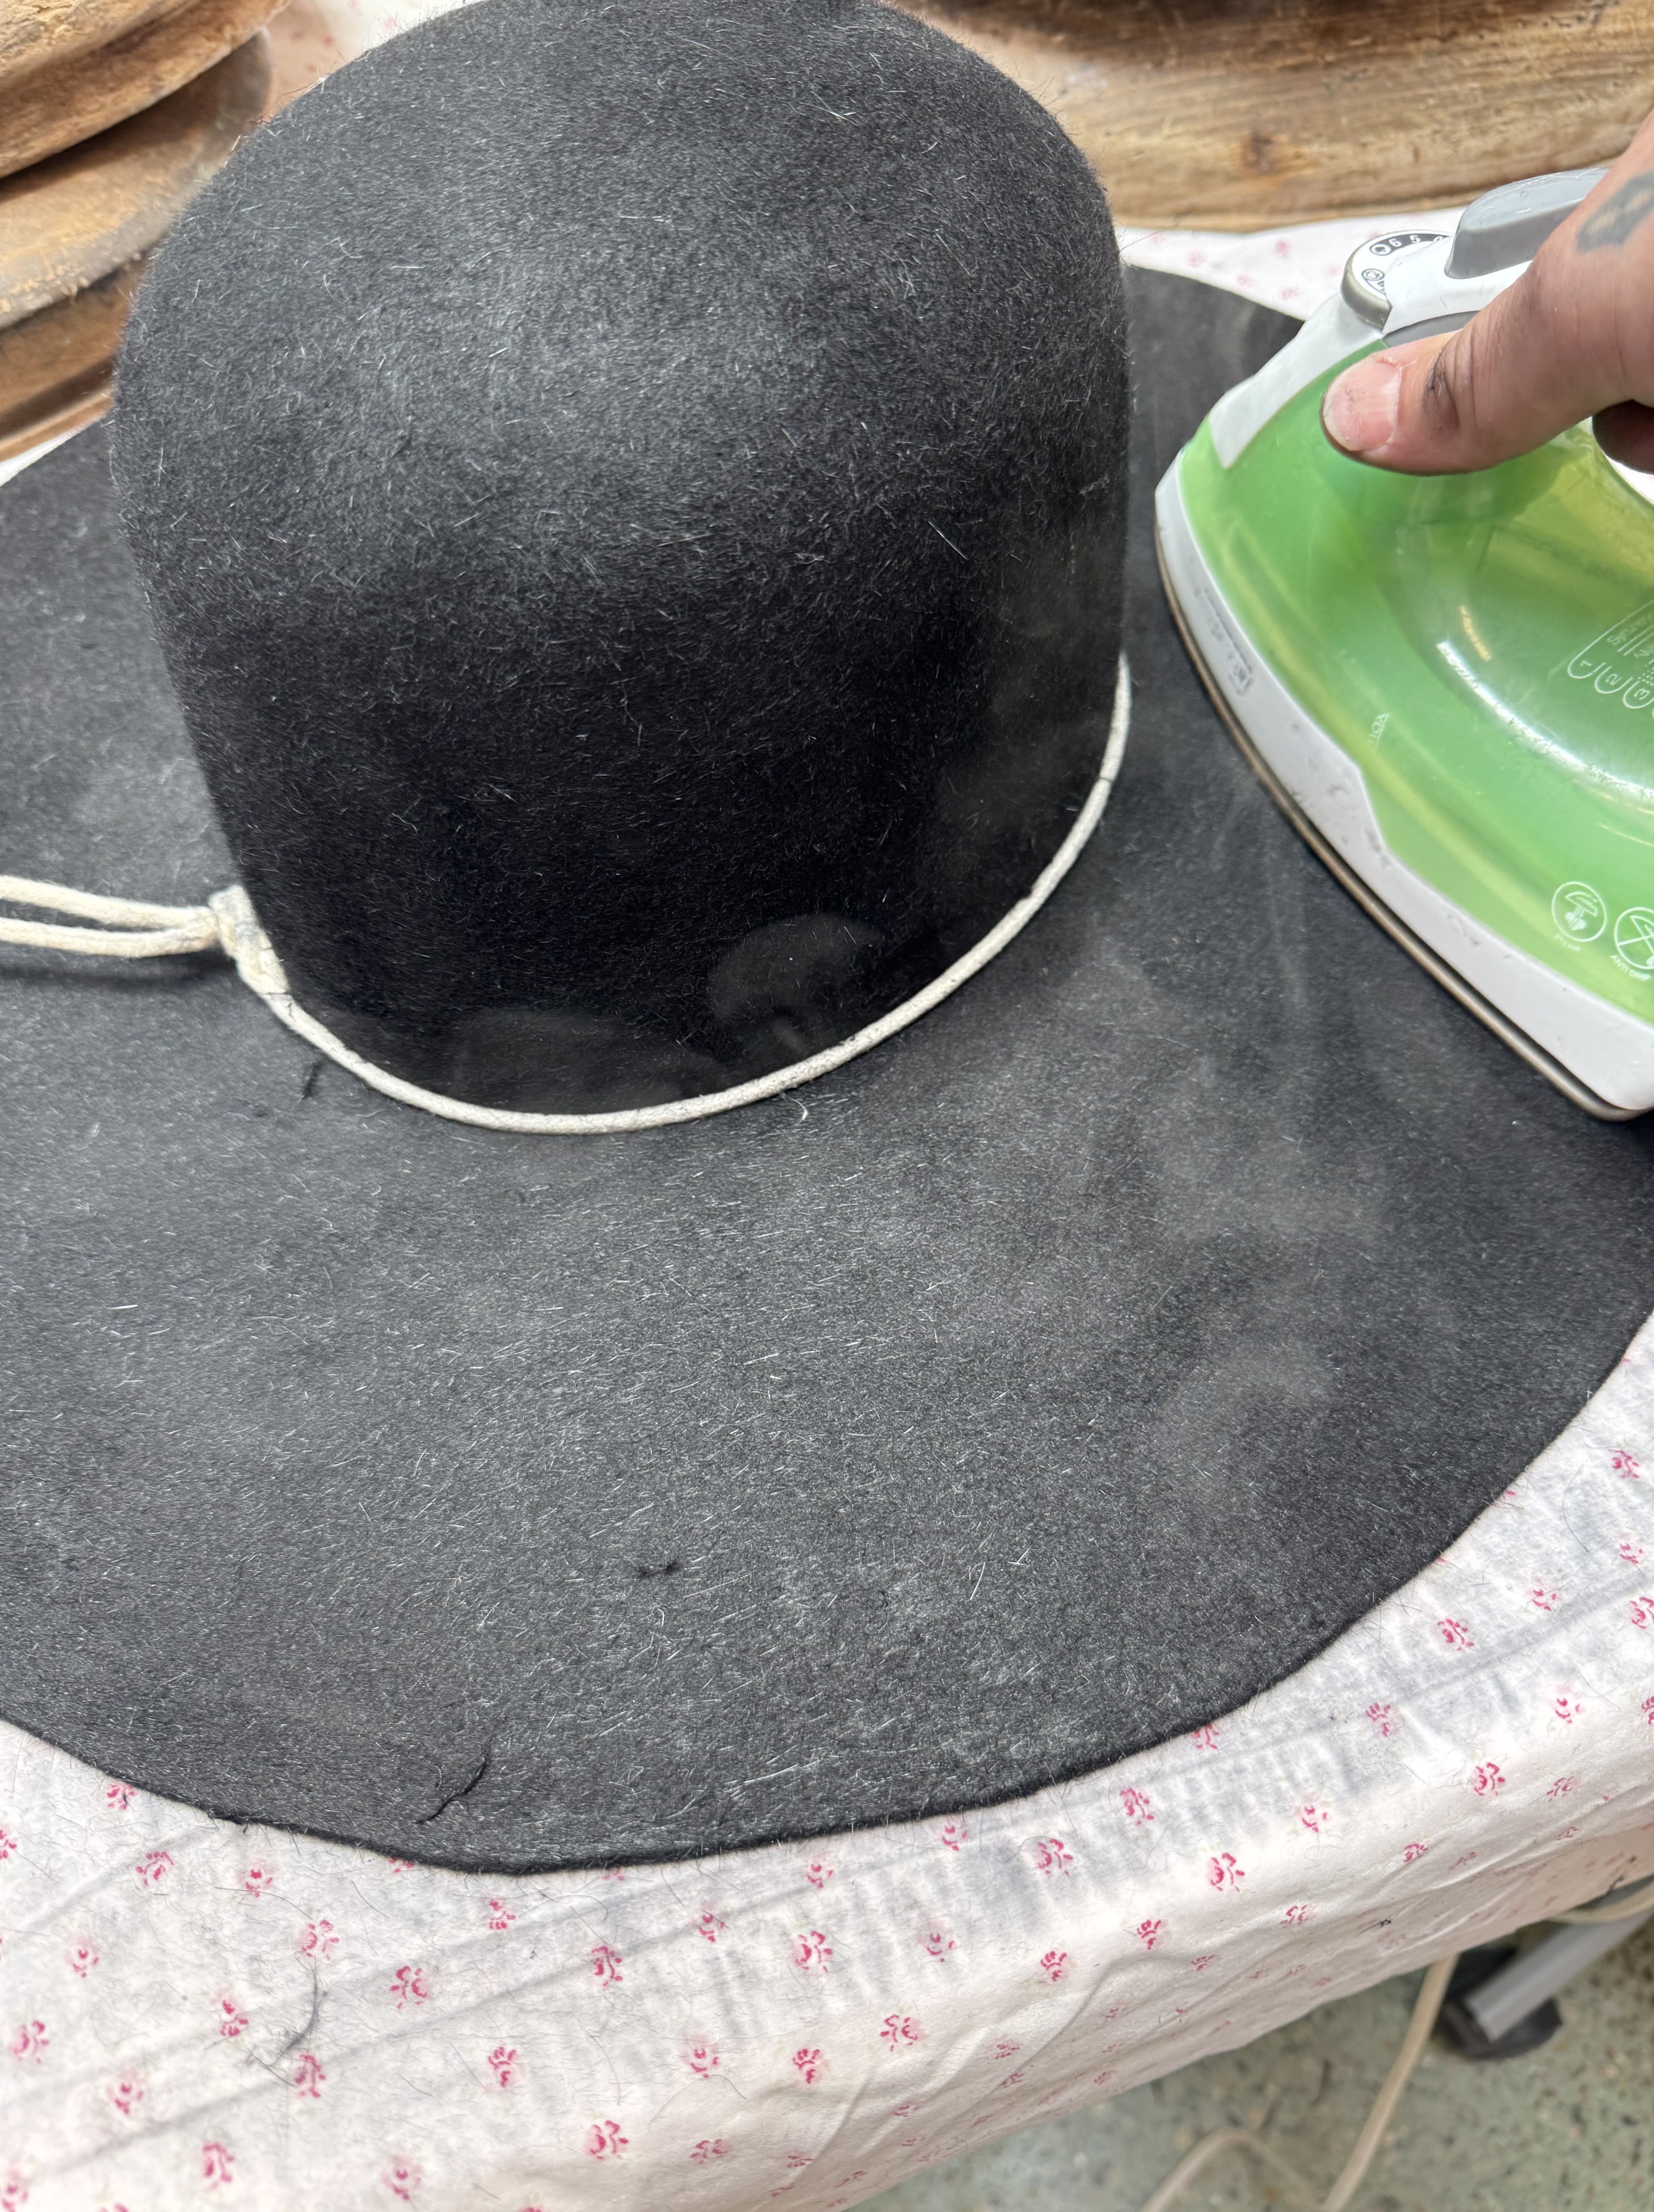
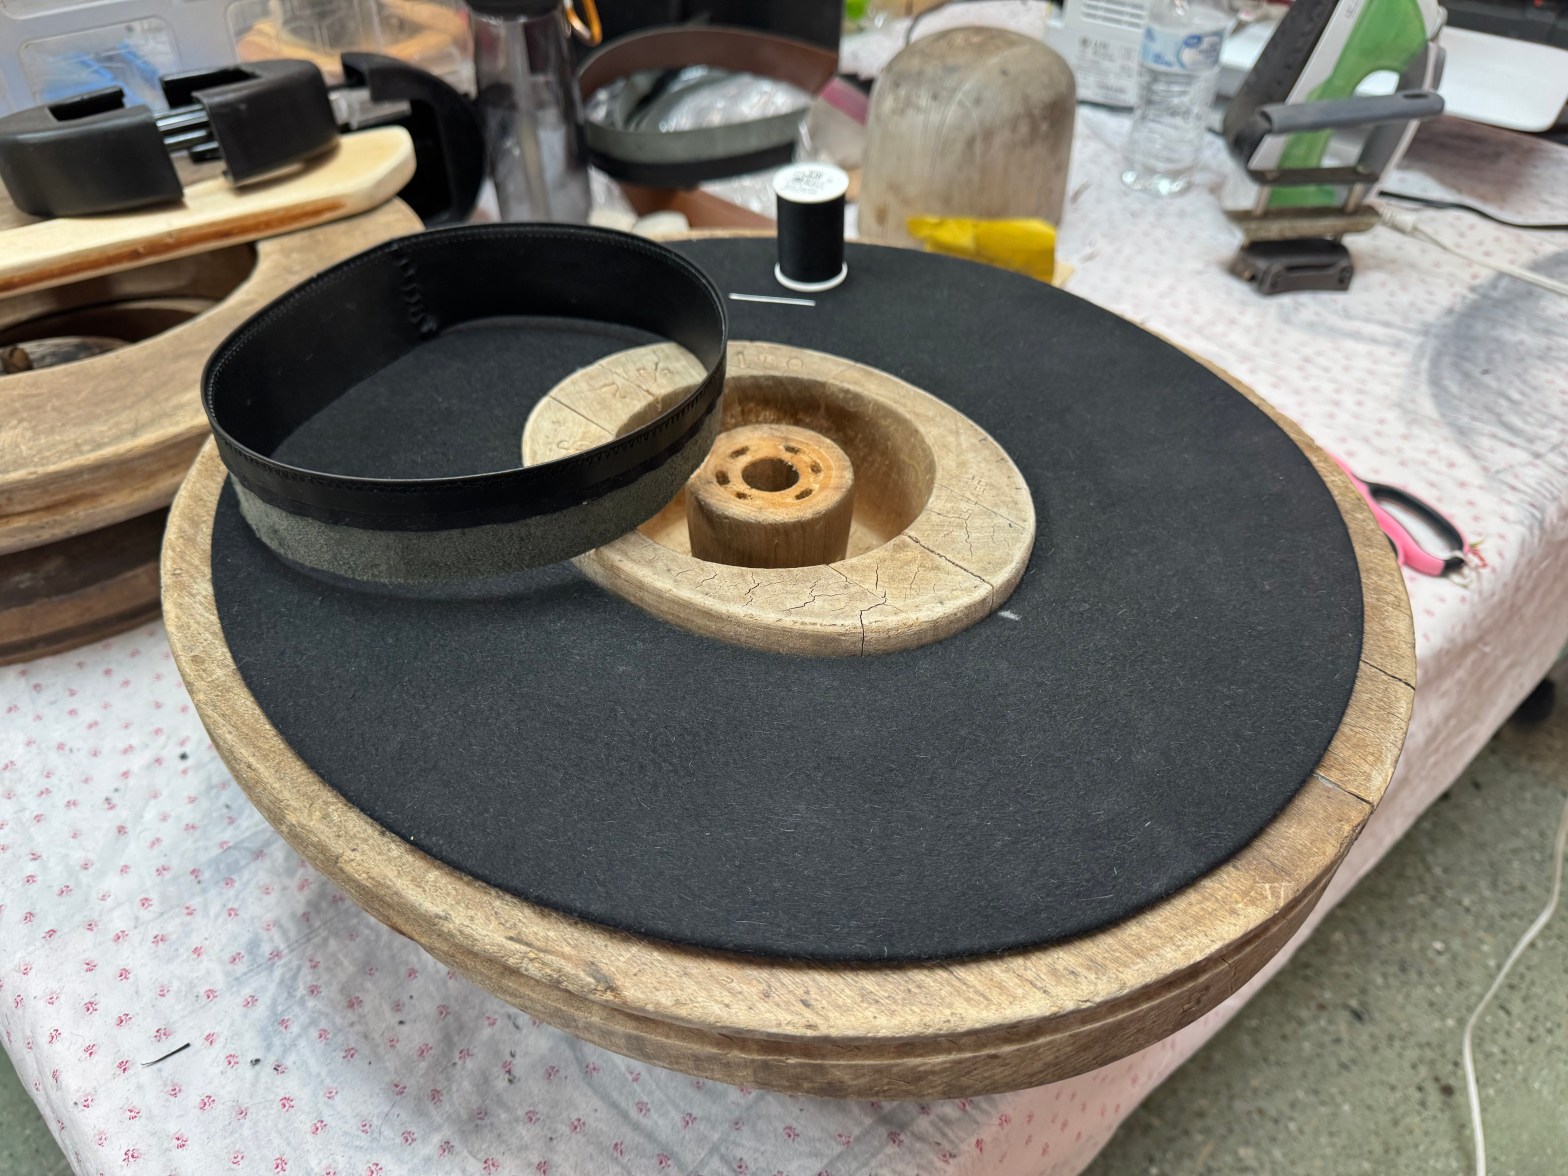
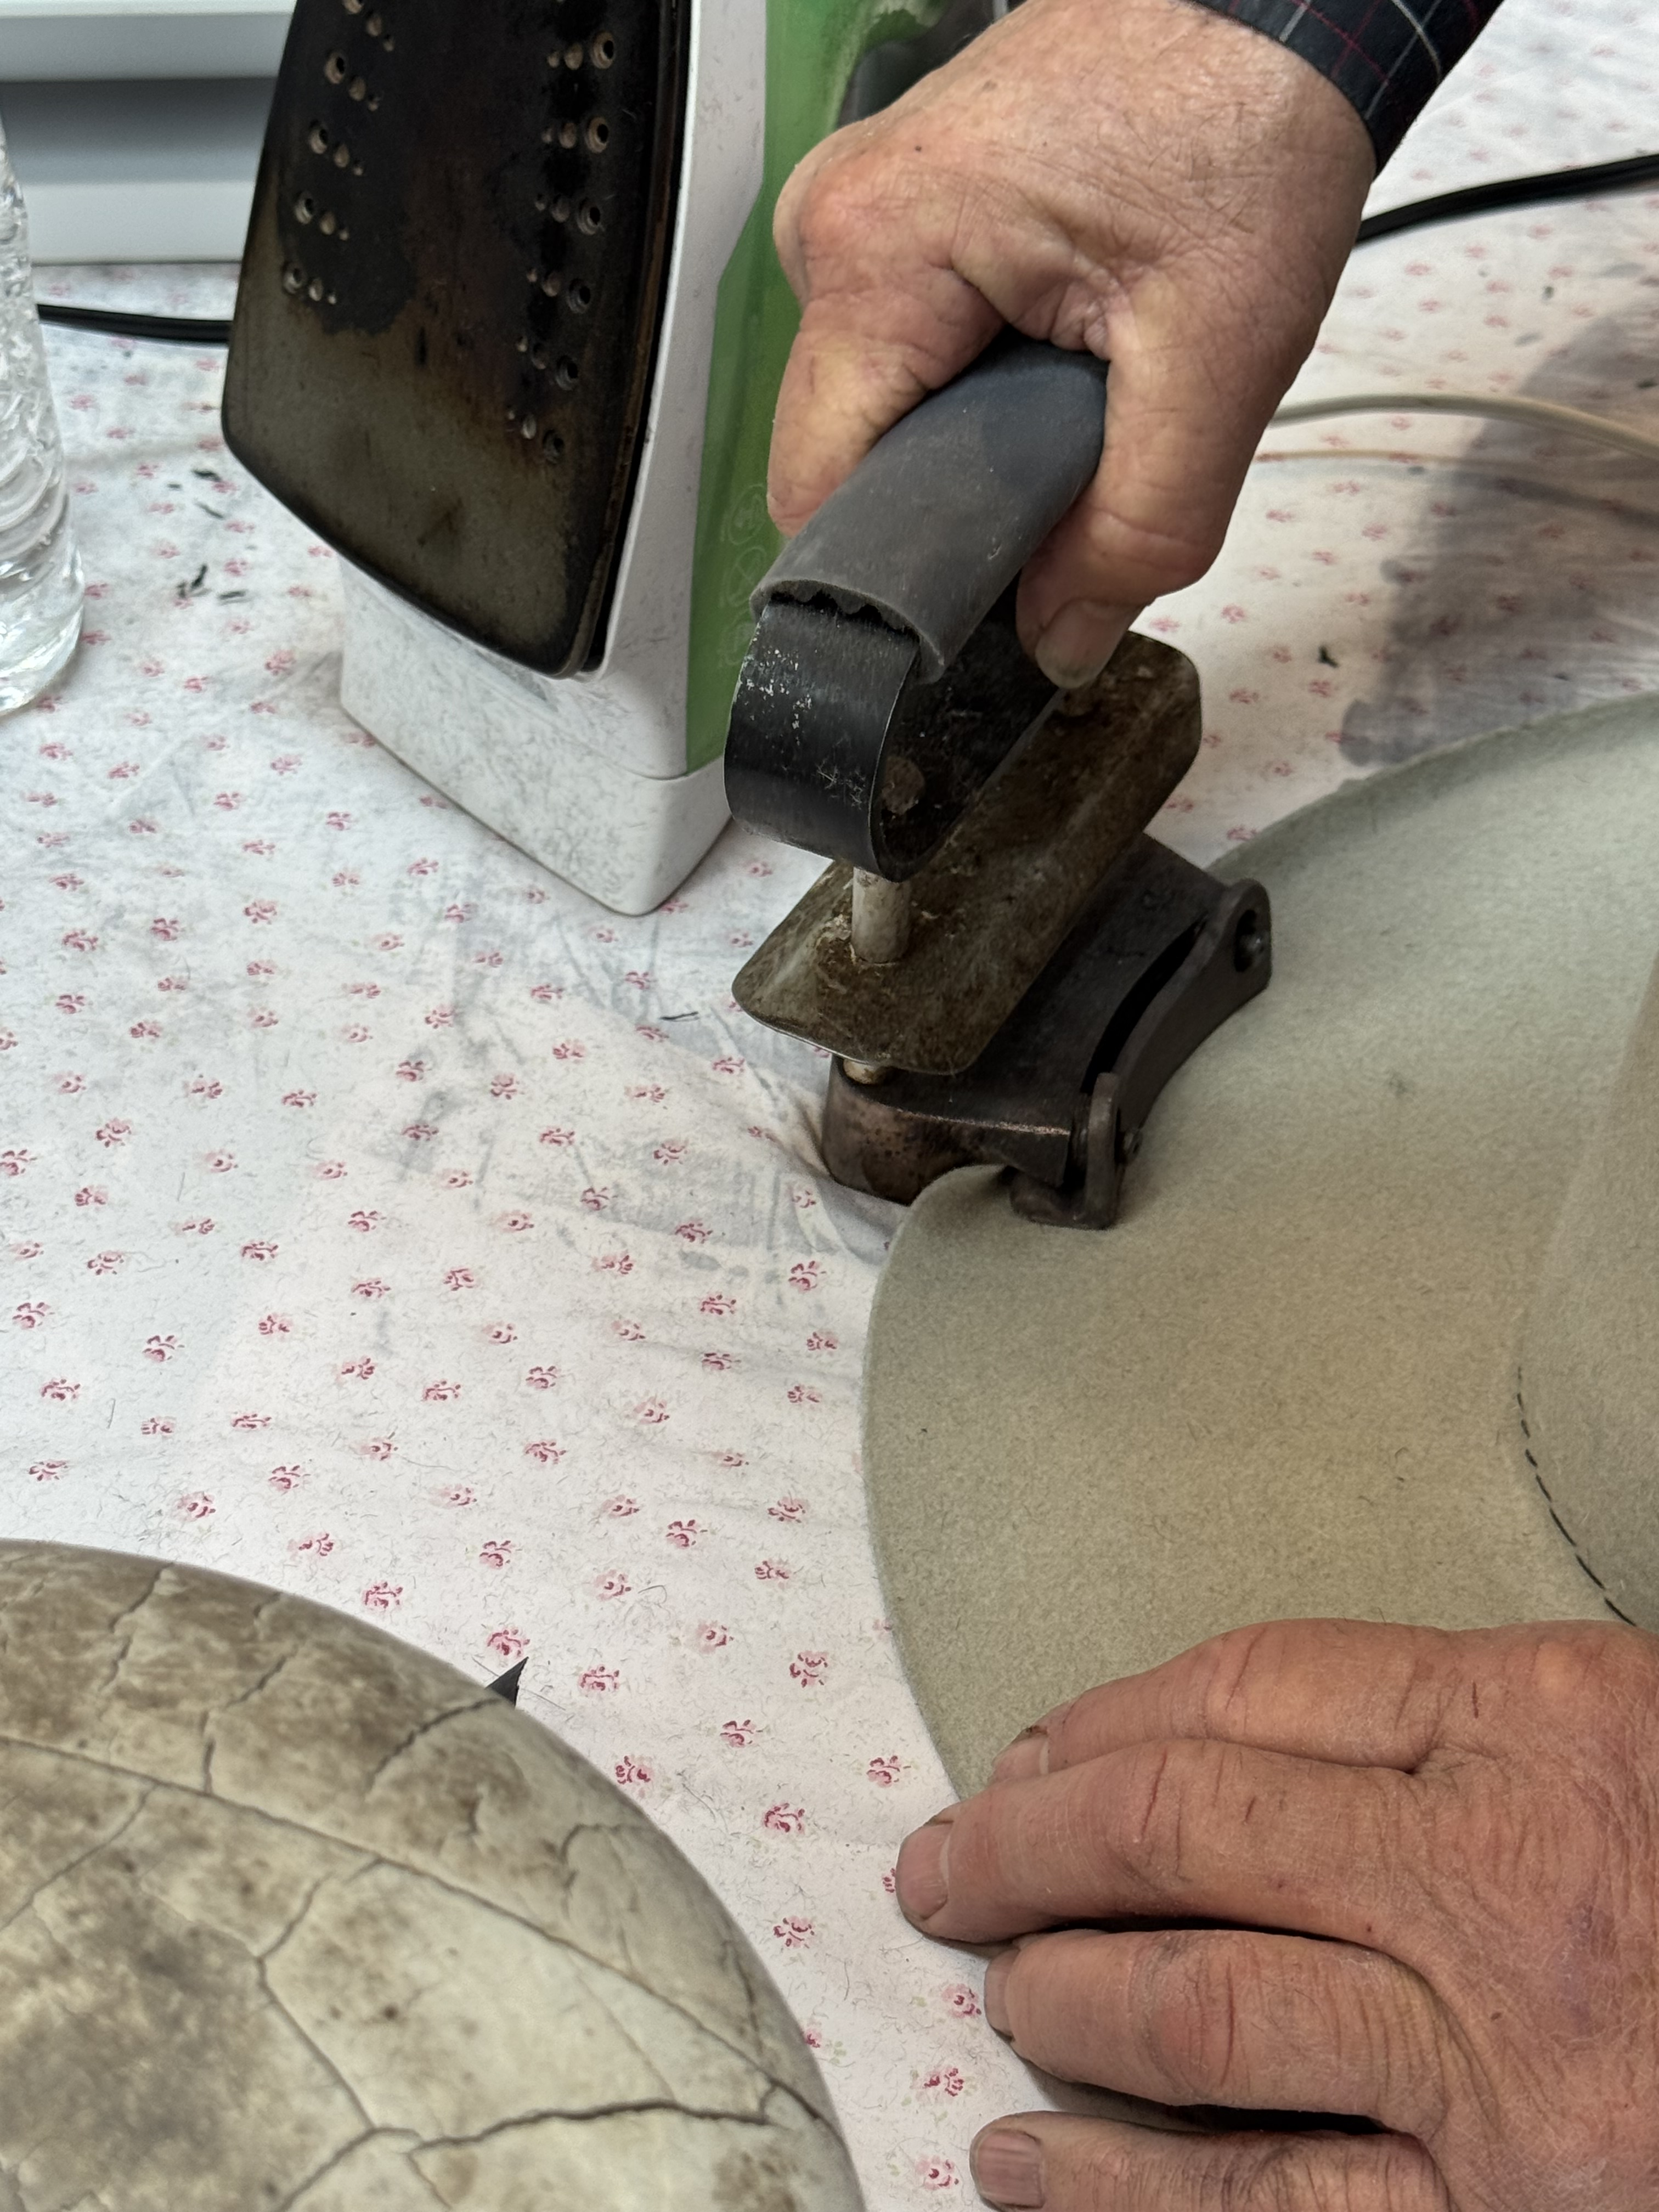
We all picked out the color hat body we wanted to use (for an additional materials fee you could choose to work on two hats during the class, of course I choose to!) and Tom started walking us through the process of blocking our hats – using water, steam, and pressure to smooth and firm the beaver/rabbit hat body to the shape of our properly sized hat blocks. Hat making is very hands-on; the process involves a lot of stretching, ironing, and sanding (and more ironing)! During these steps Tom helped us all as needed, explaining the process and sharing stories about his time in the movie industry, where he met stars like John Wayne, Sam Elliot, and Val Kilmer.

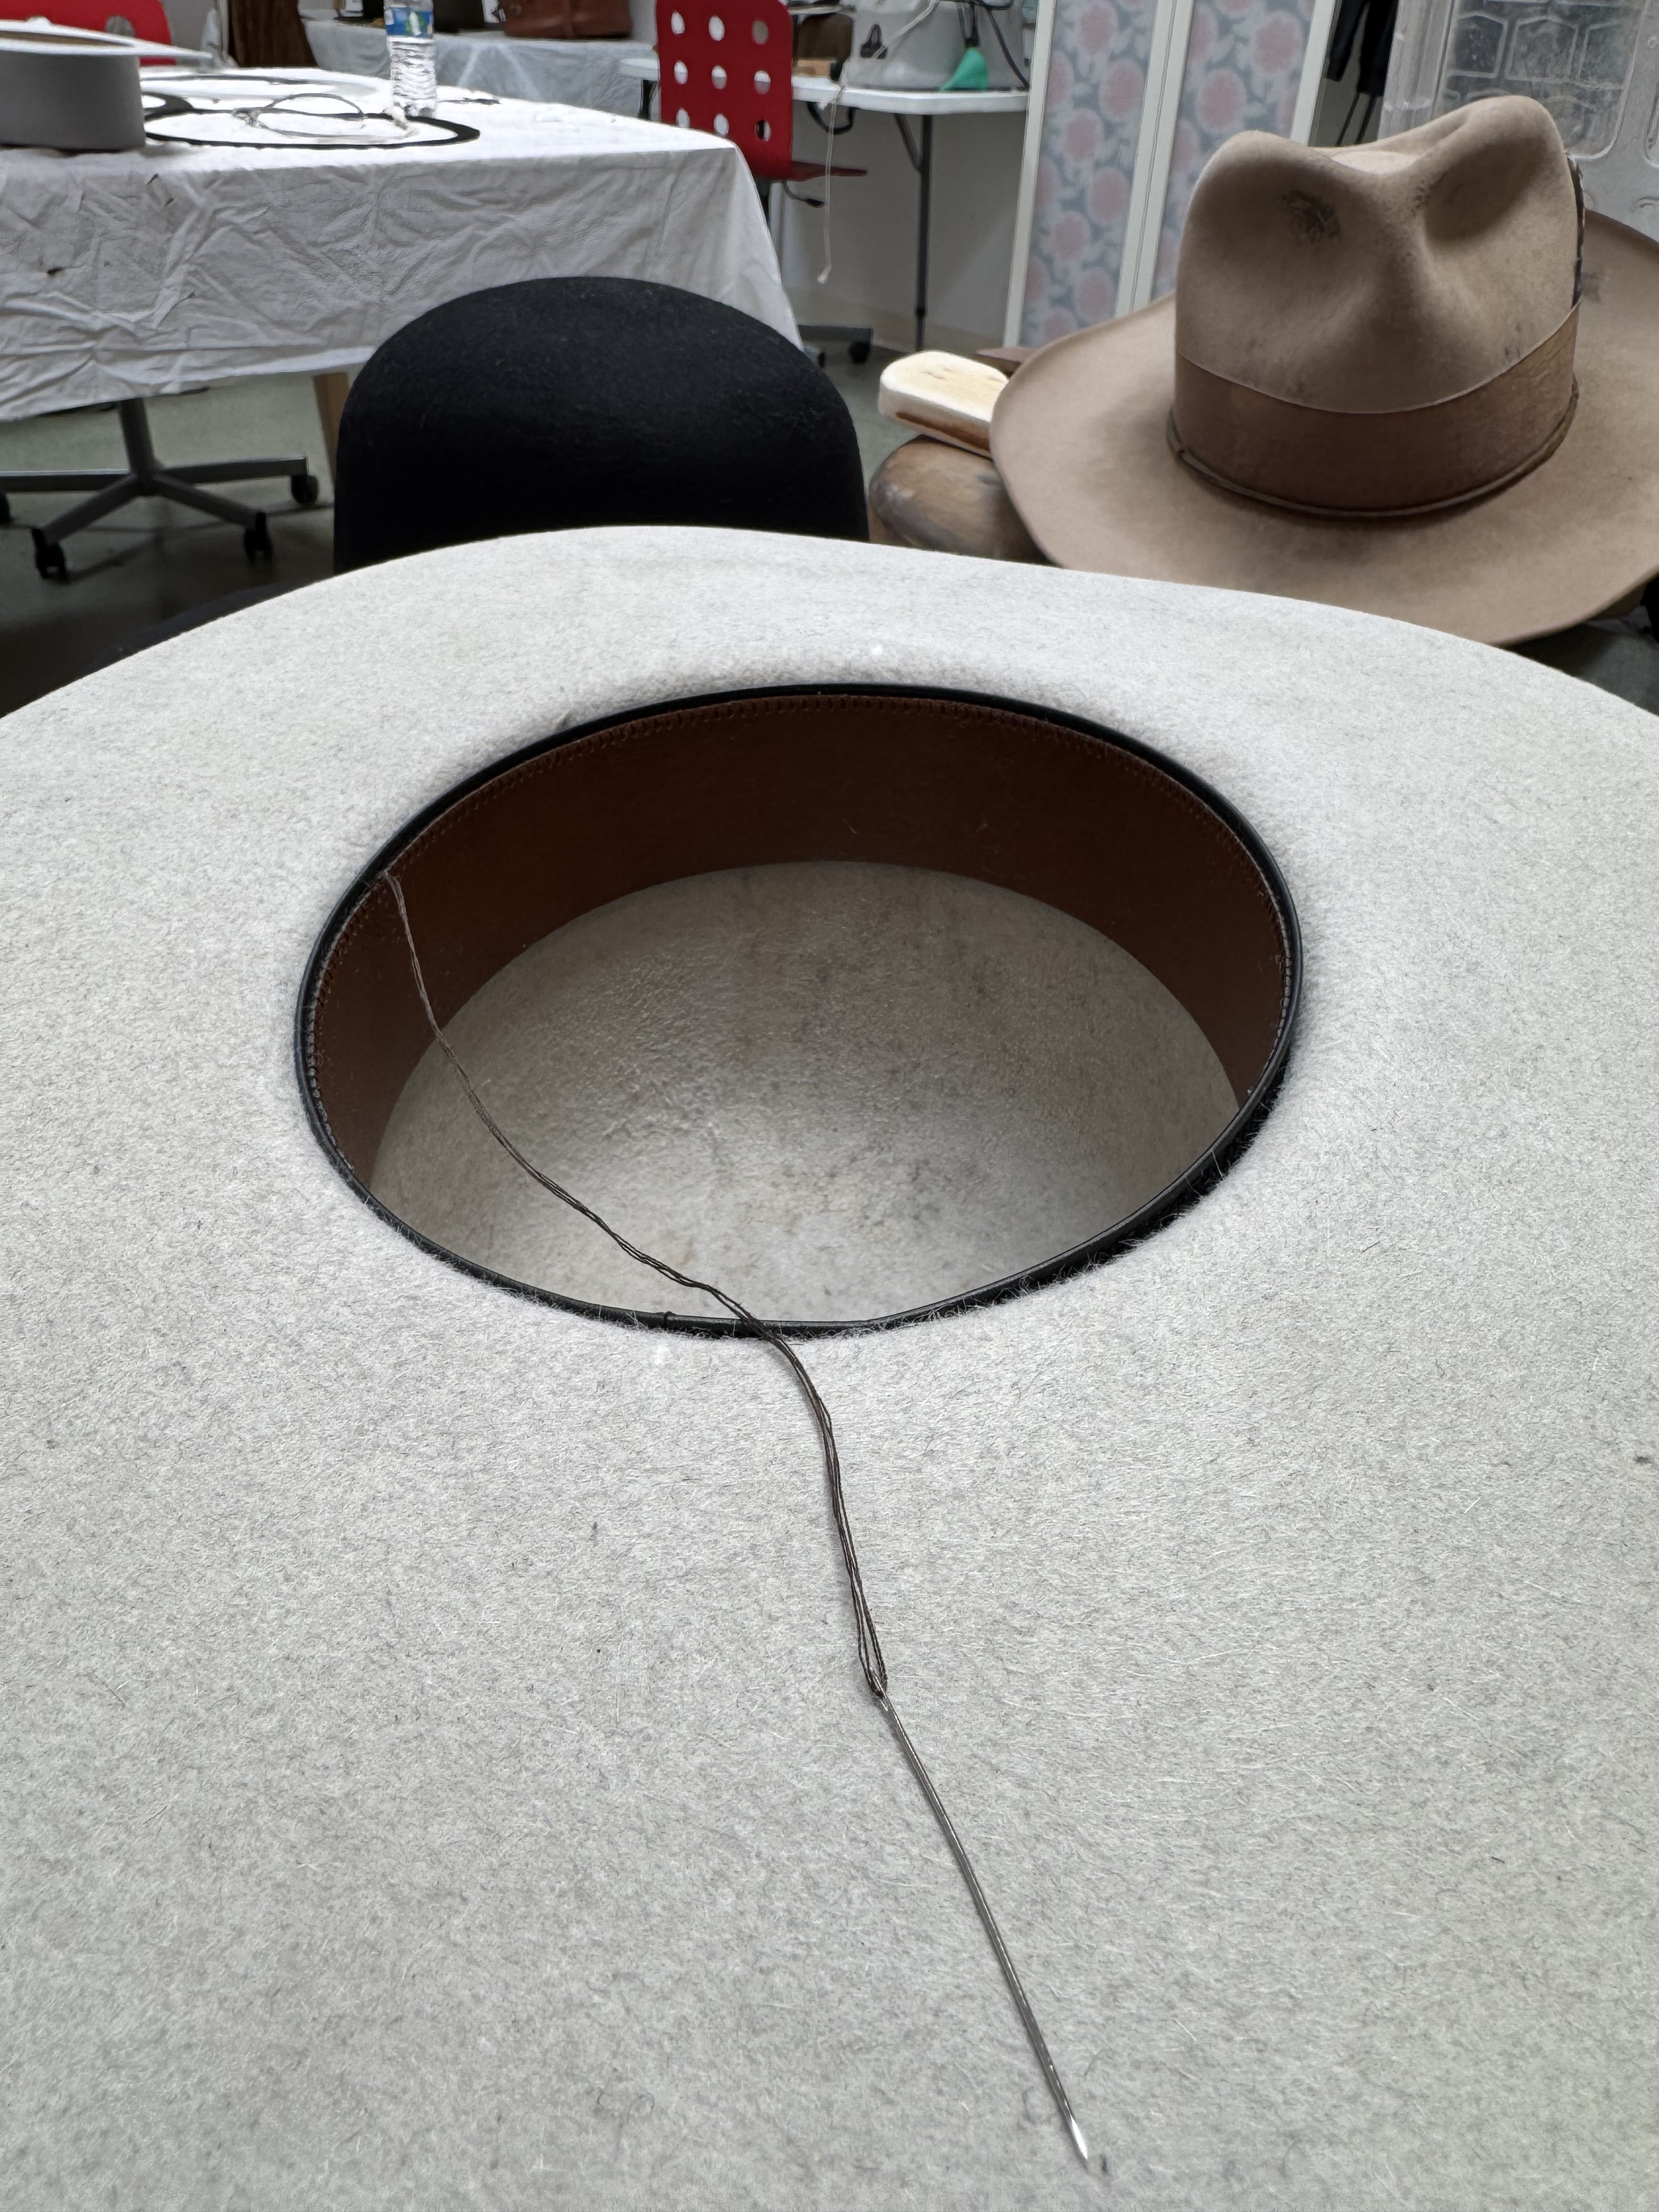
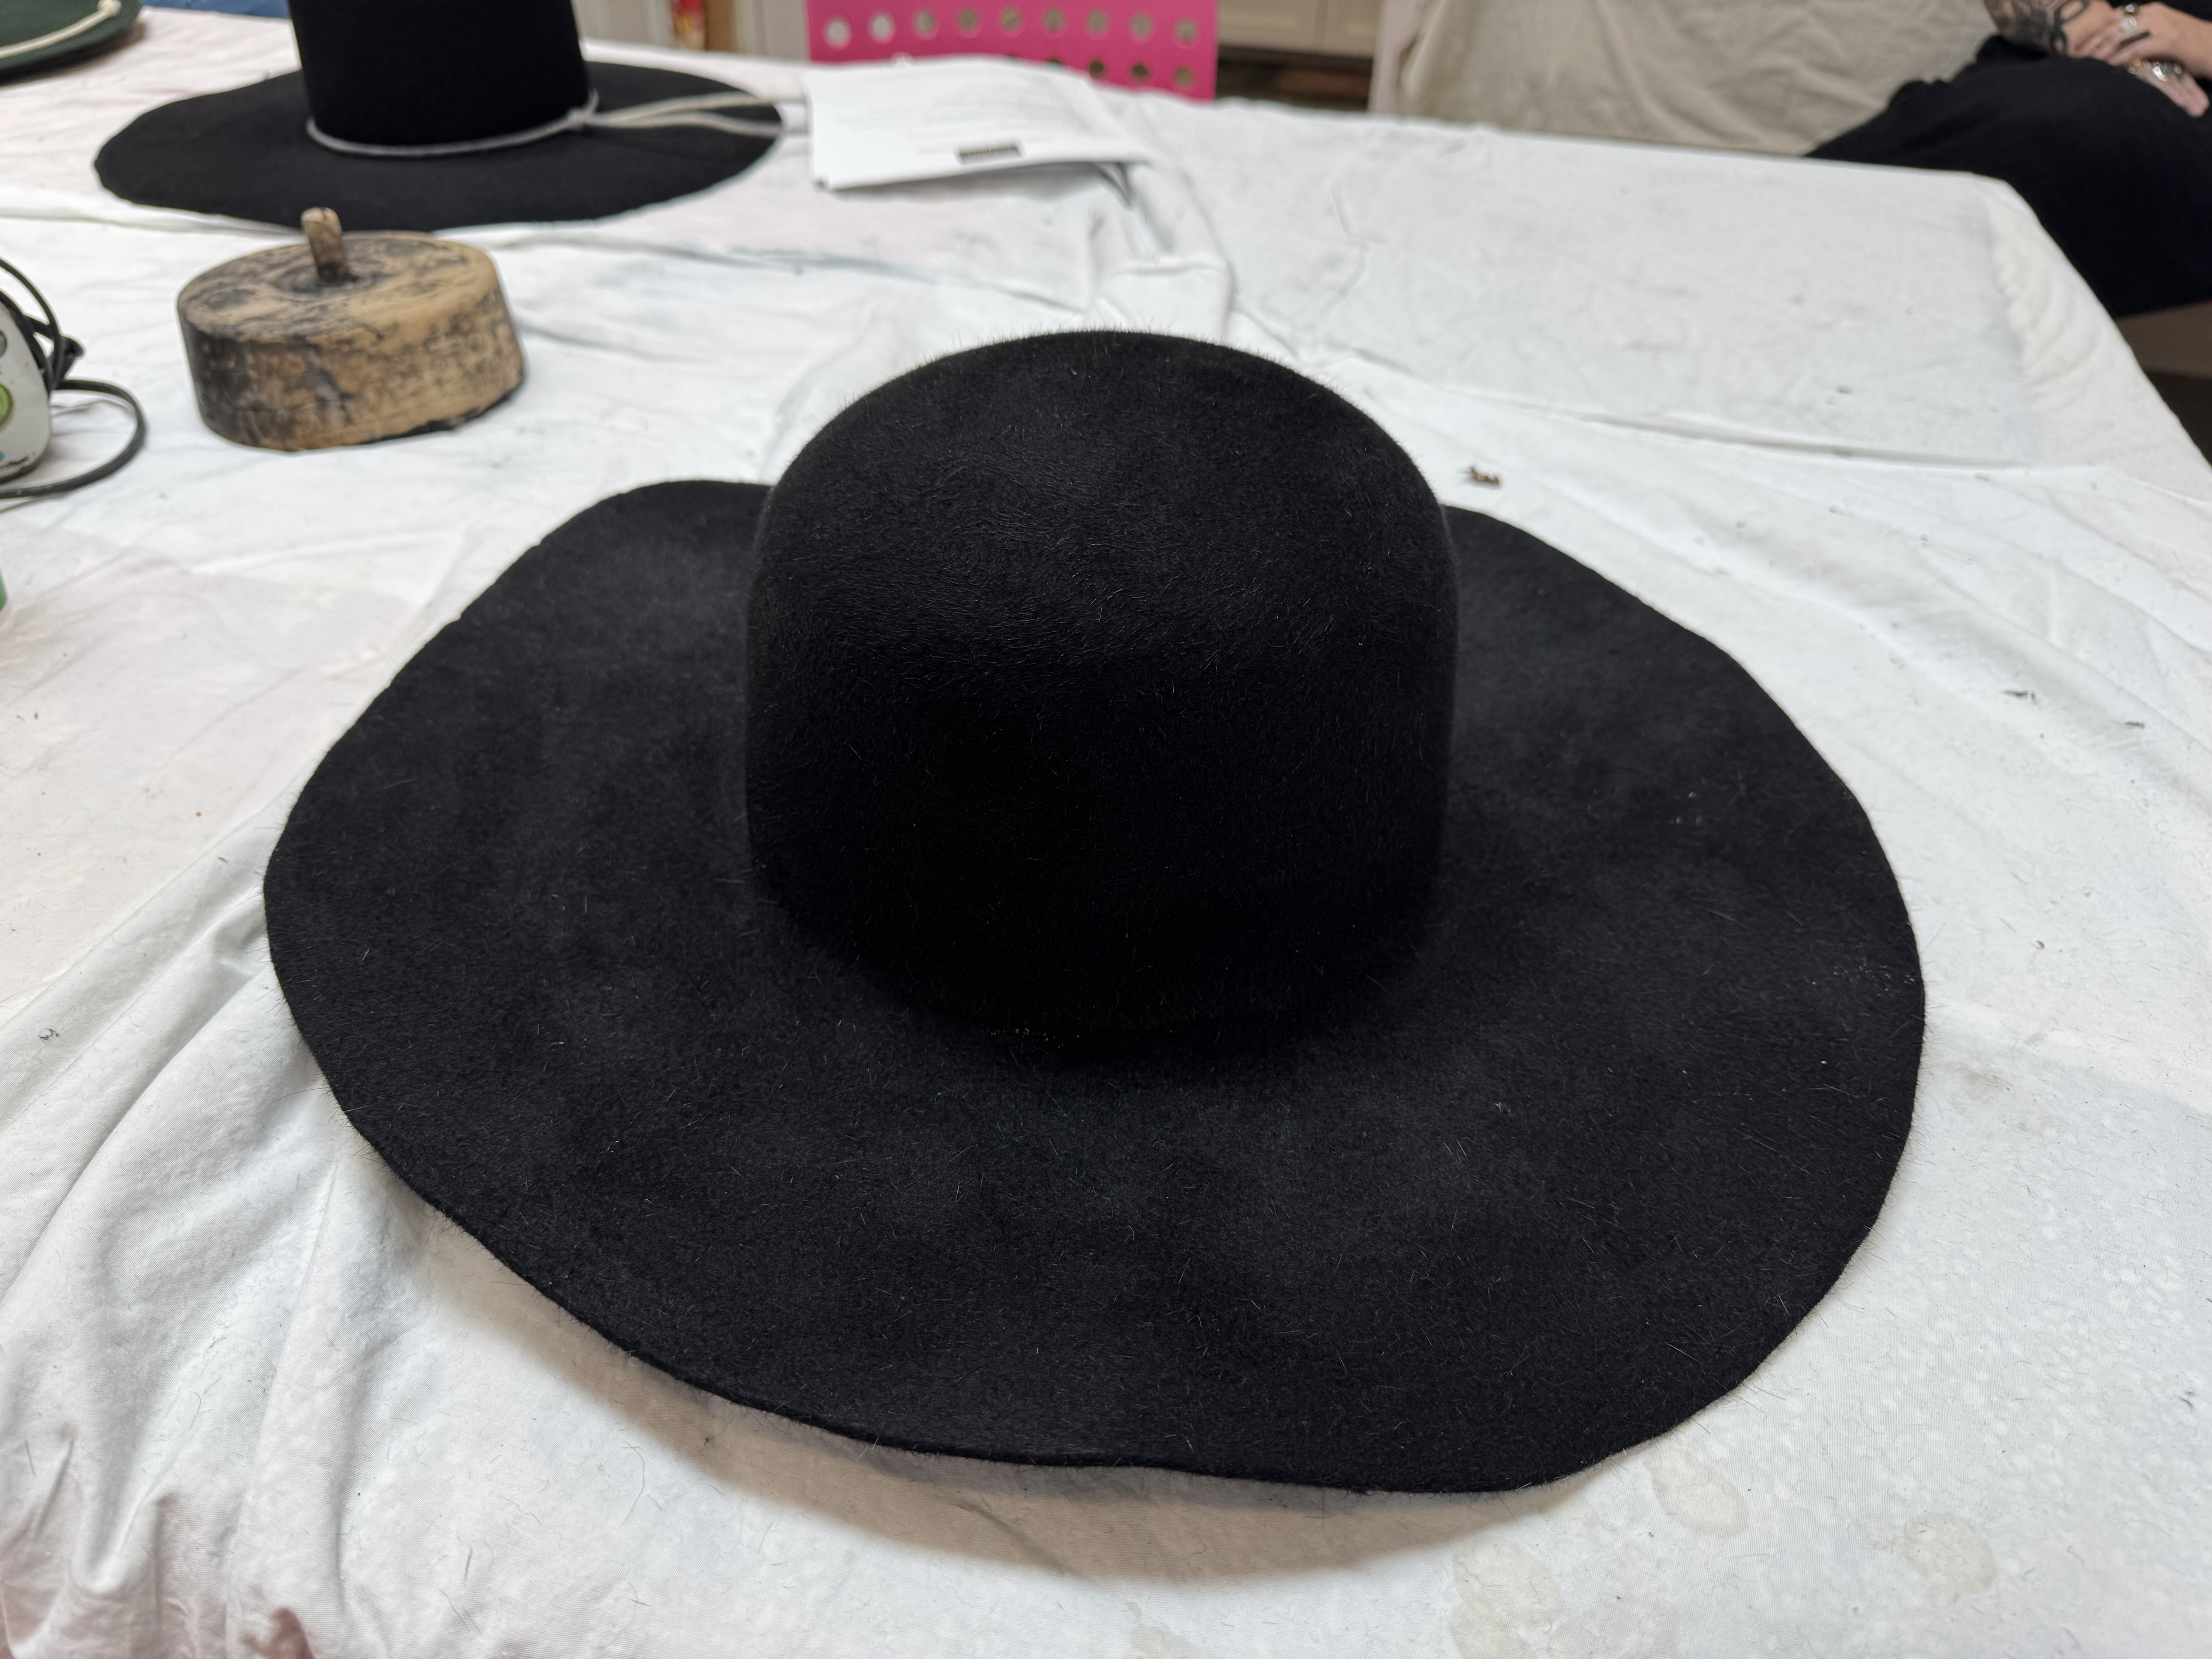
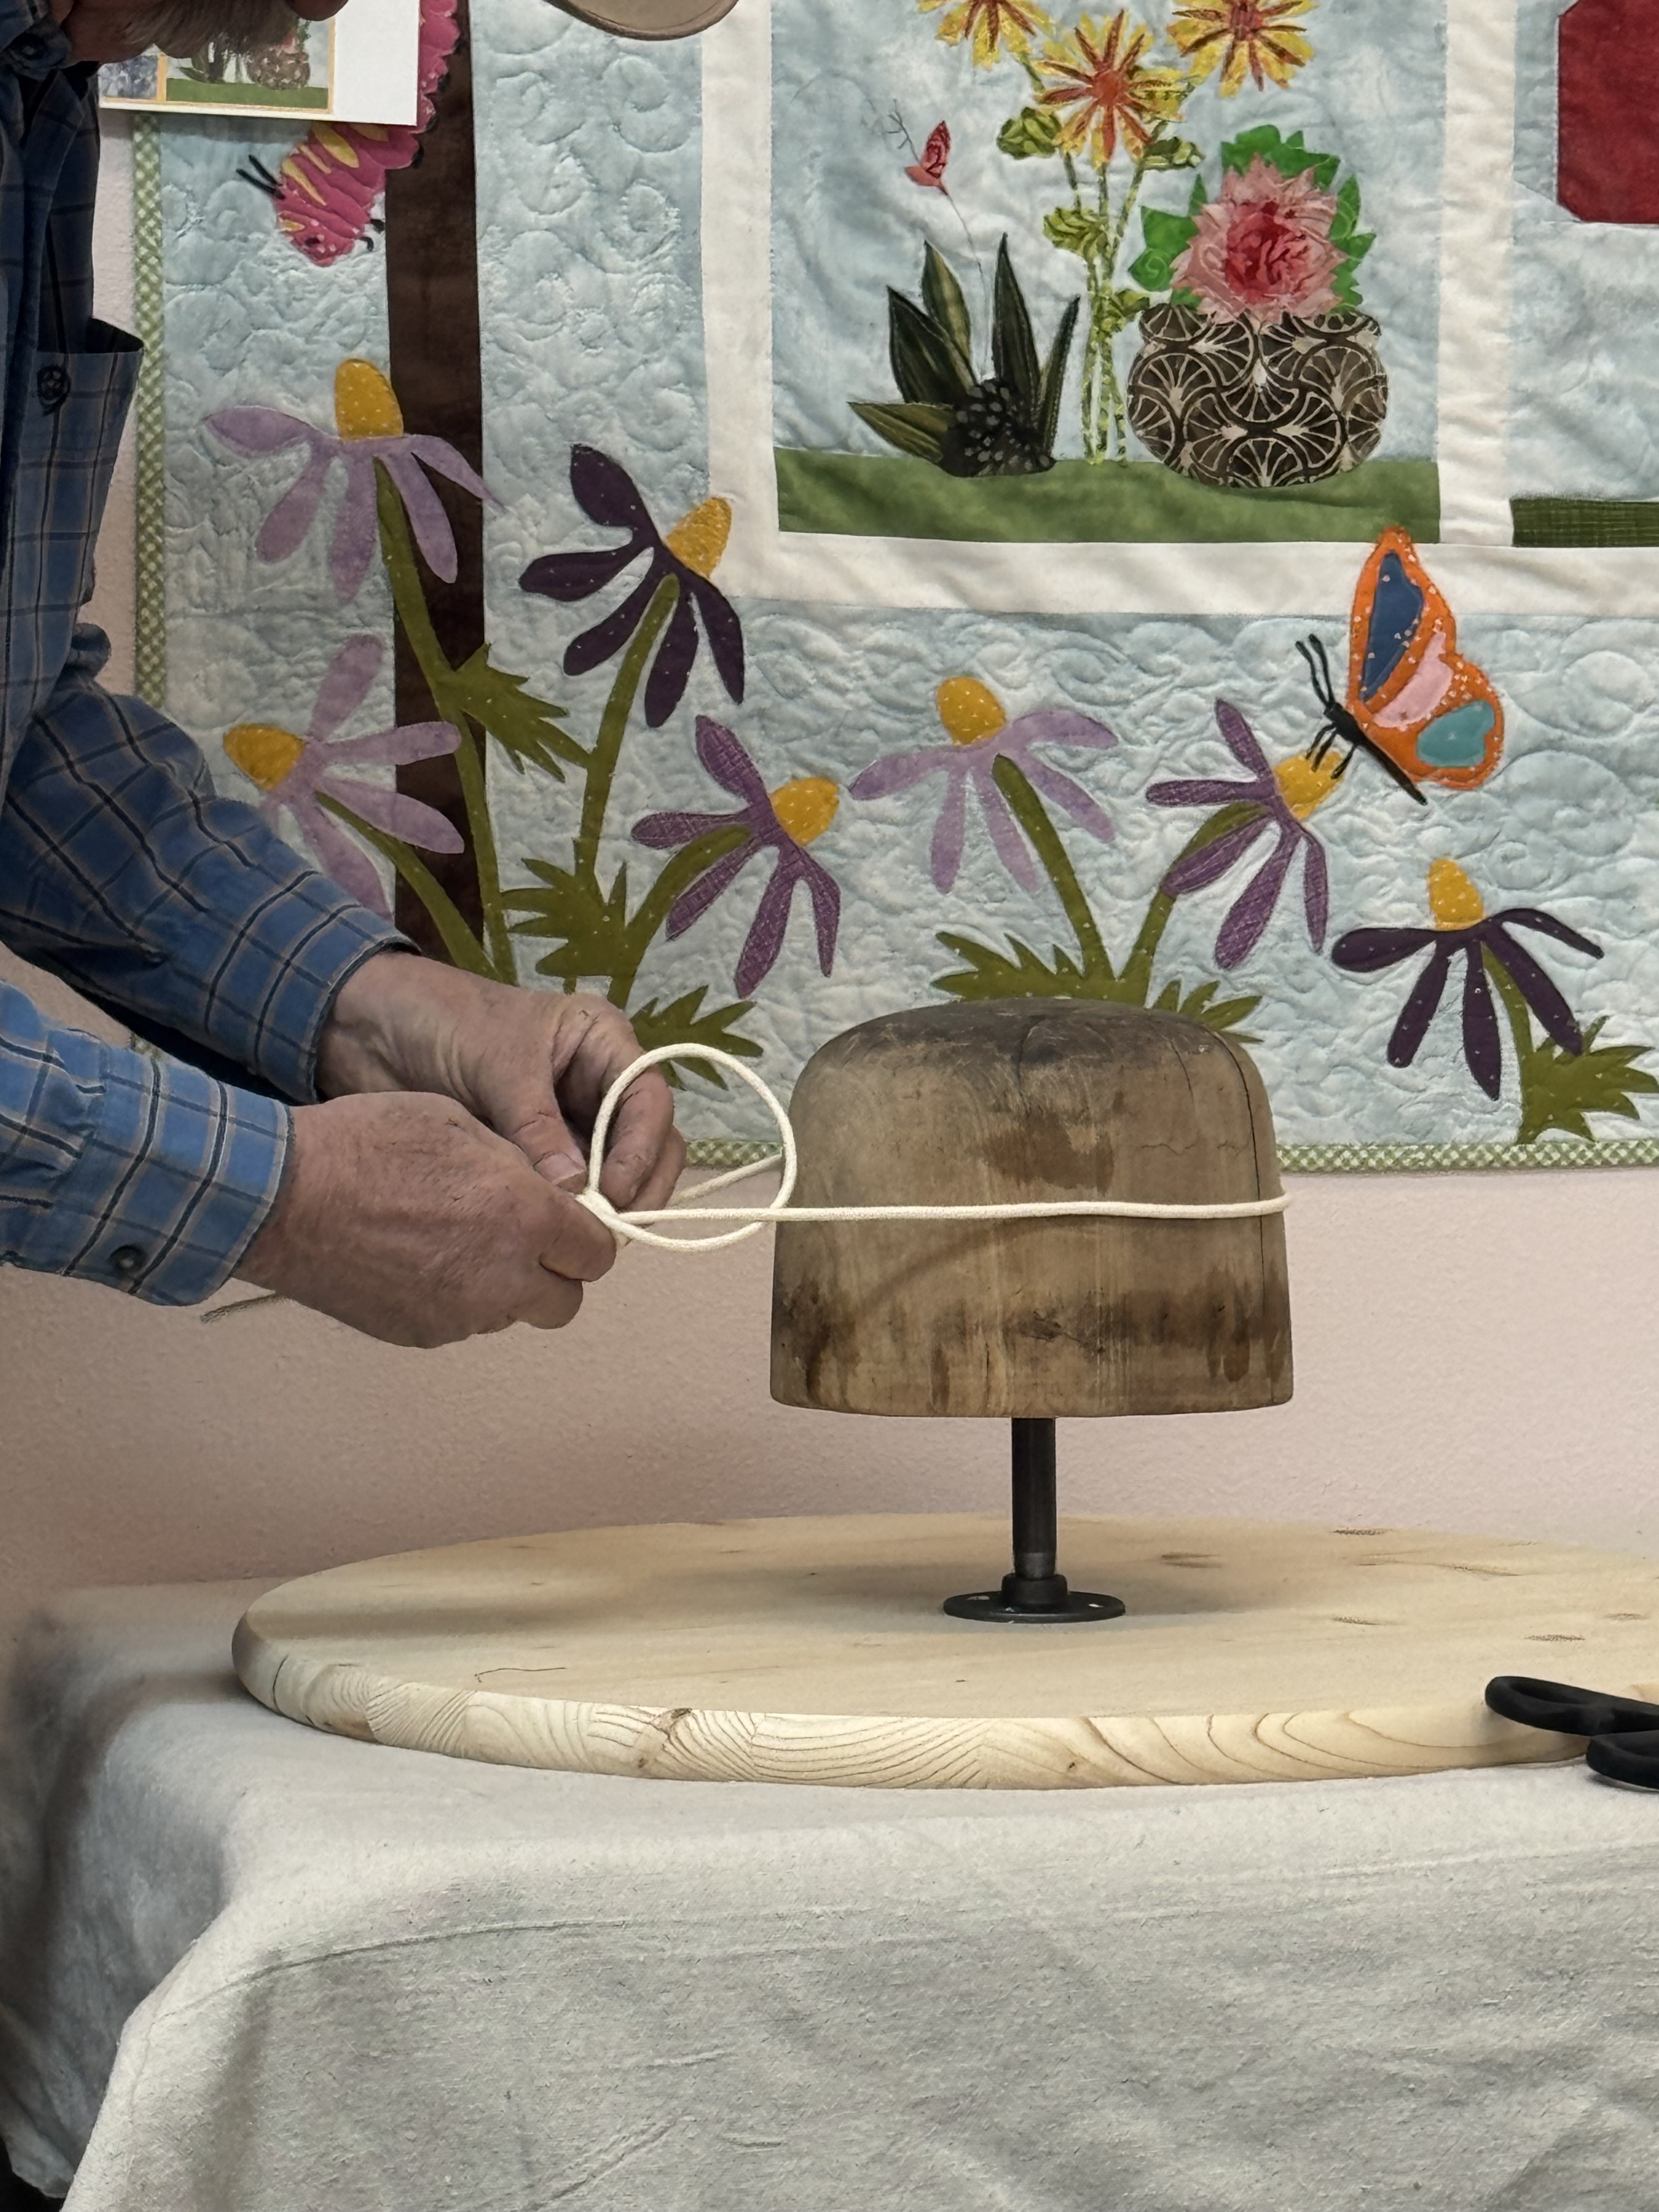
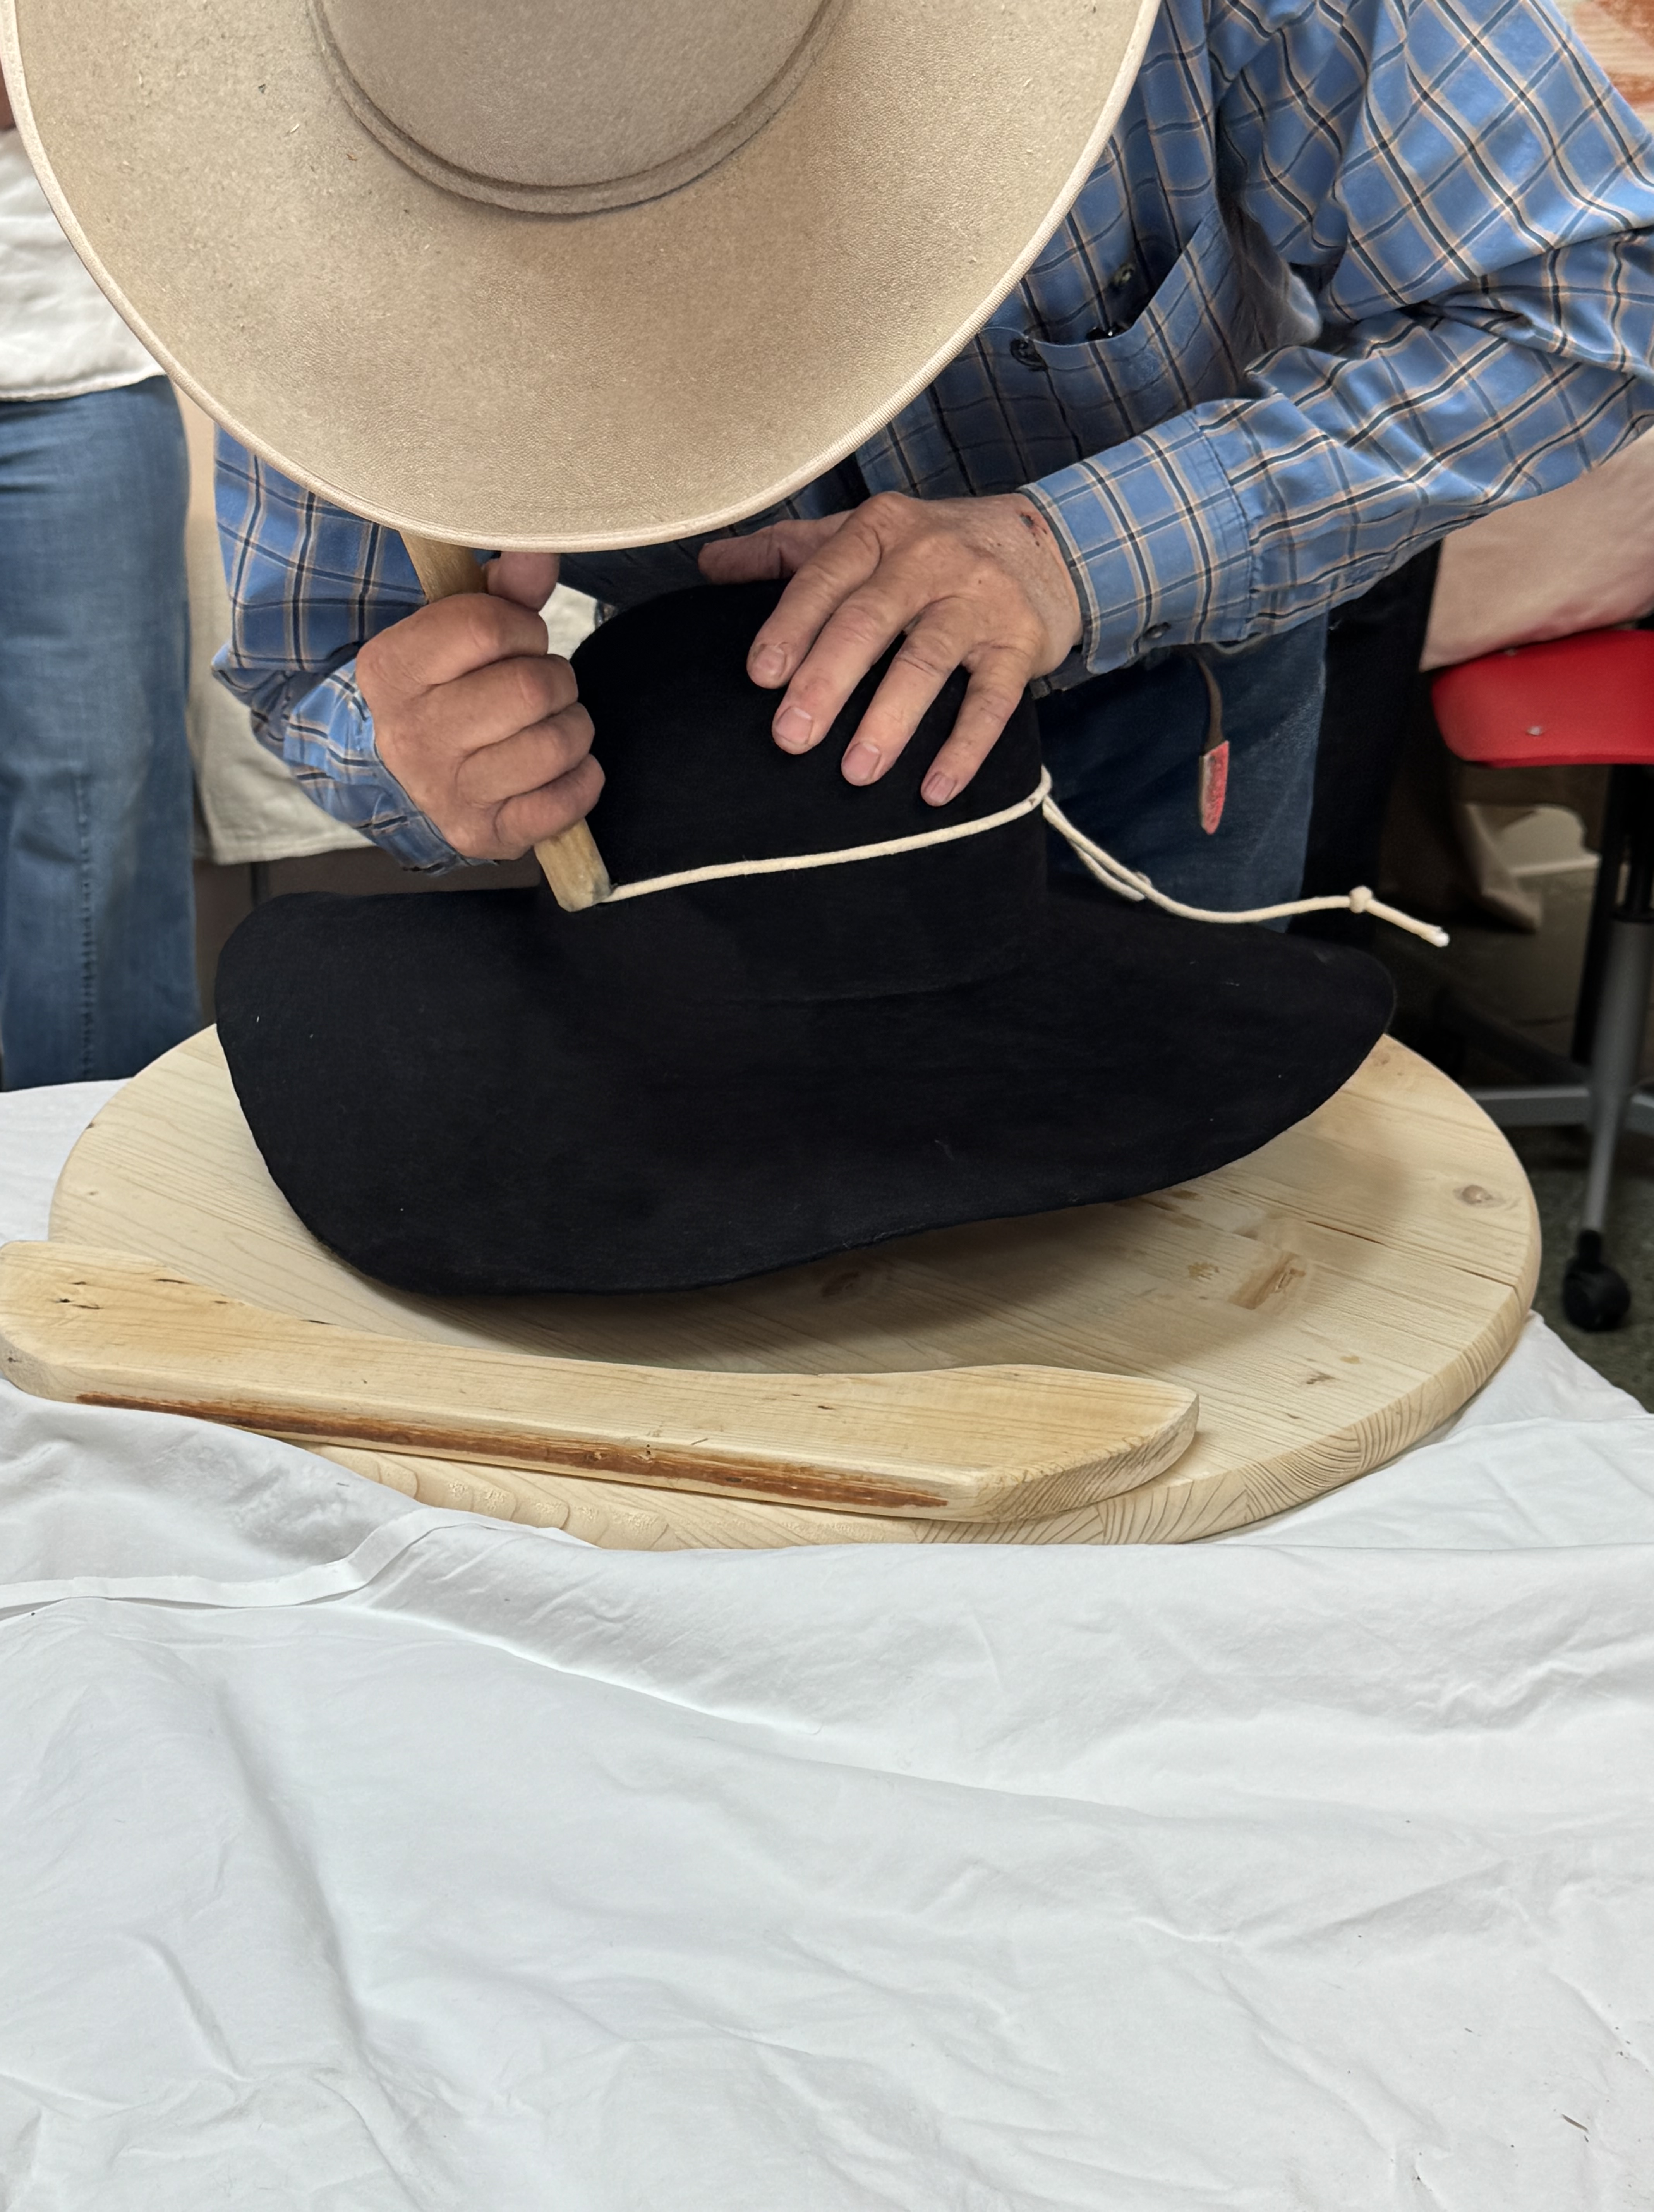
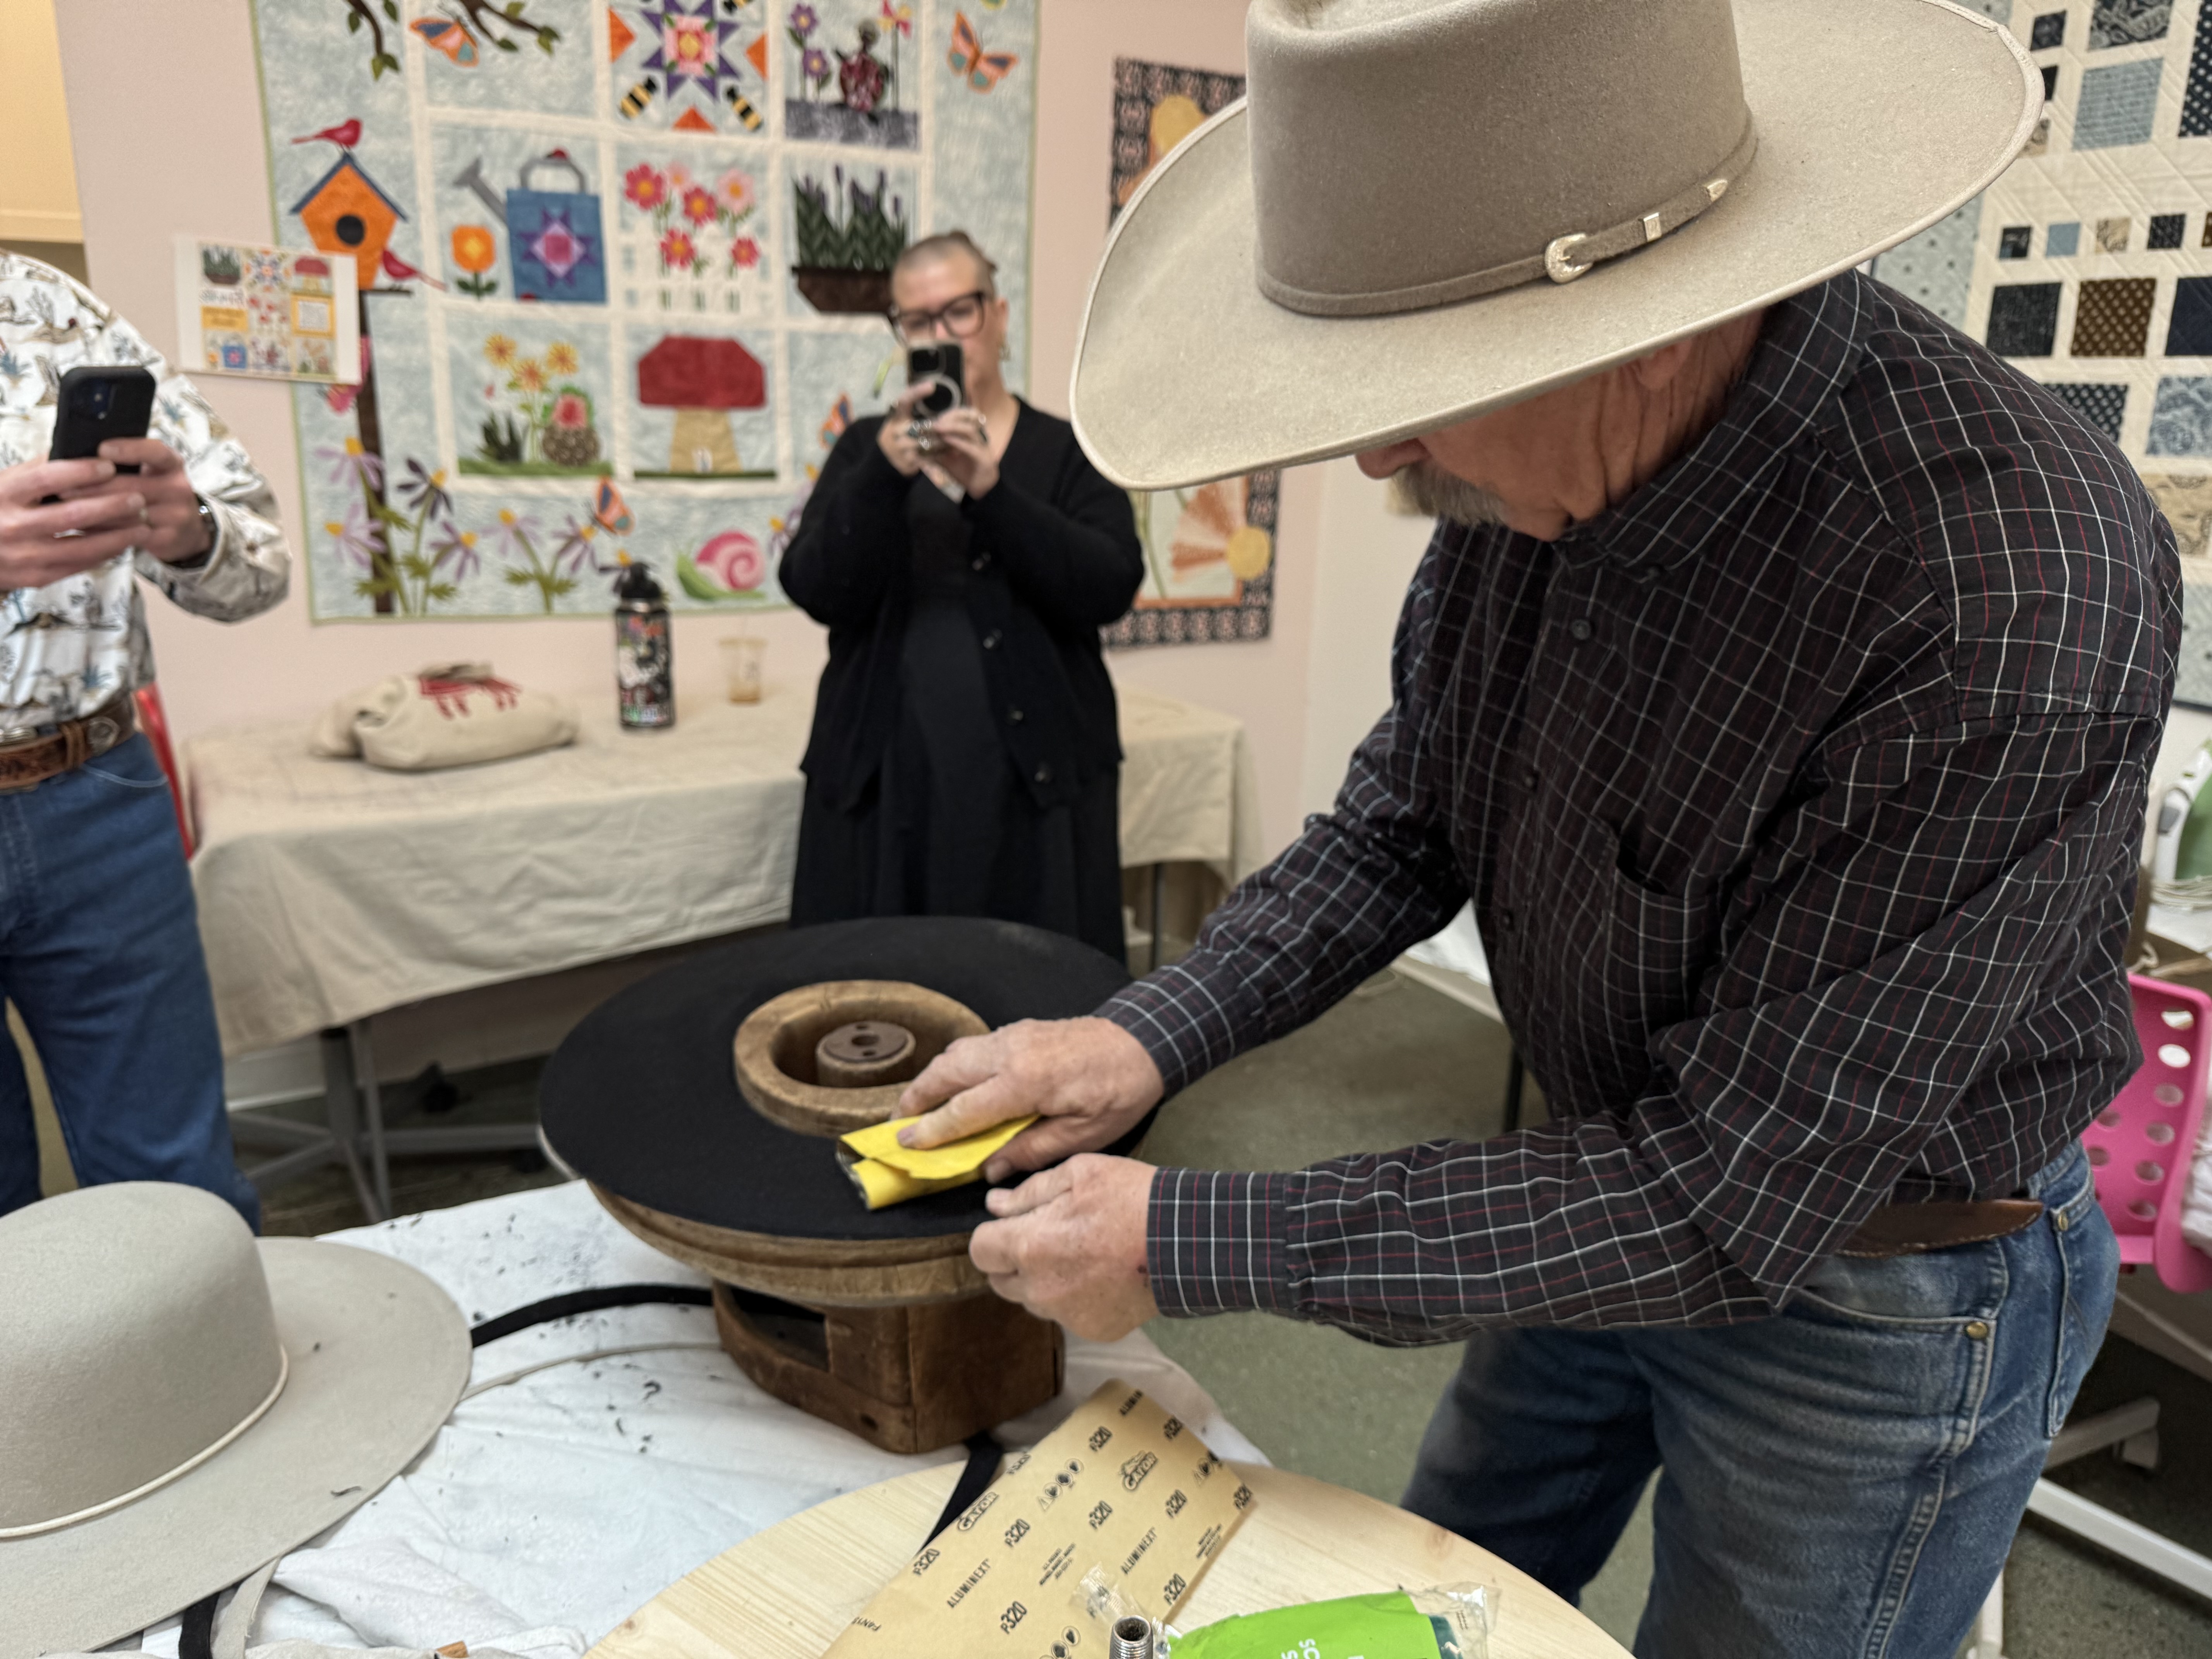
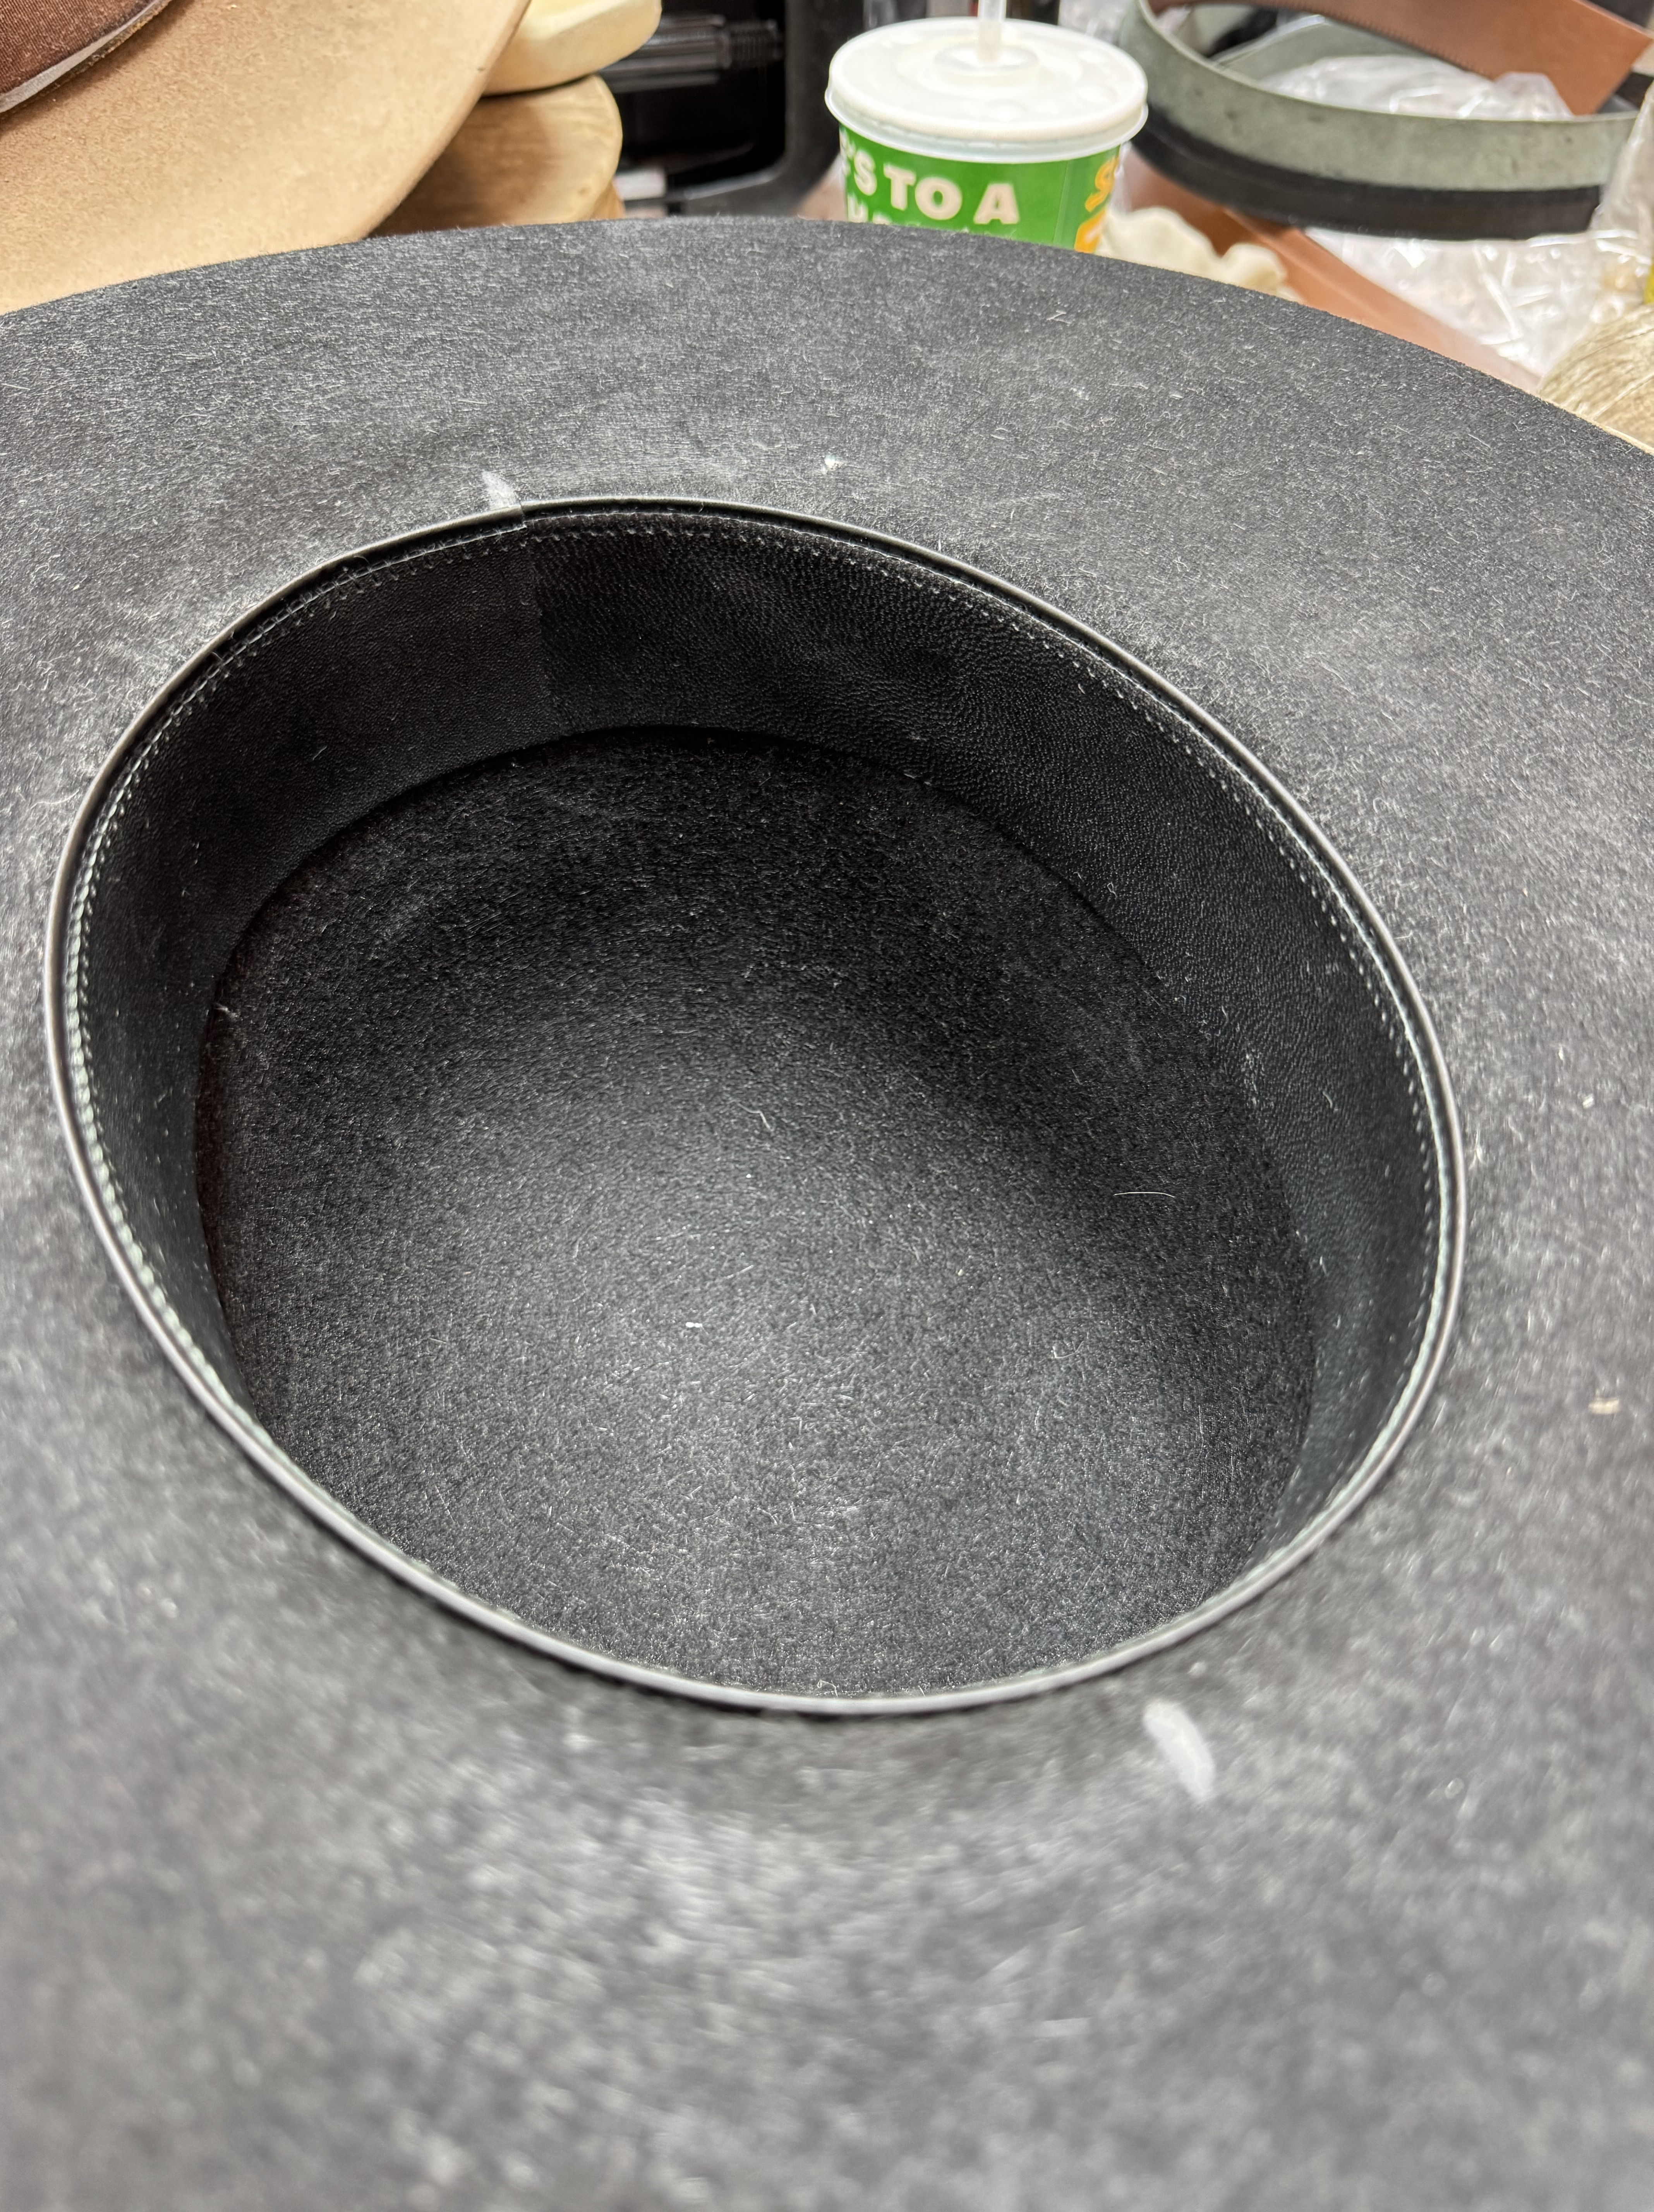
Day 2 started with a recap and instructions on sanding and stiffening our hat bodies. Once ready (everyone works at their own pace, or in my case, working on two hats means double the processes) we were instructed on how to trim the brim of the hat to size. This was a bit nerve-wracking, and not everyone was comfortable doing so, but I jumped at the chance to do all the work possible on my own. We then sized, cut, and hand-sewed the leather sweatbands. This was probably the step that concerned me the most, but I honestly had no issue with it, except for one thing: I thought I had heard “1/4″ stitch,” but when Tom came around, and my first sweatband was already 70% sewn in, he asked, “Why are those stitches so small? You could have done 3/4″! That is a lot of extra sewing!”. I finished sewing and took the hat off the block and slipped it on my head for the first time…a perfect fit! I felt very proud, but these hats were still just an open crown (unshaped) with a flat brim, tomorrow’s next steps would change that.
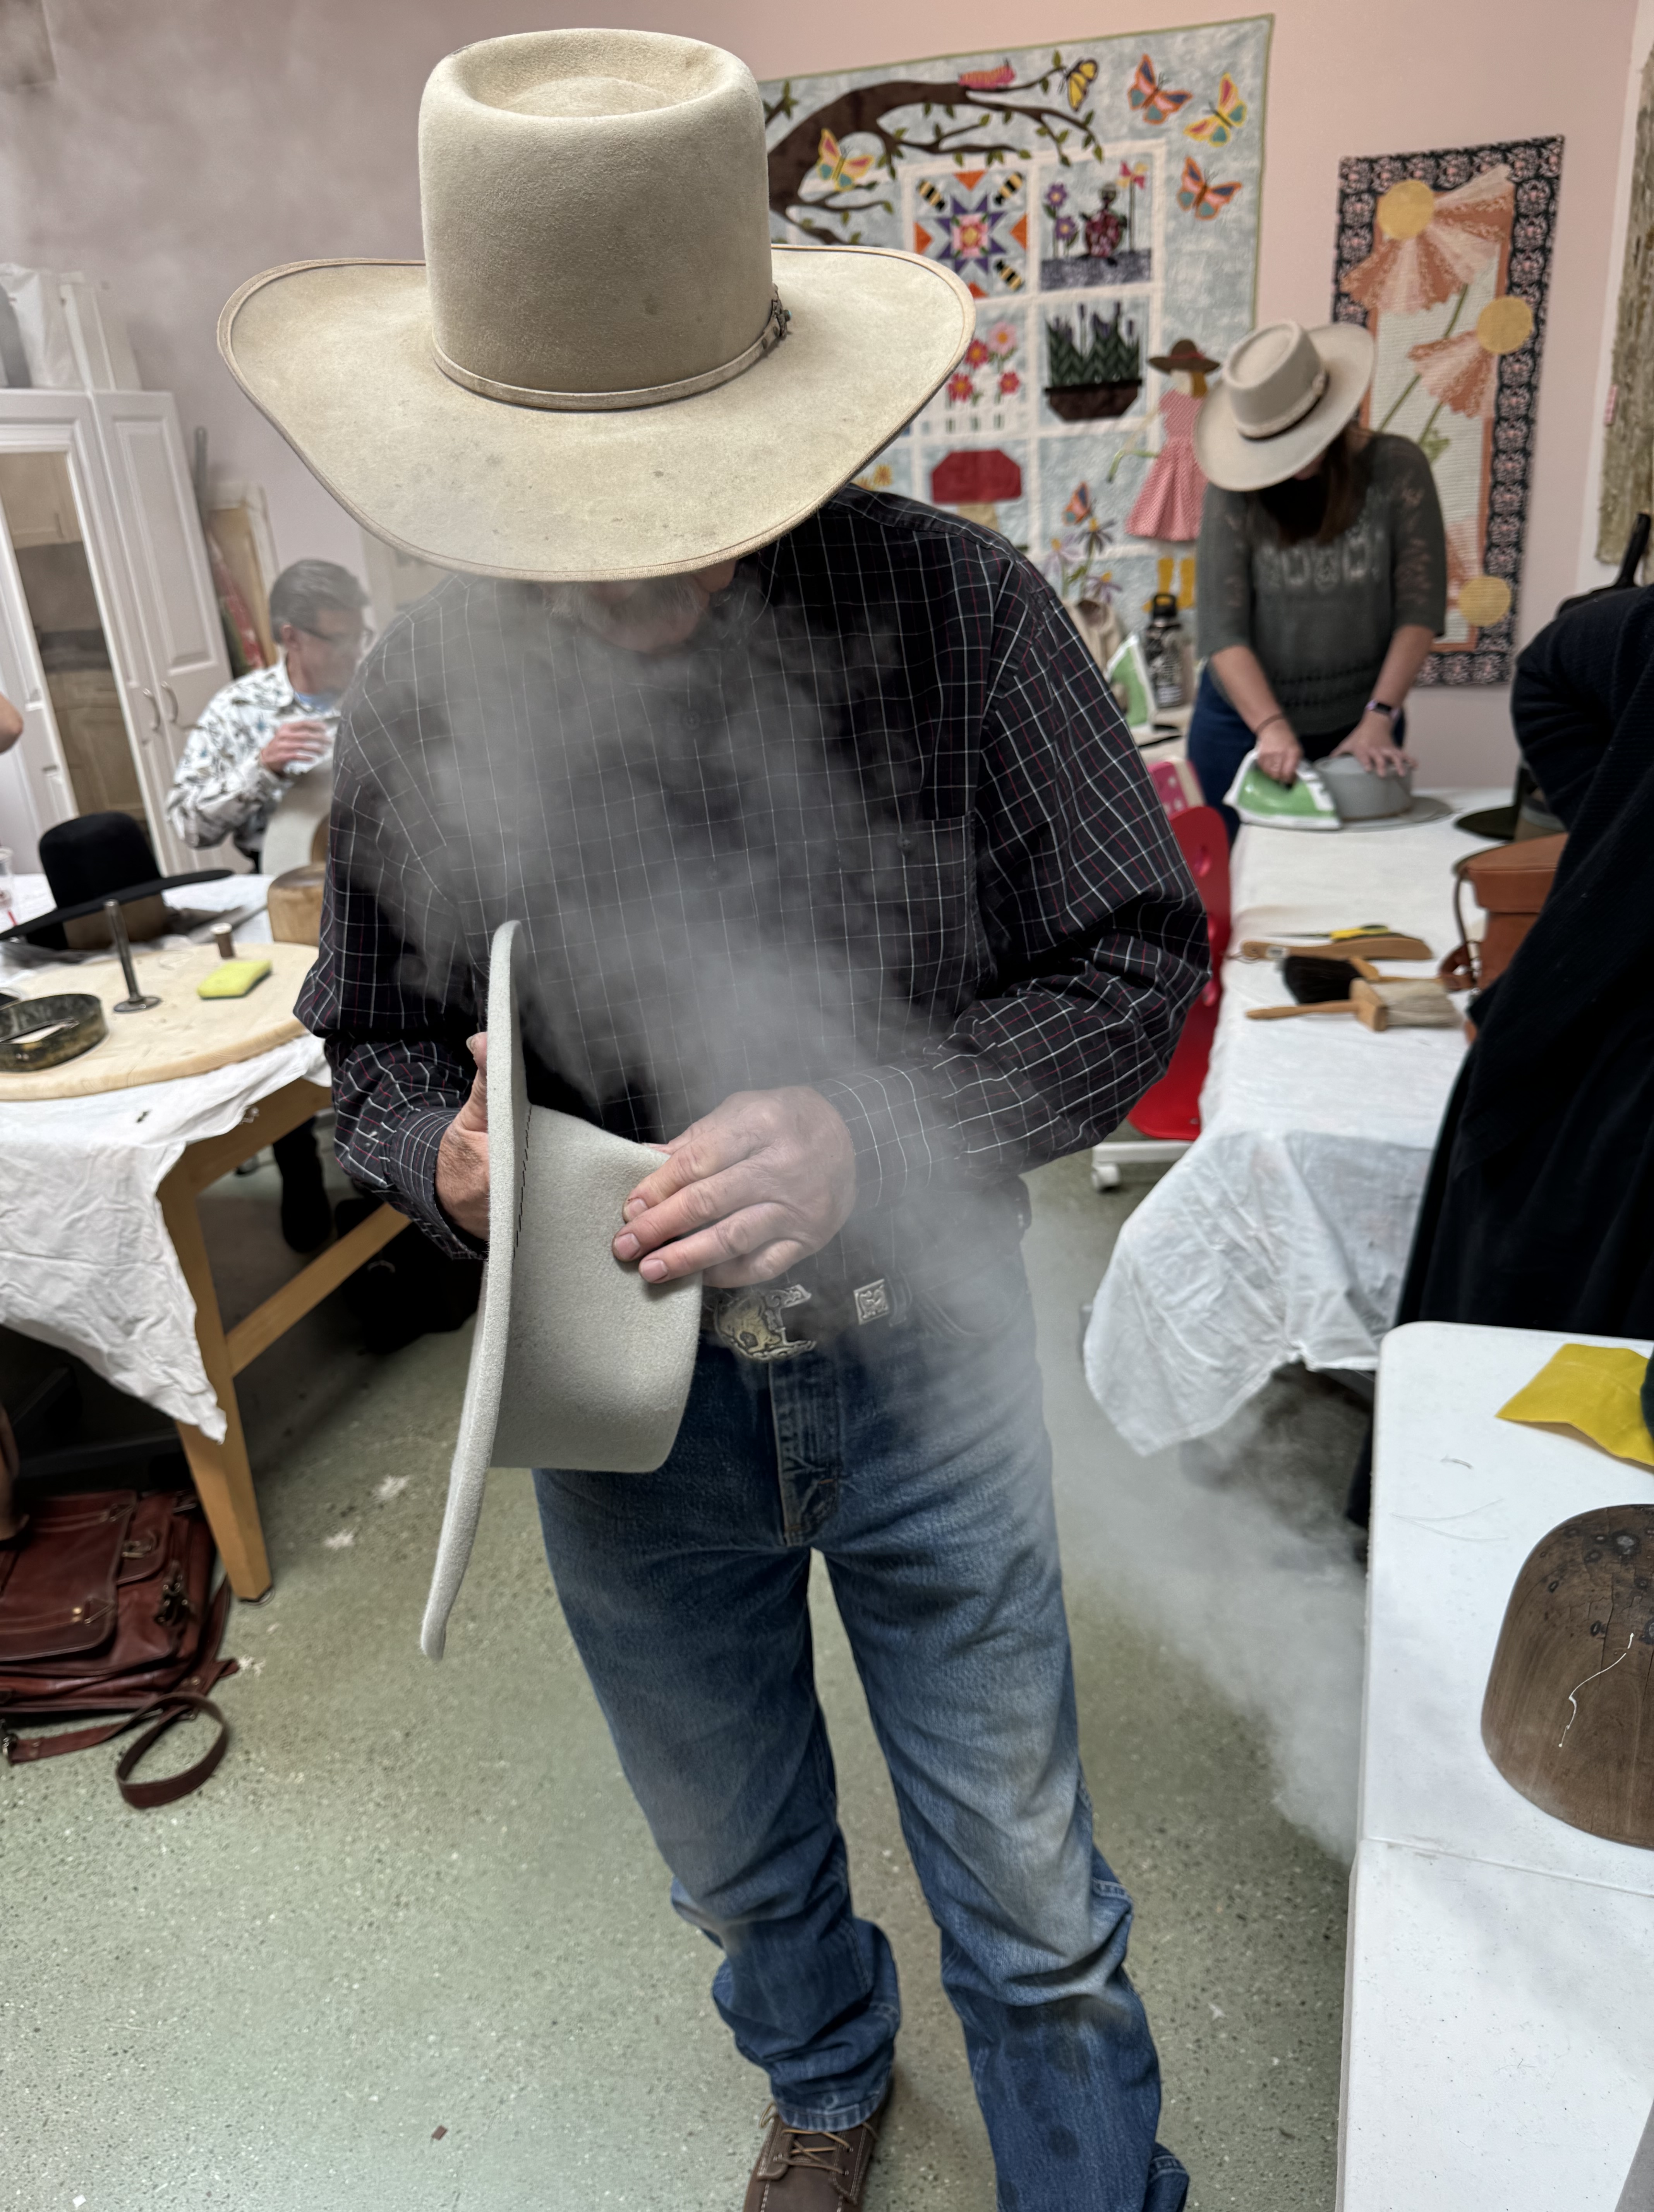


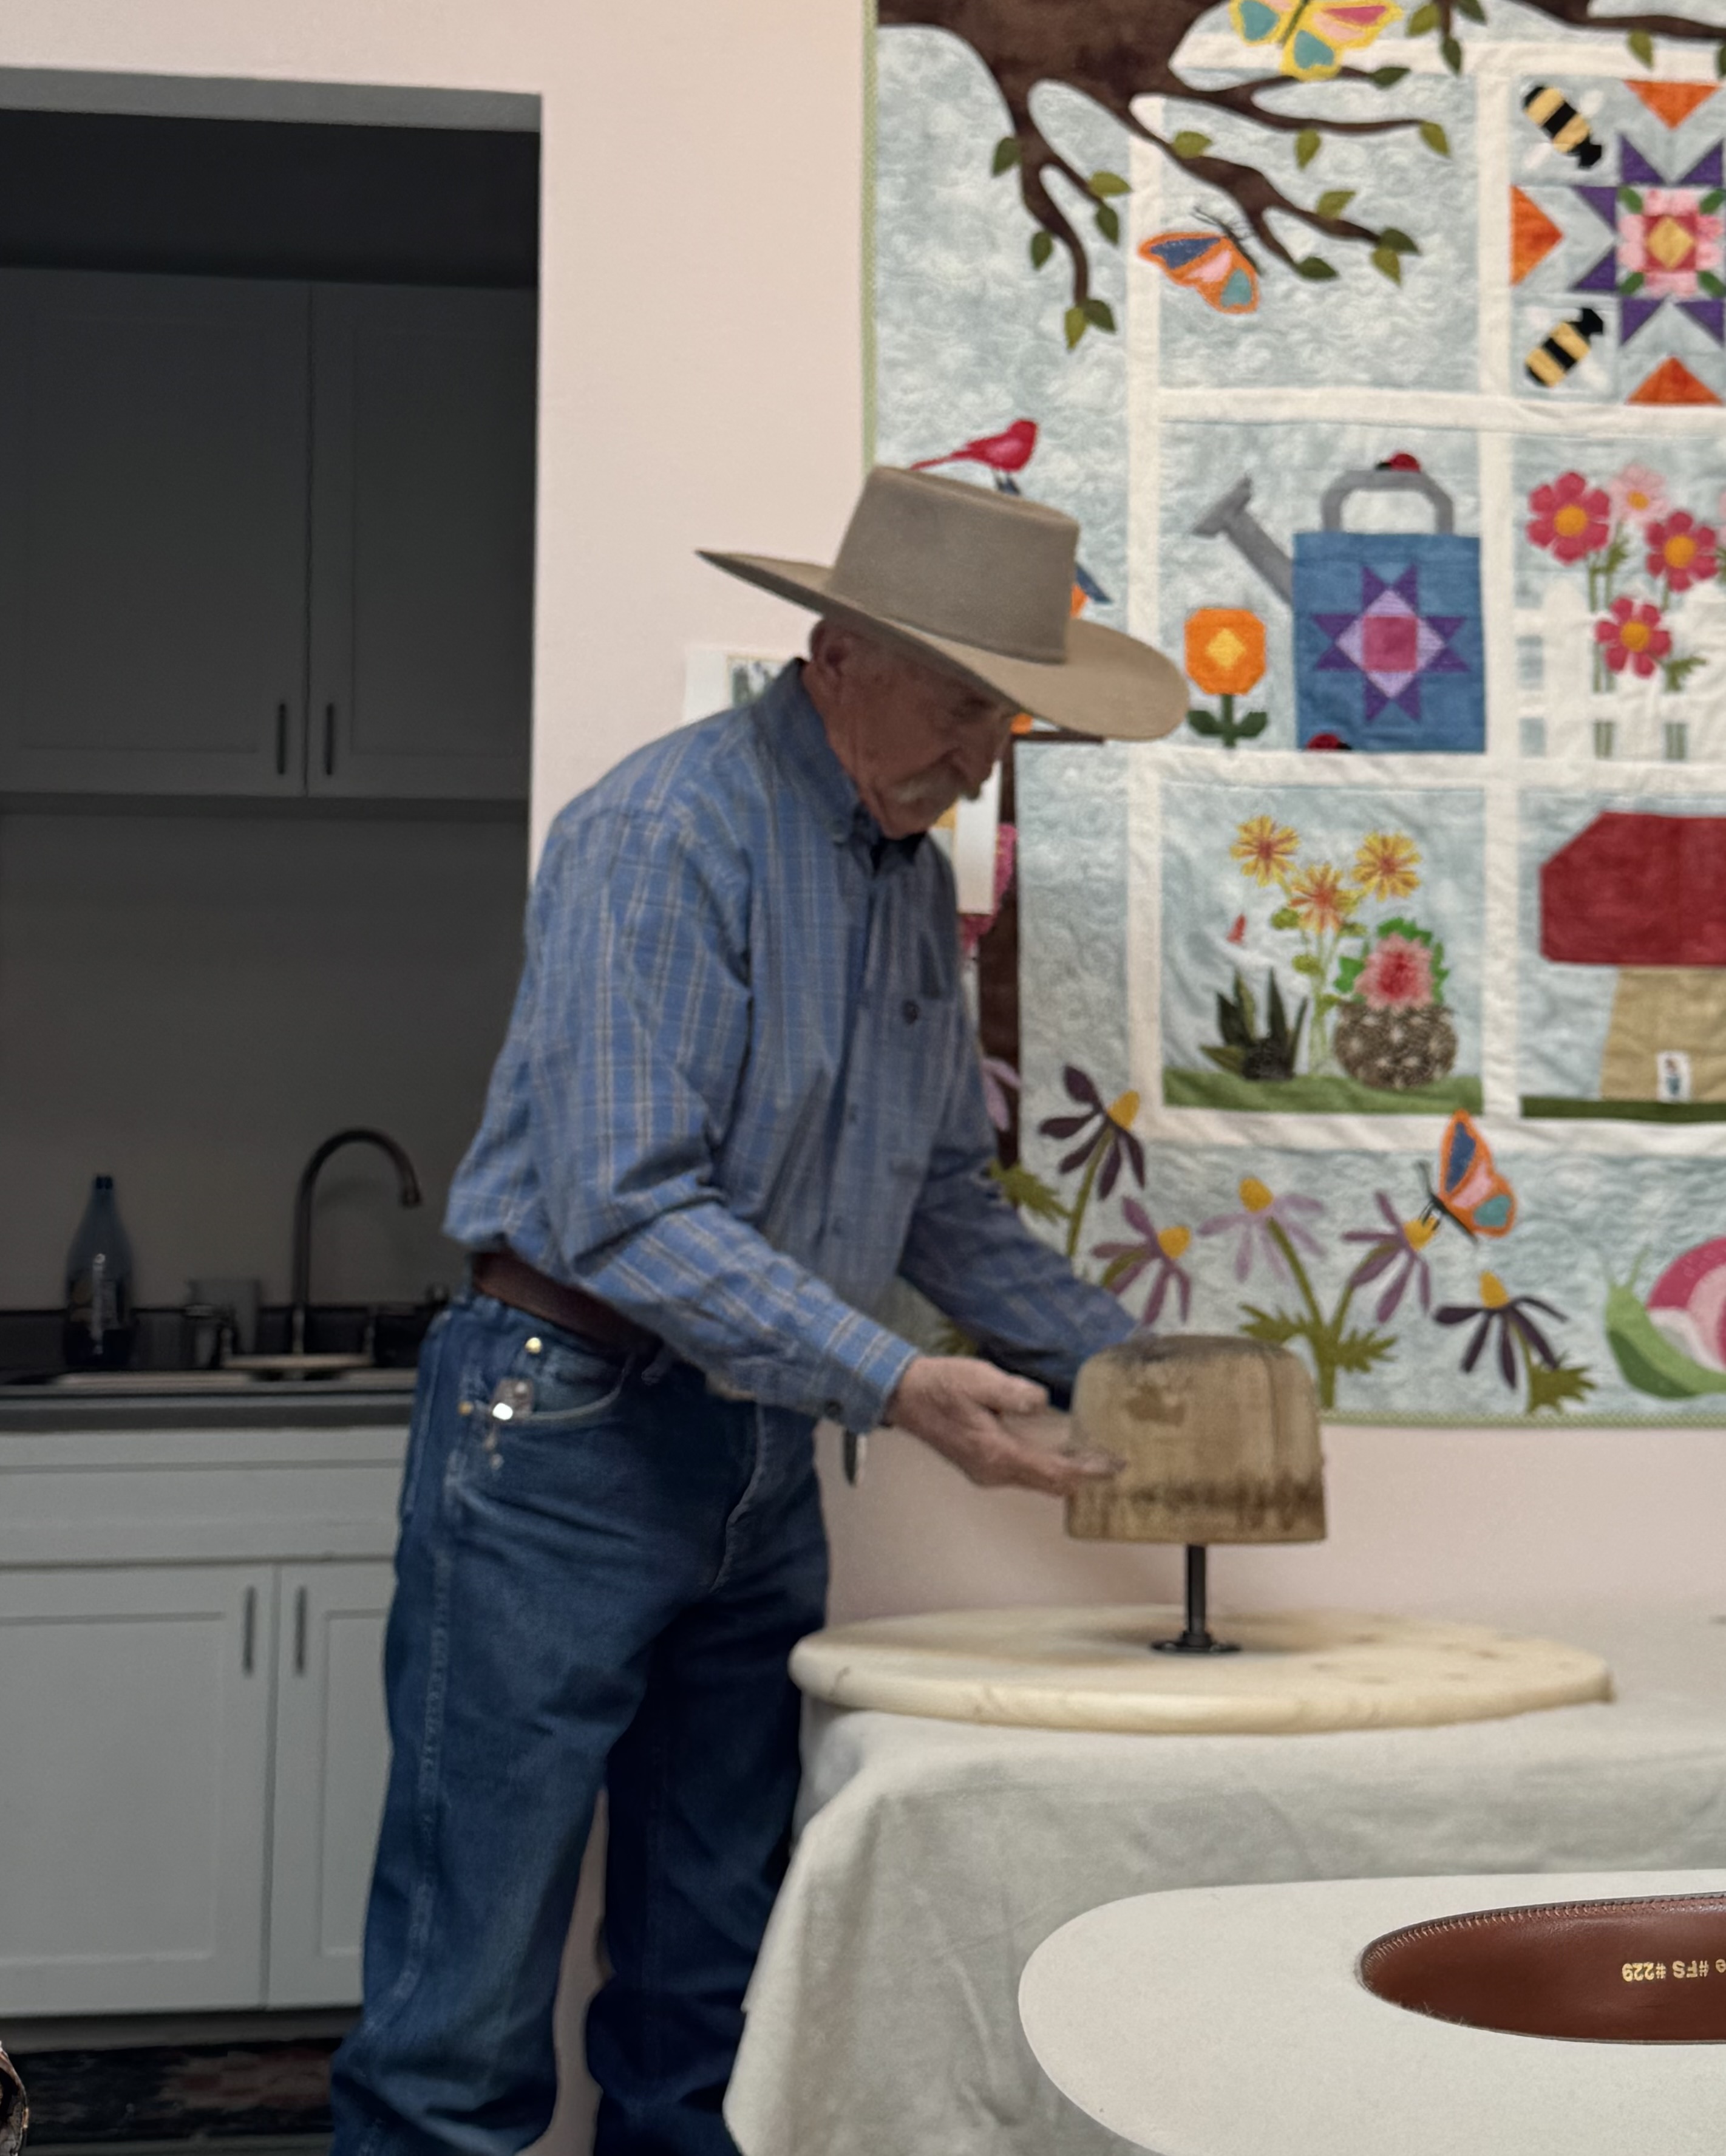
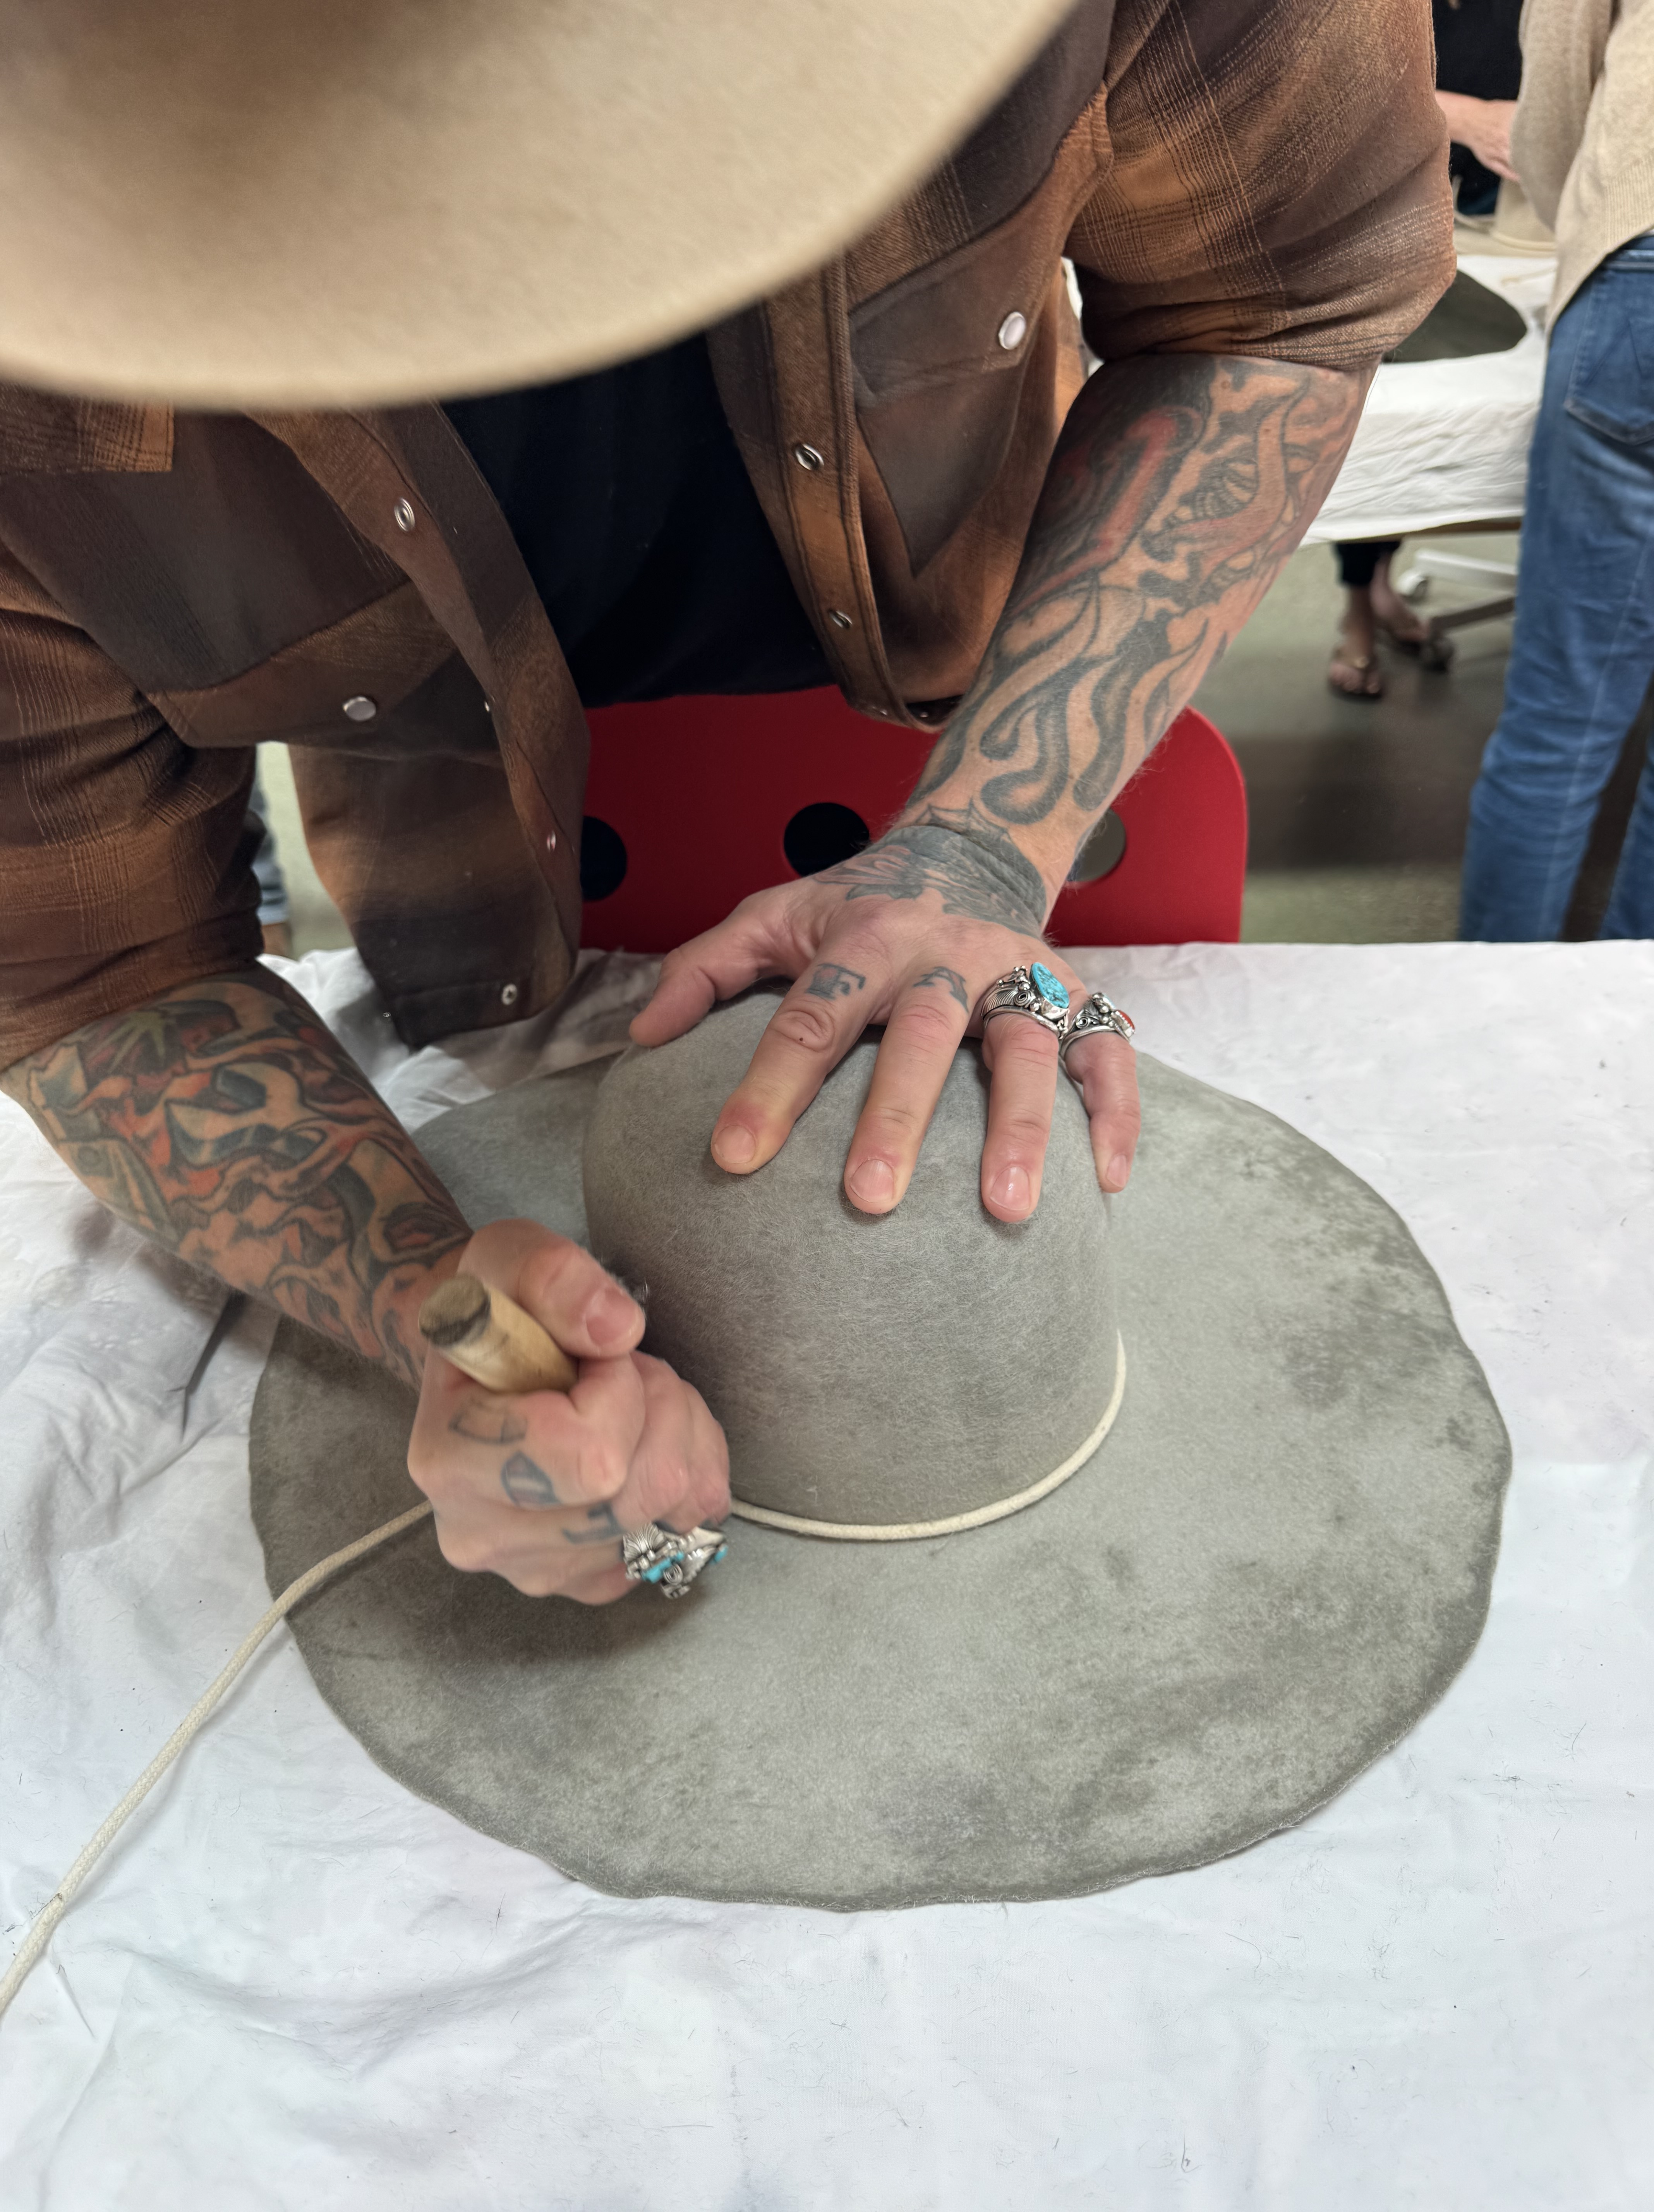
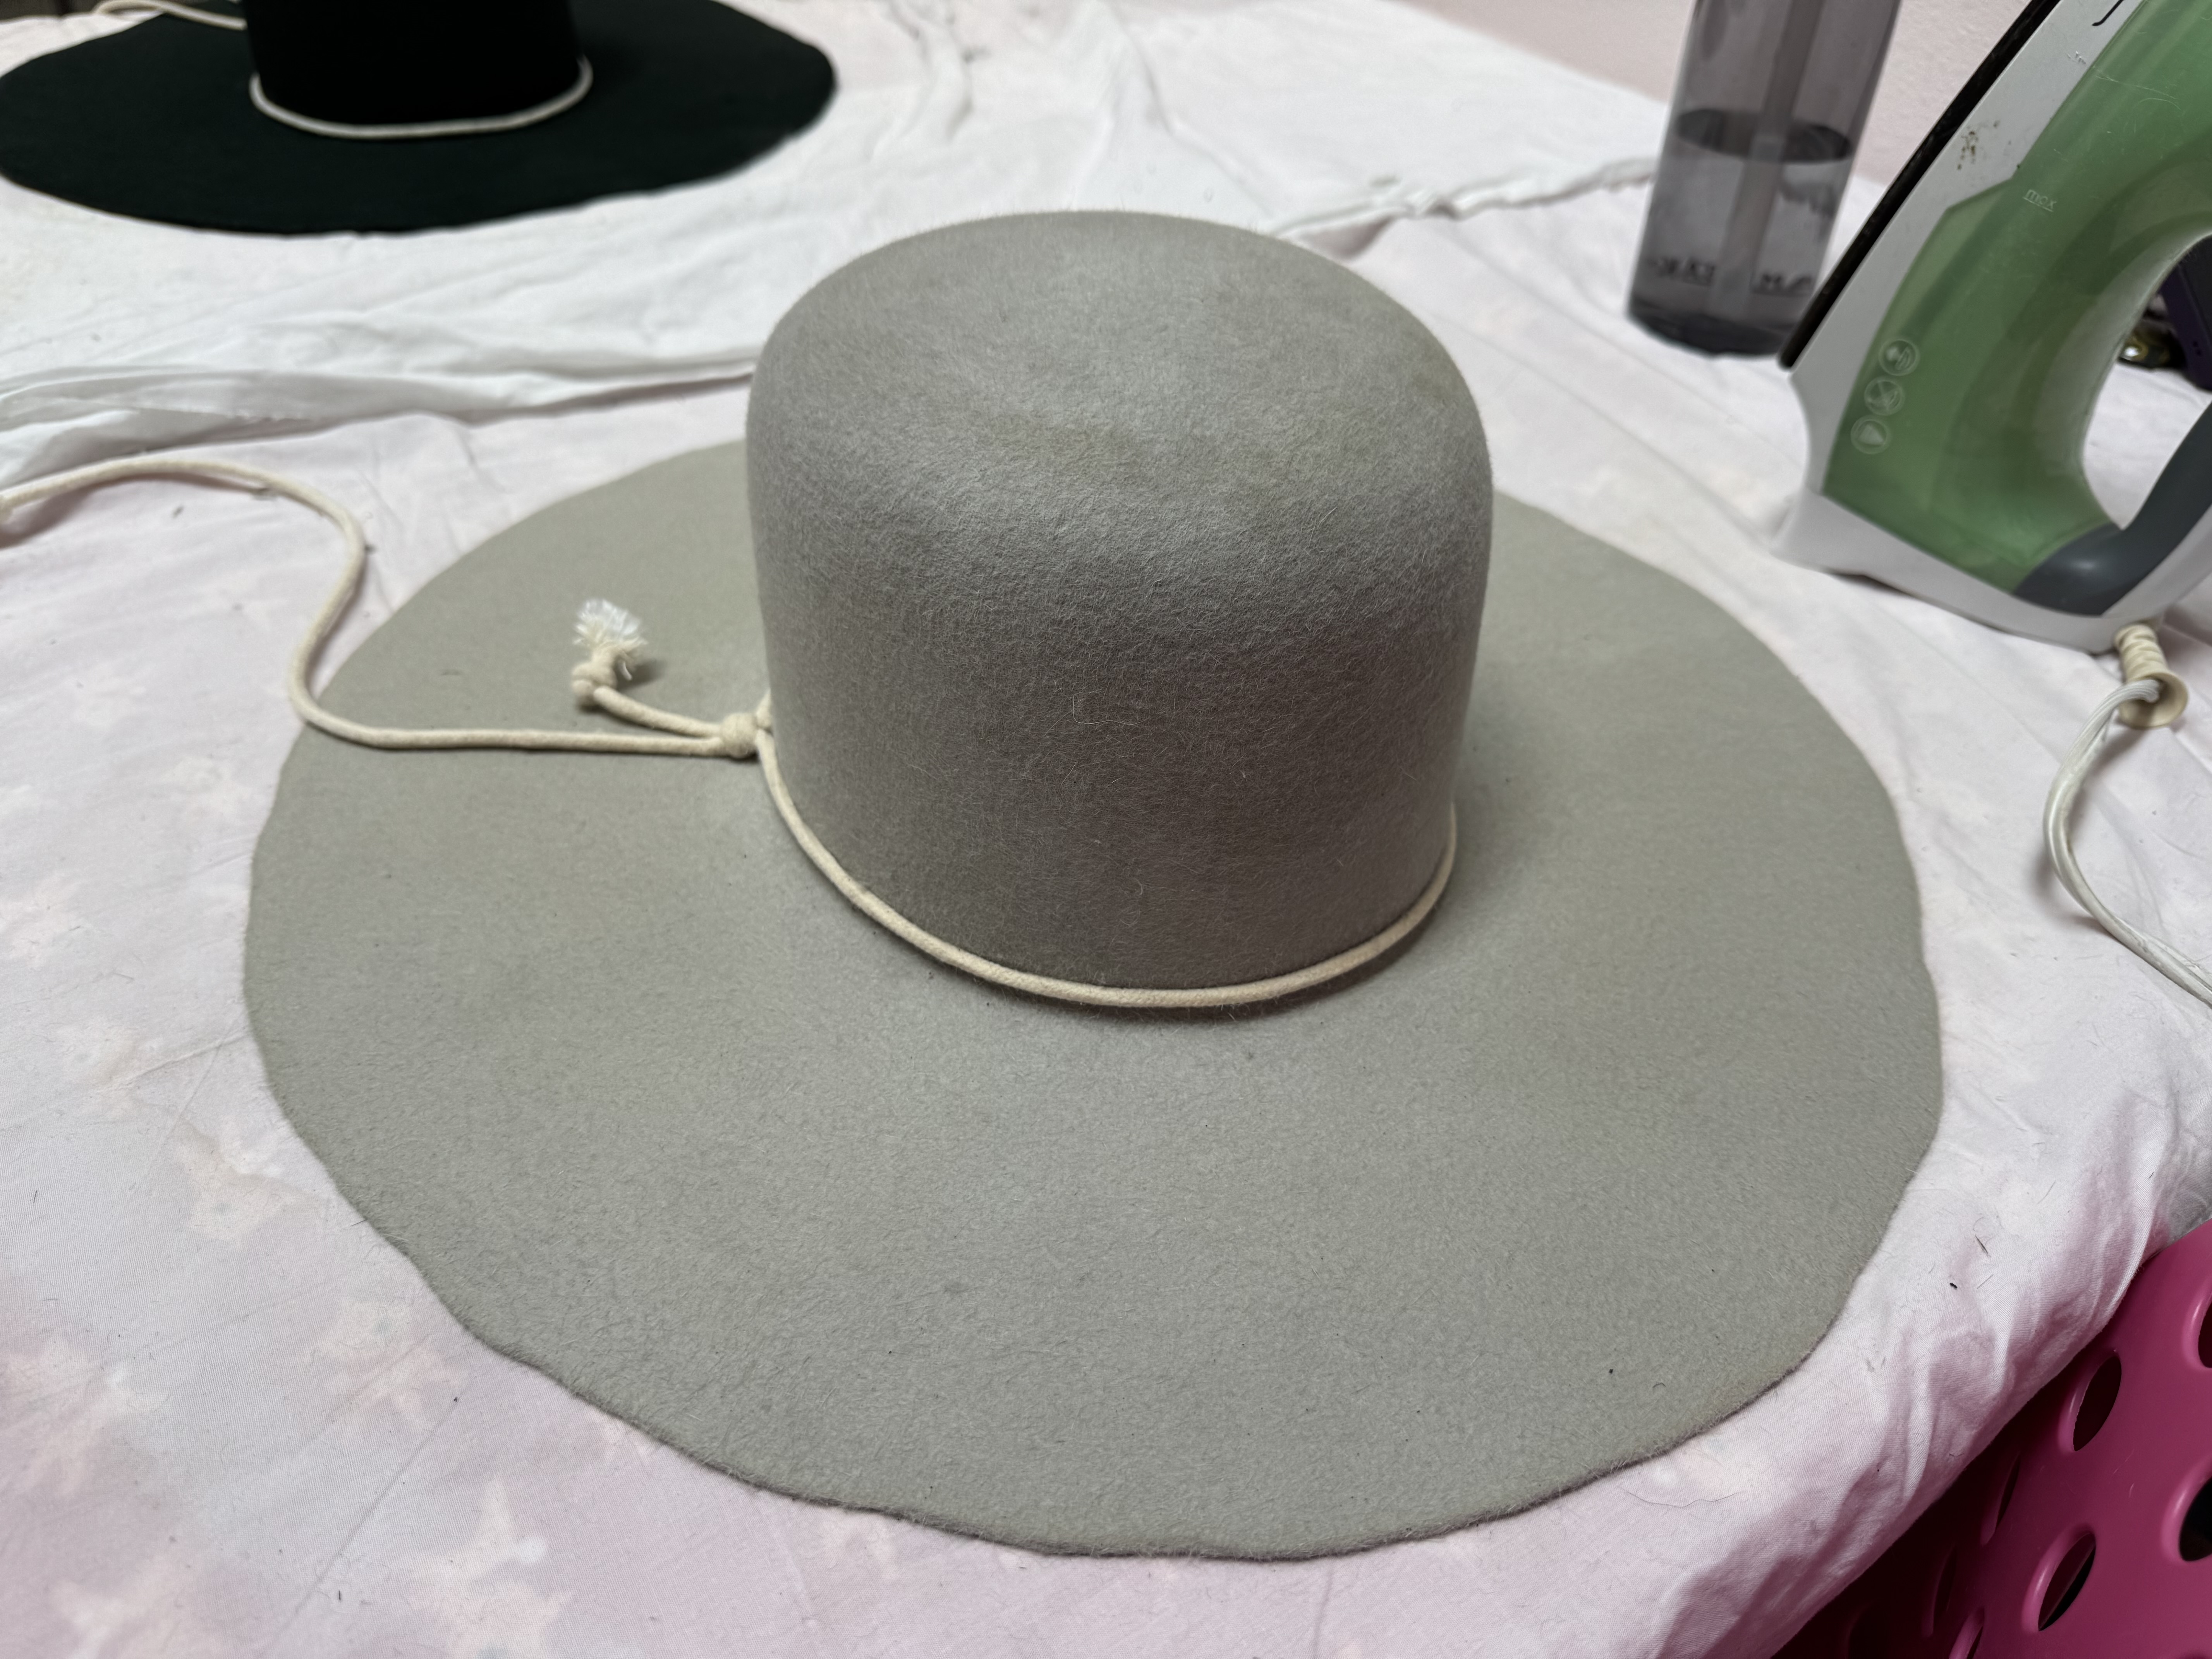
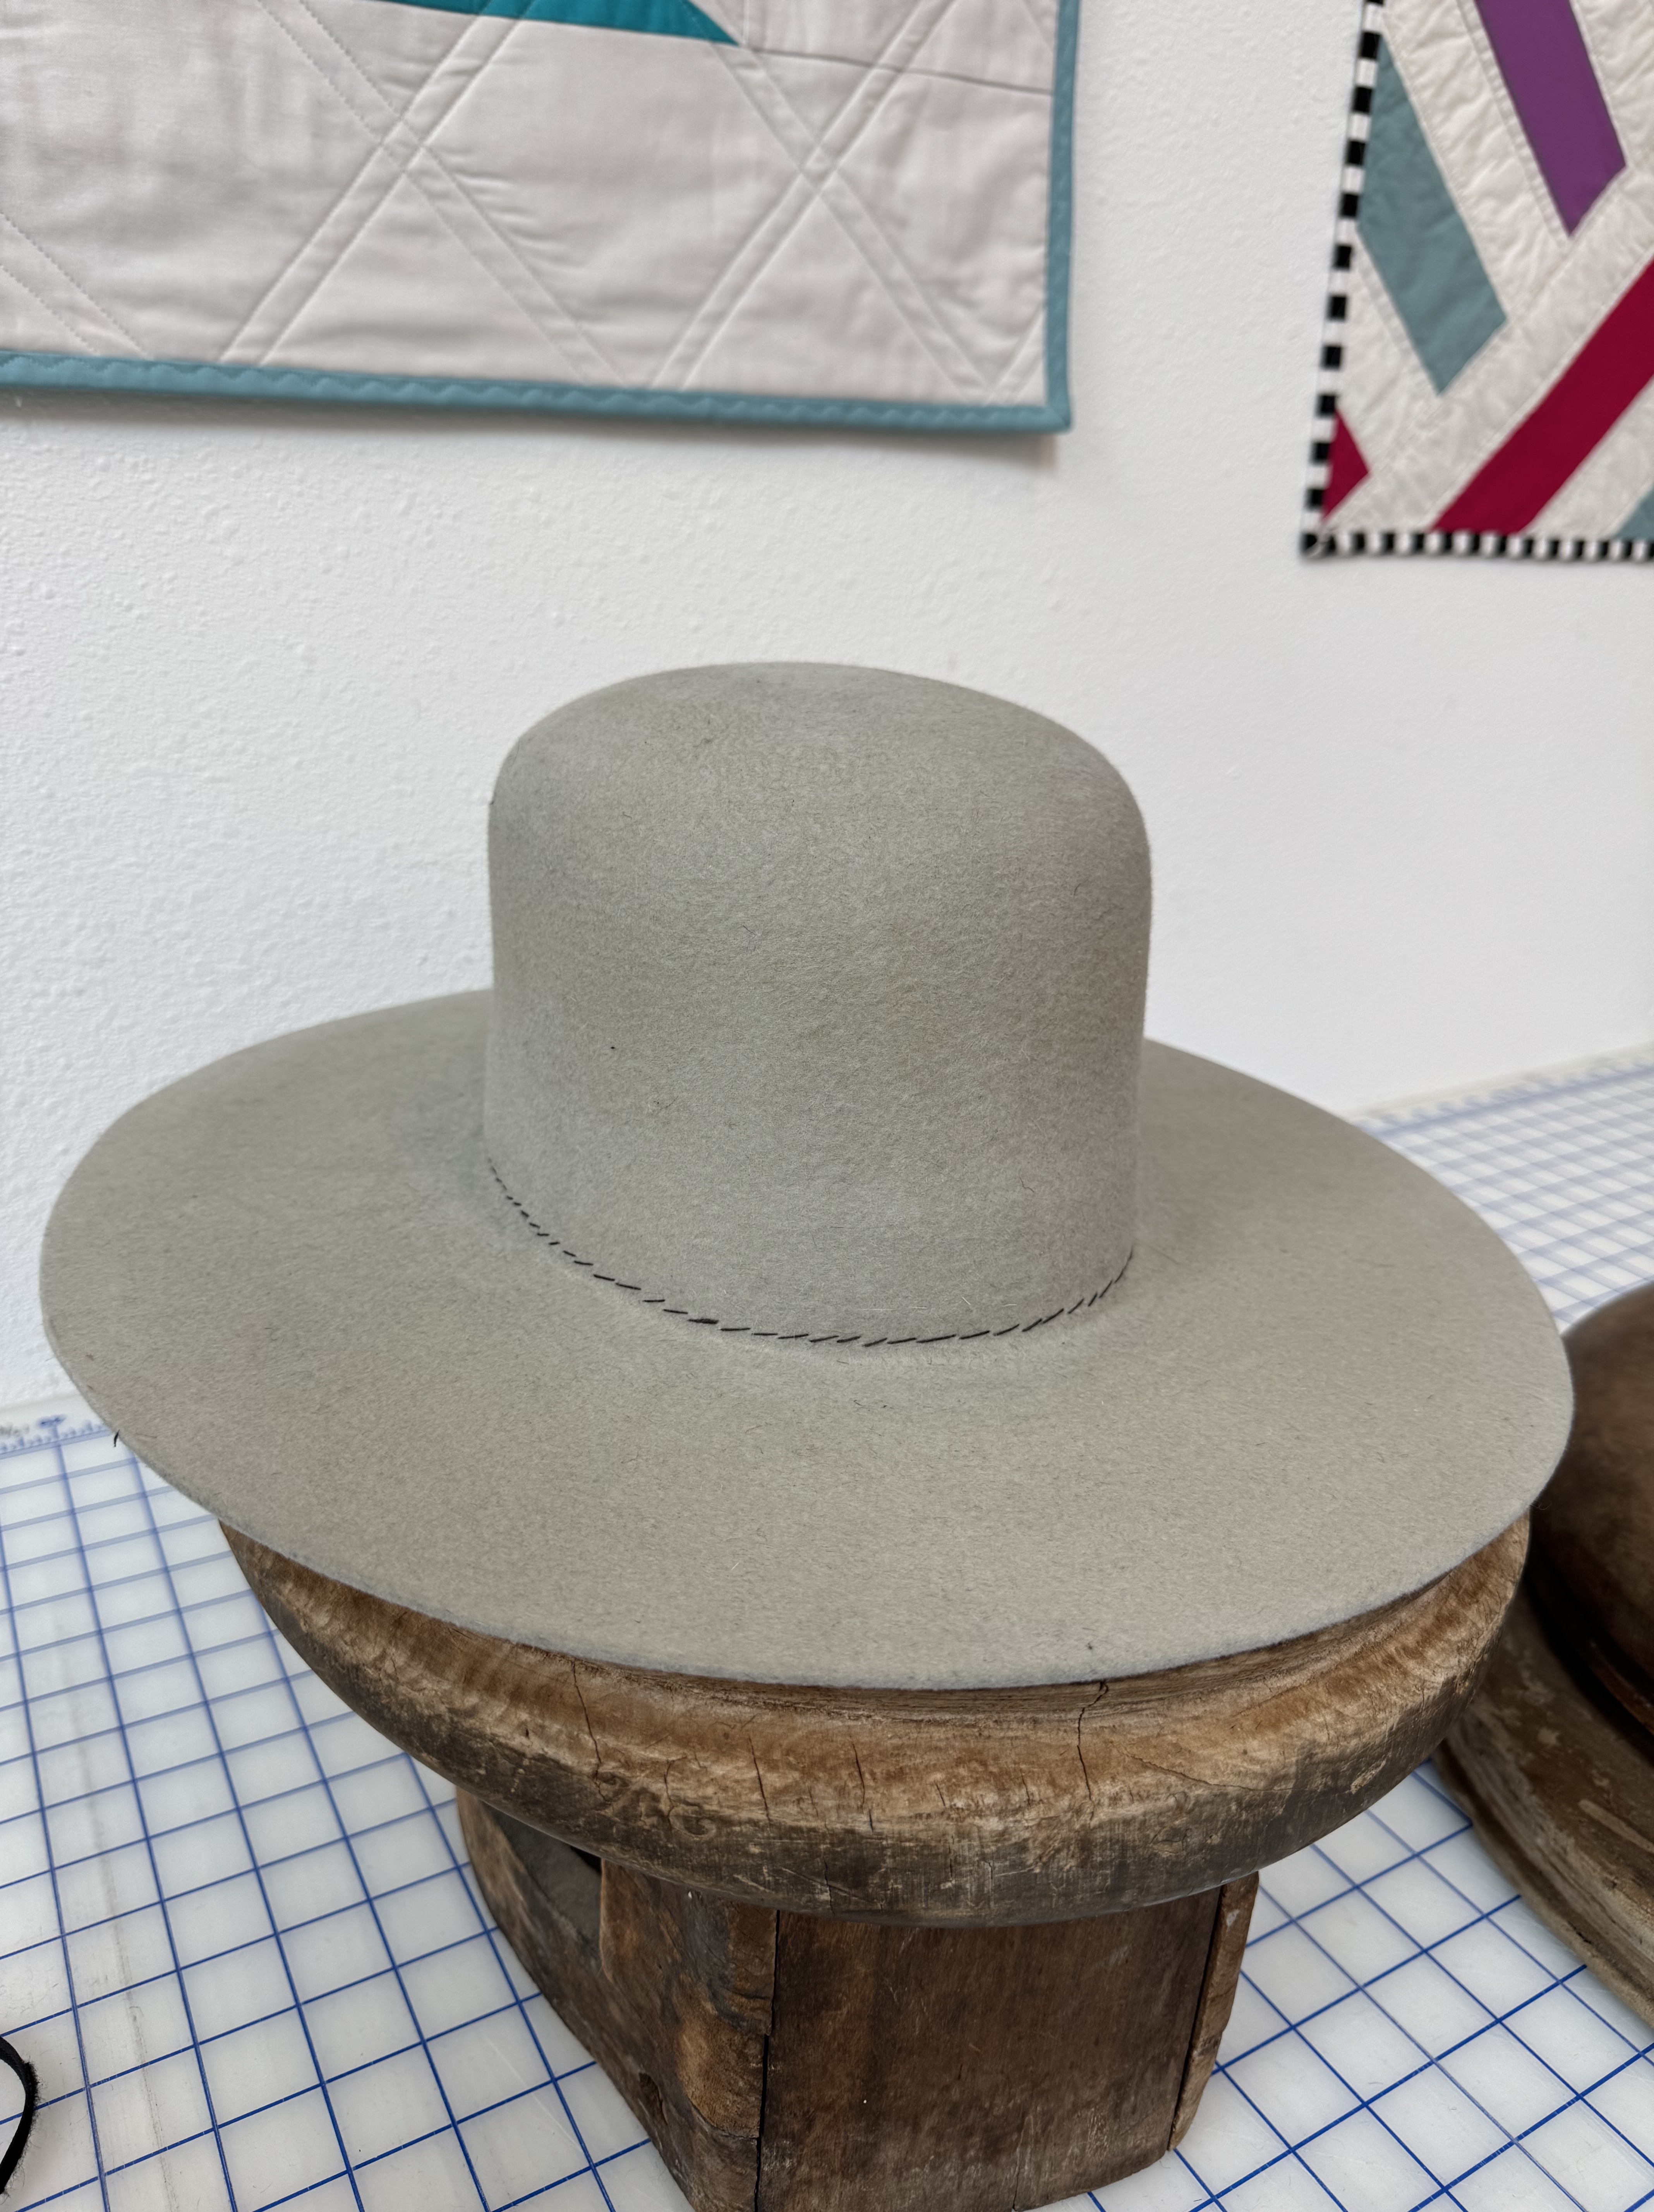
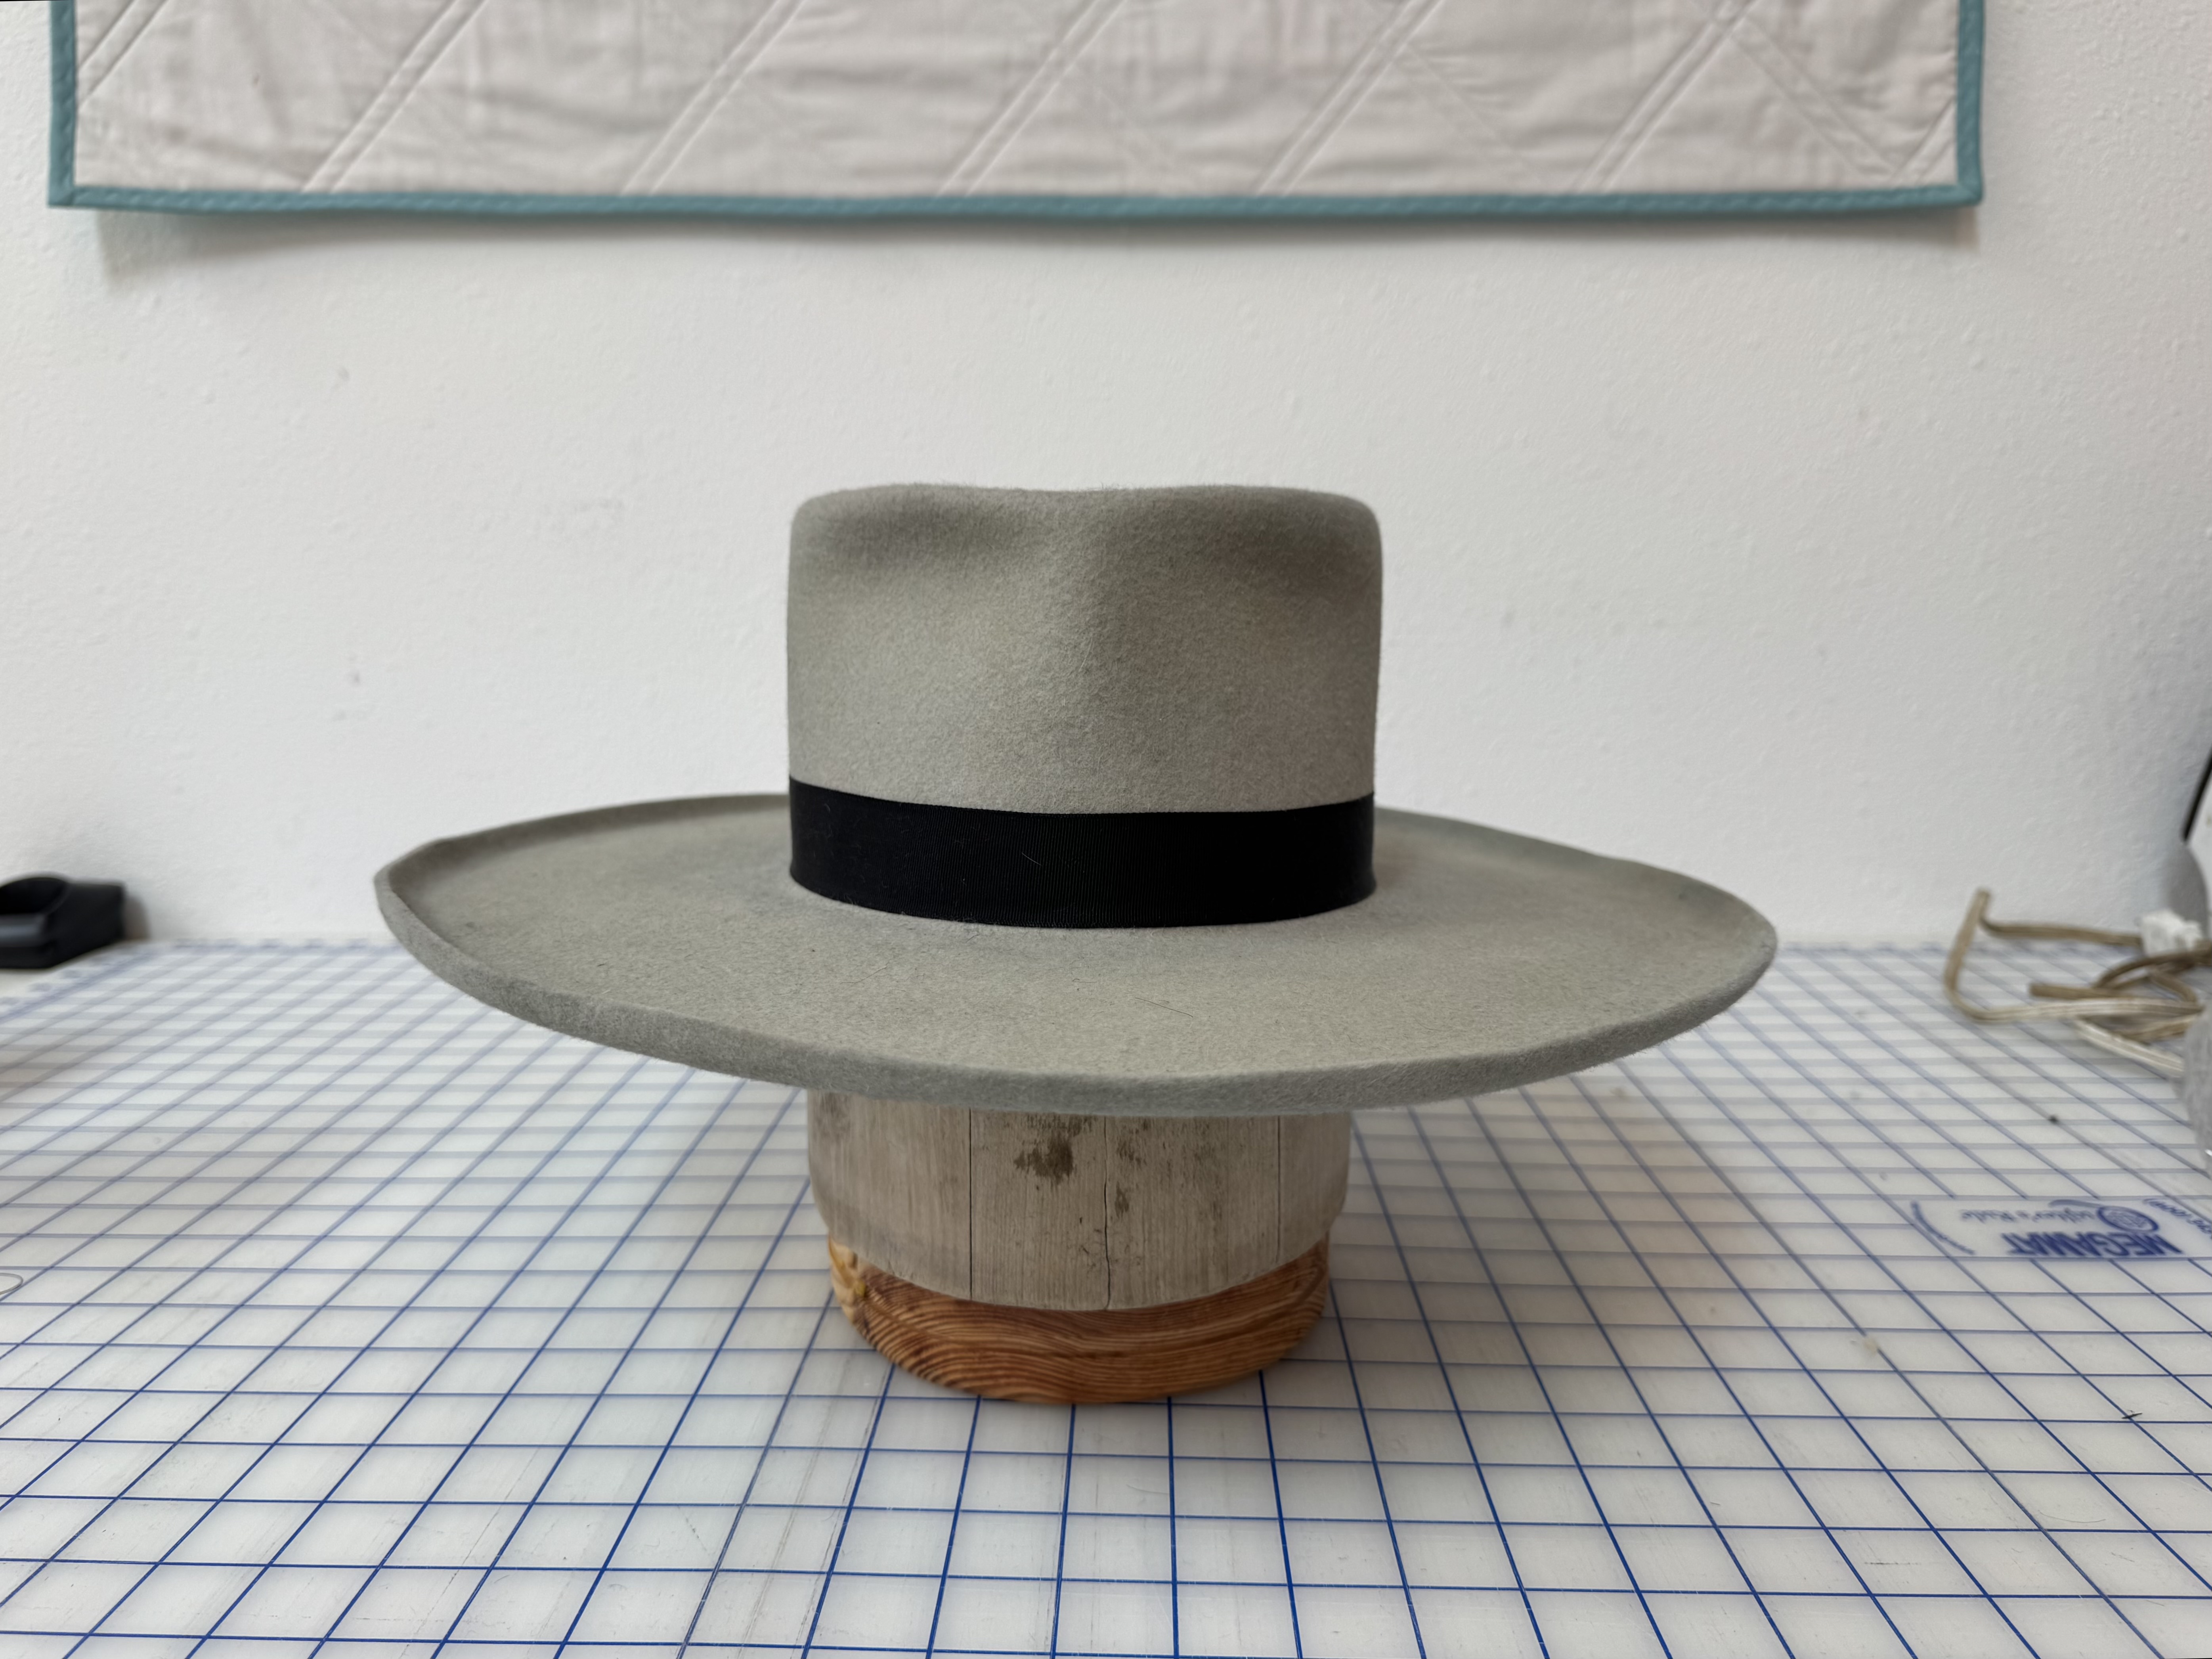
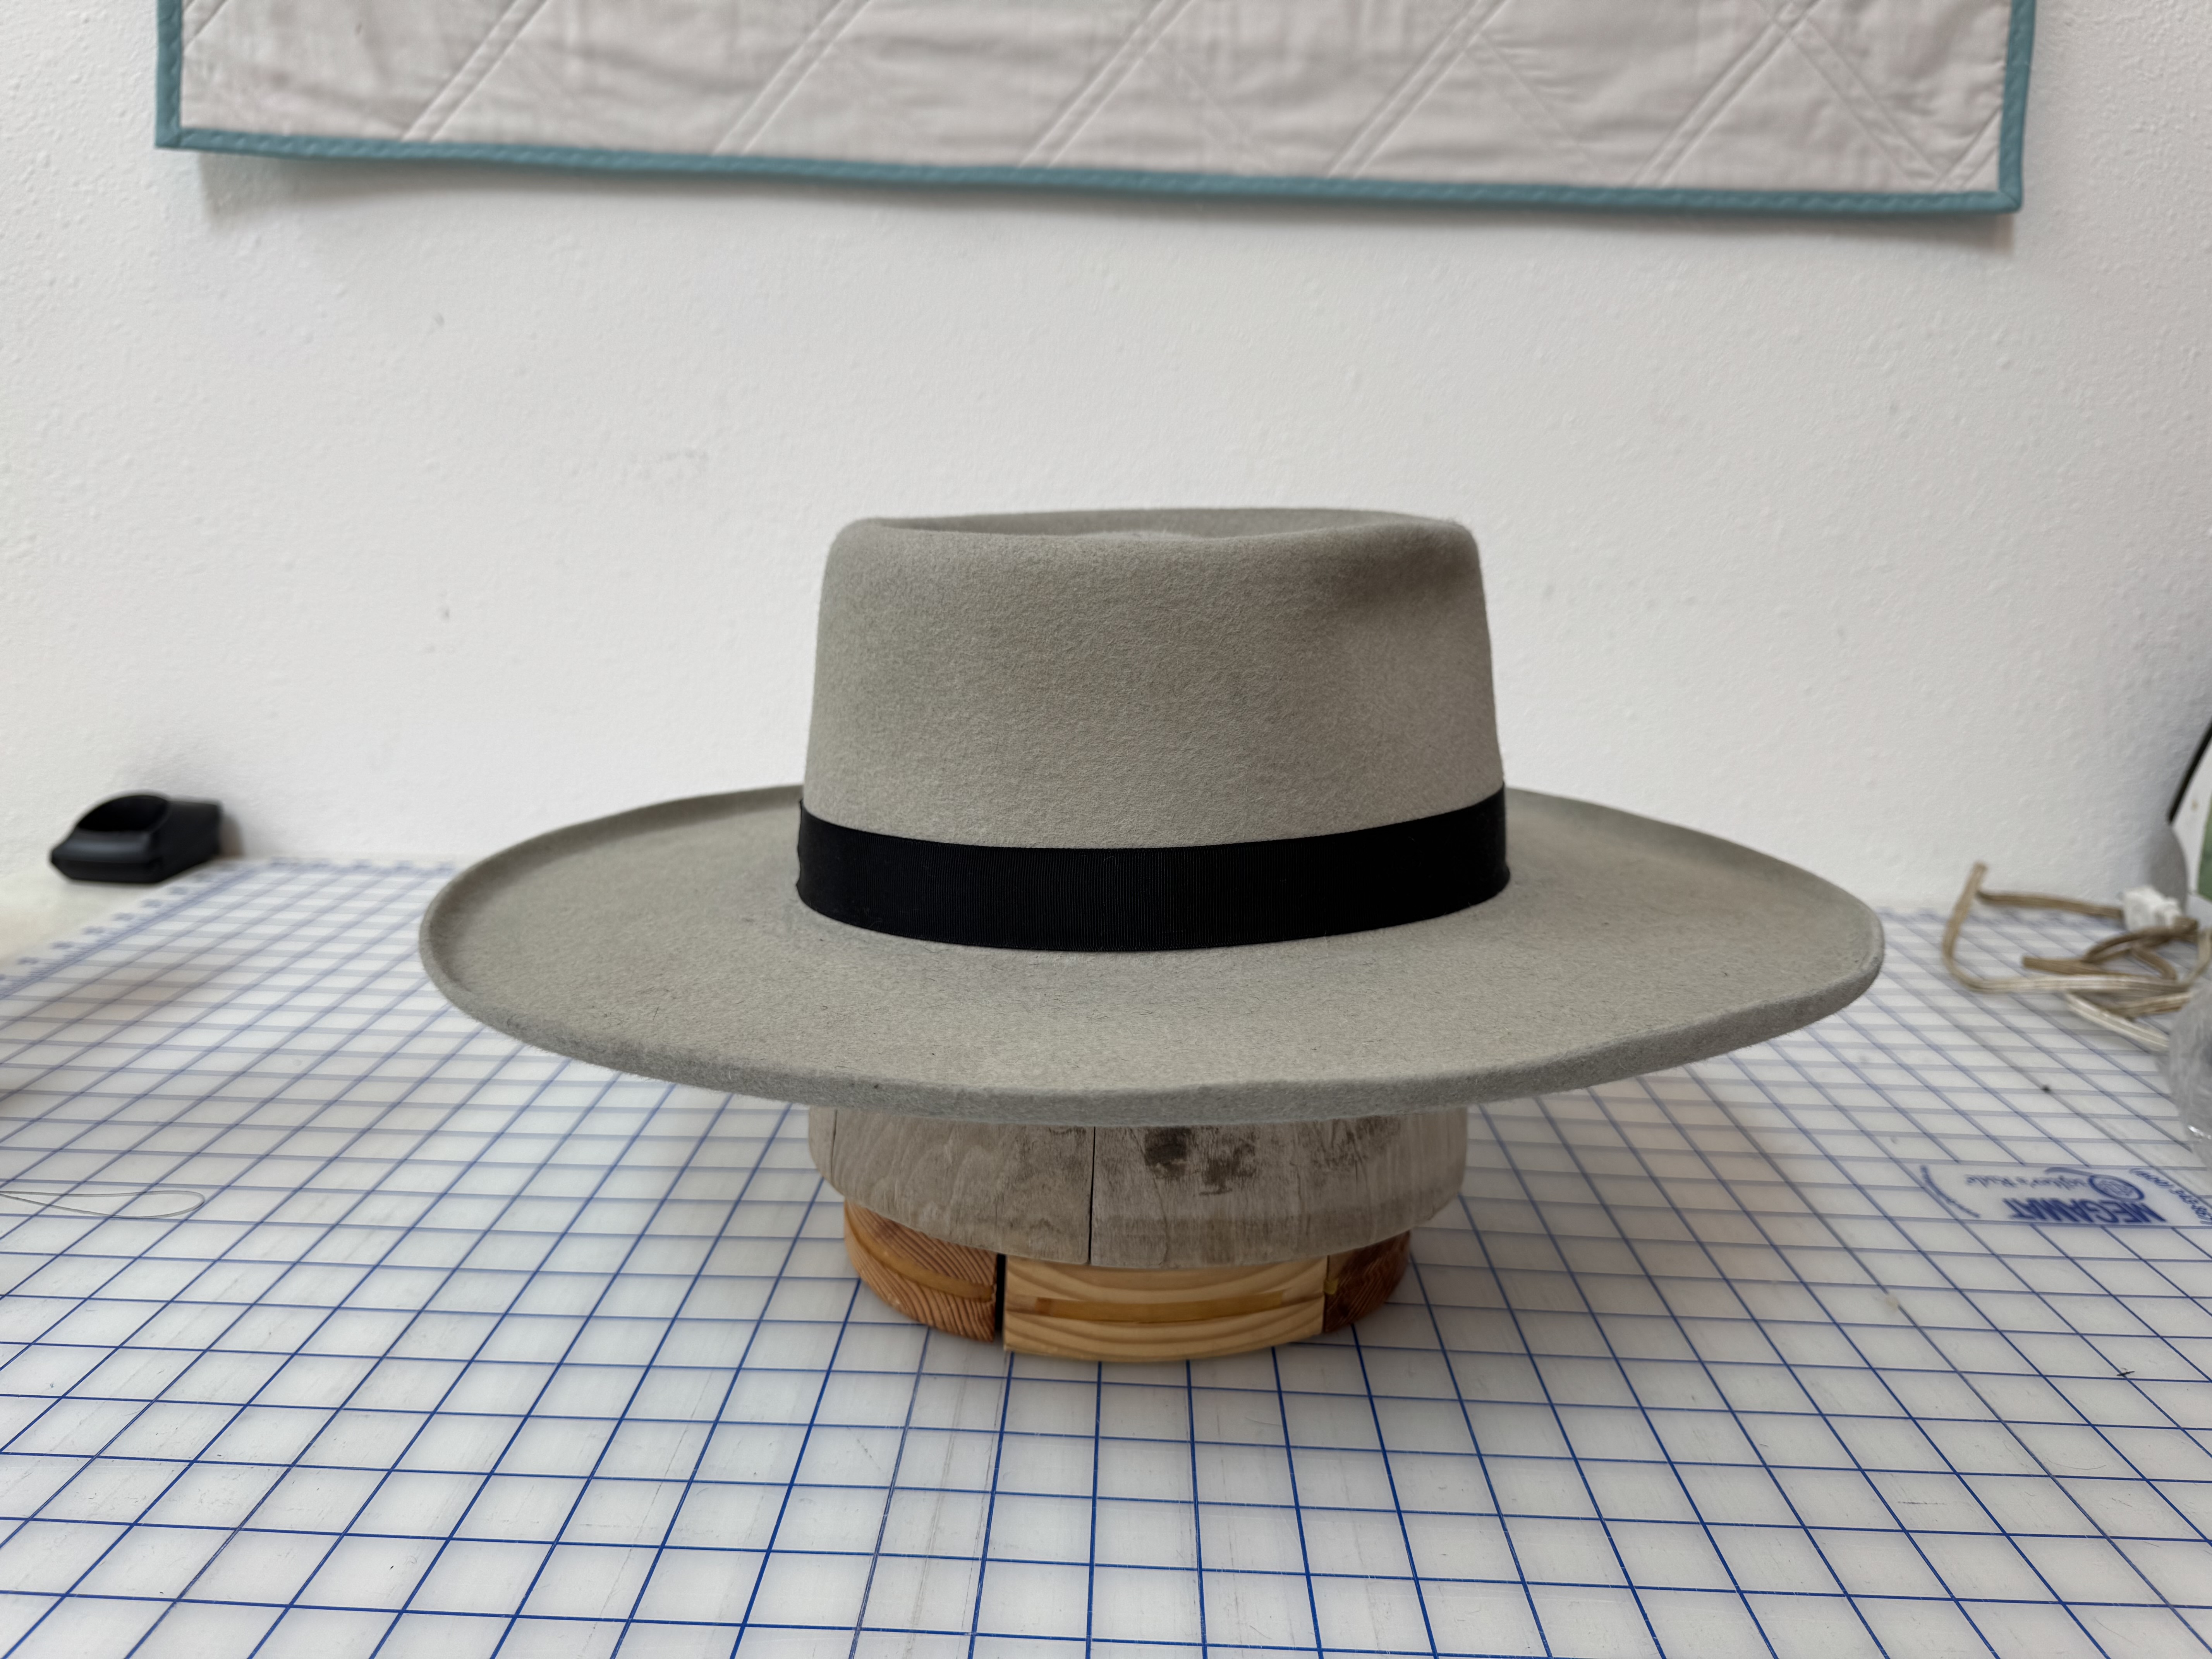
On day 3 I arrived excited to finish my hats. I got right to work sewing the sweatband in my second hat, and Tom came by to teach me how to do a pencil curl on the brim of my silverbelly hat. My goal with this hat was more of a “gentleman’s hat” and something different that anything I own. At that point we went to the steamer and began to shape the crown and brim to the style I desired. Tom helped me with advice on getting the most out of the equipment and how to achieve the effects I wanted. I was pretty happy with the hat, but took Tom’s advice and set it off to the side so I could just absorb it and see if I wanted any changes.


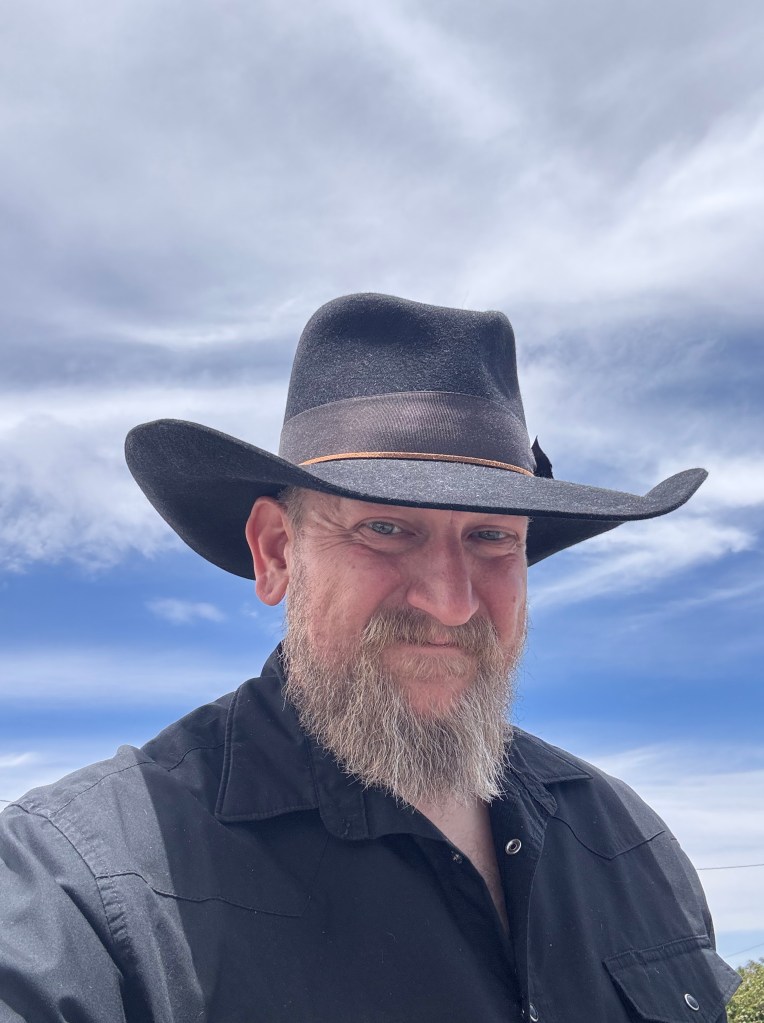
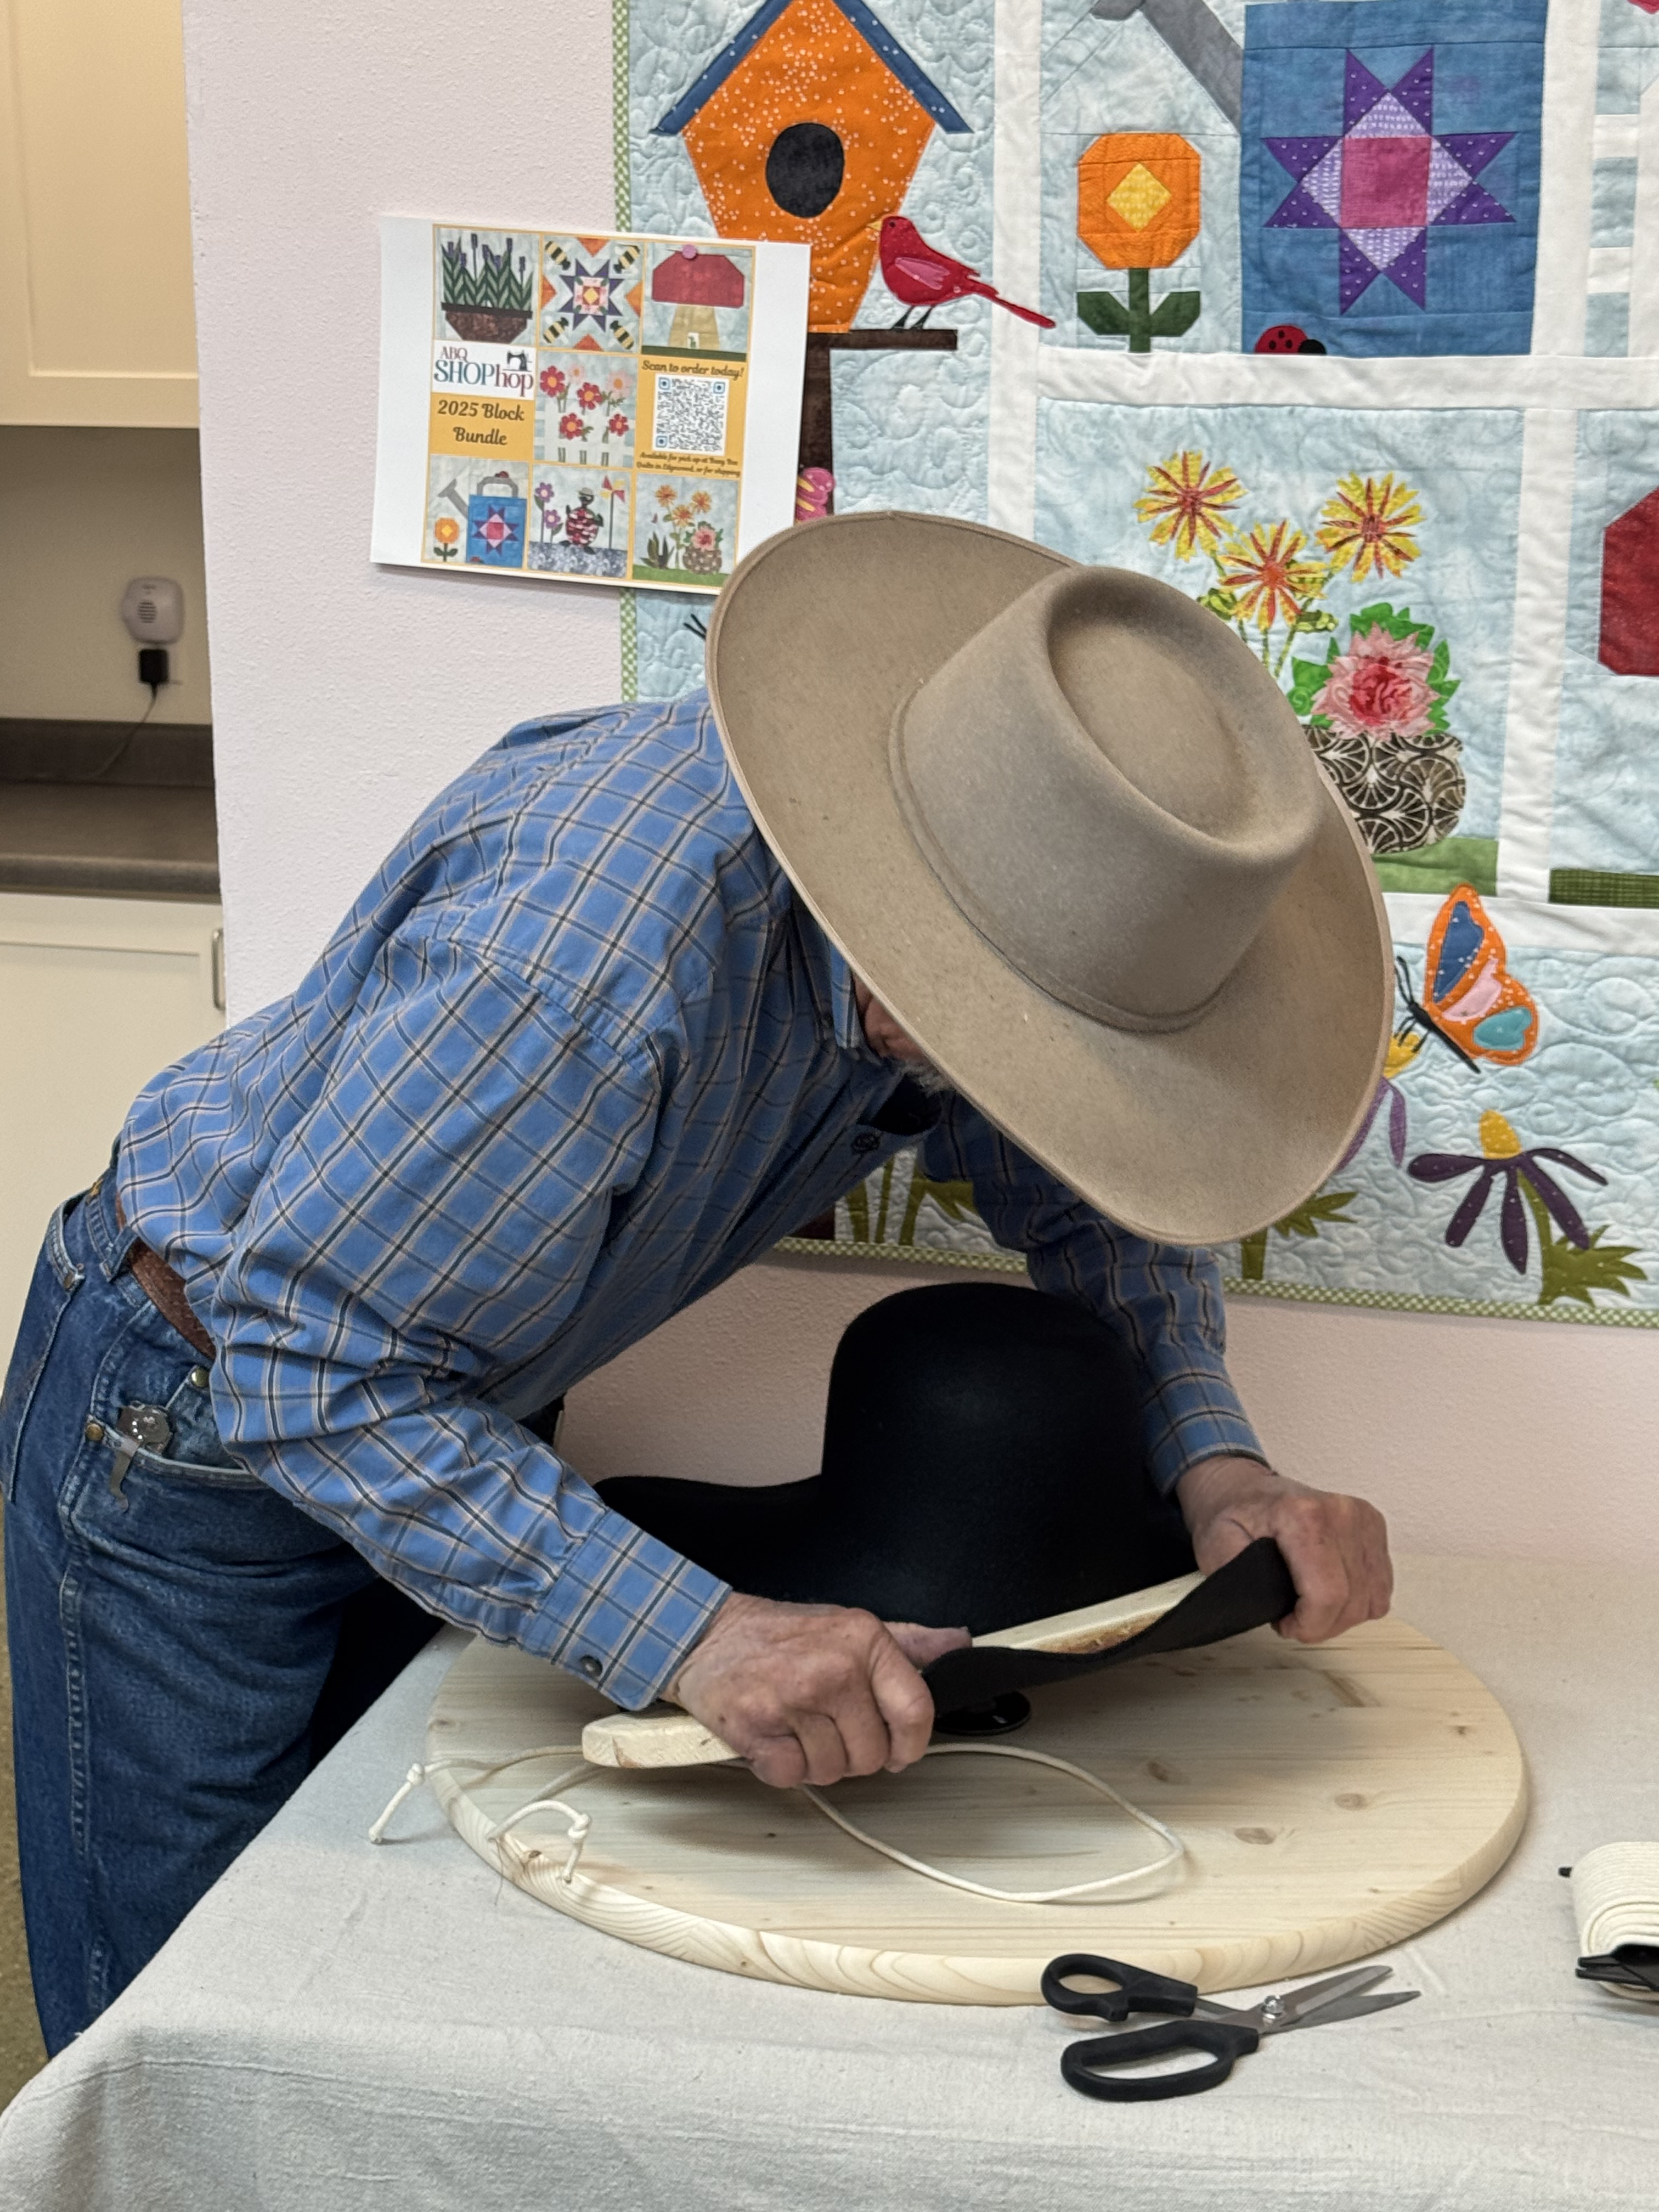
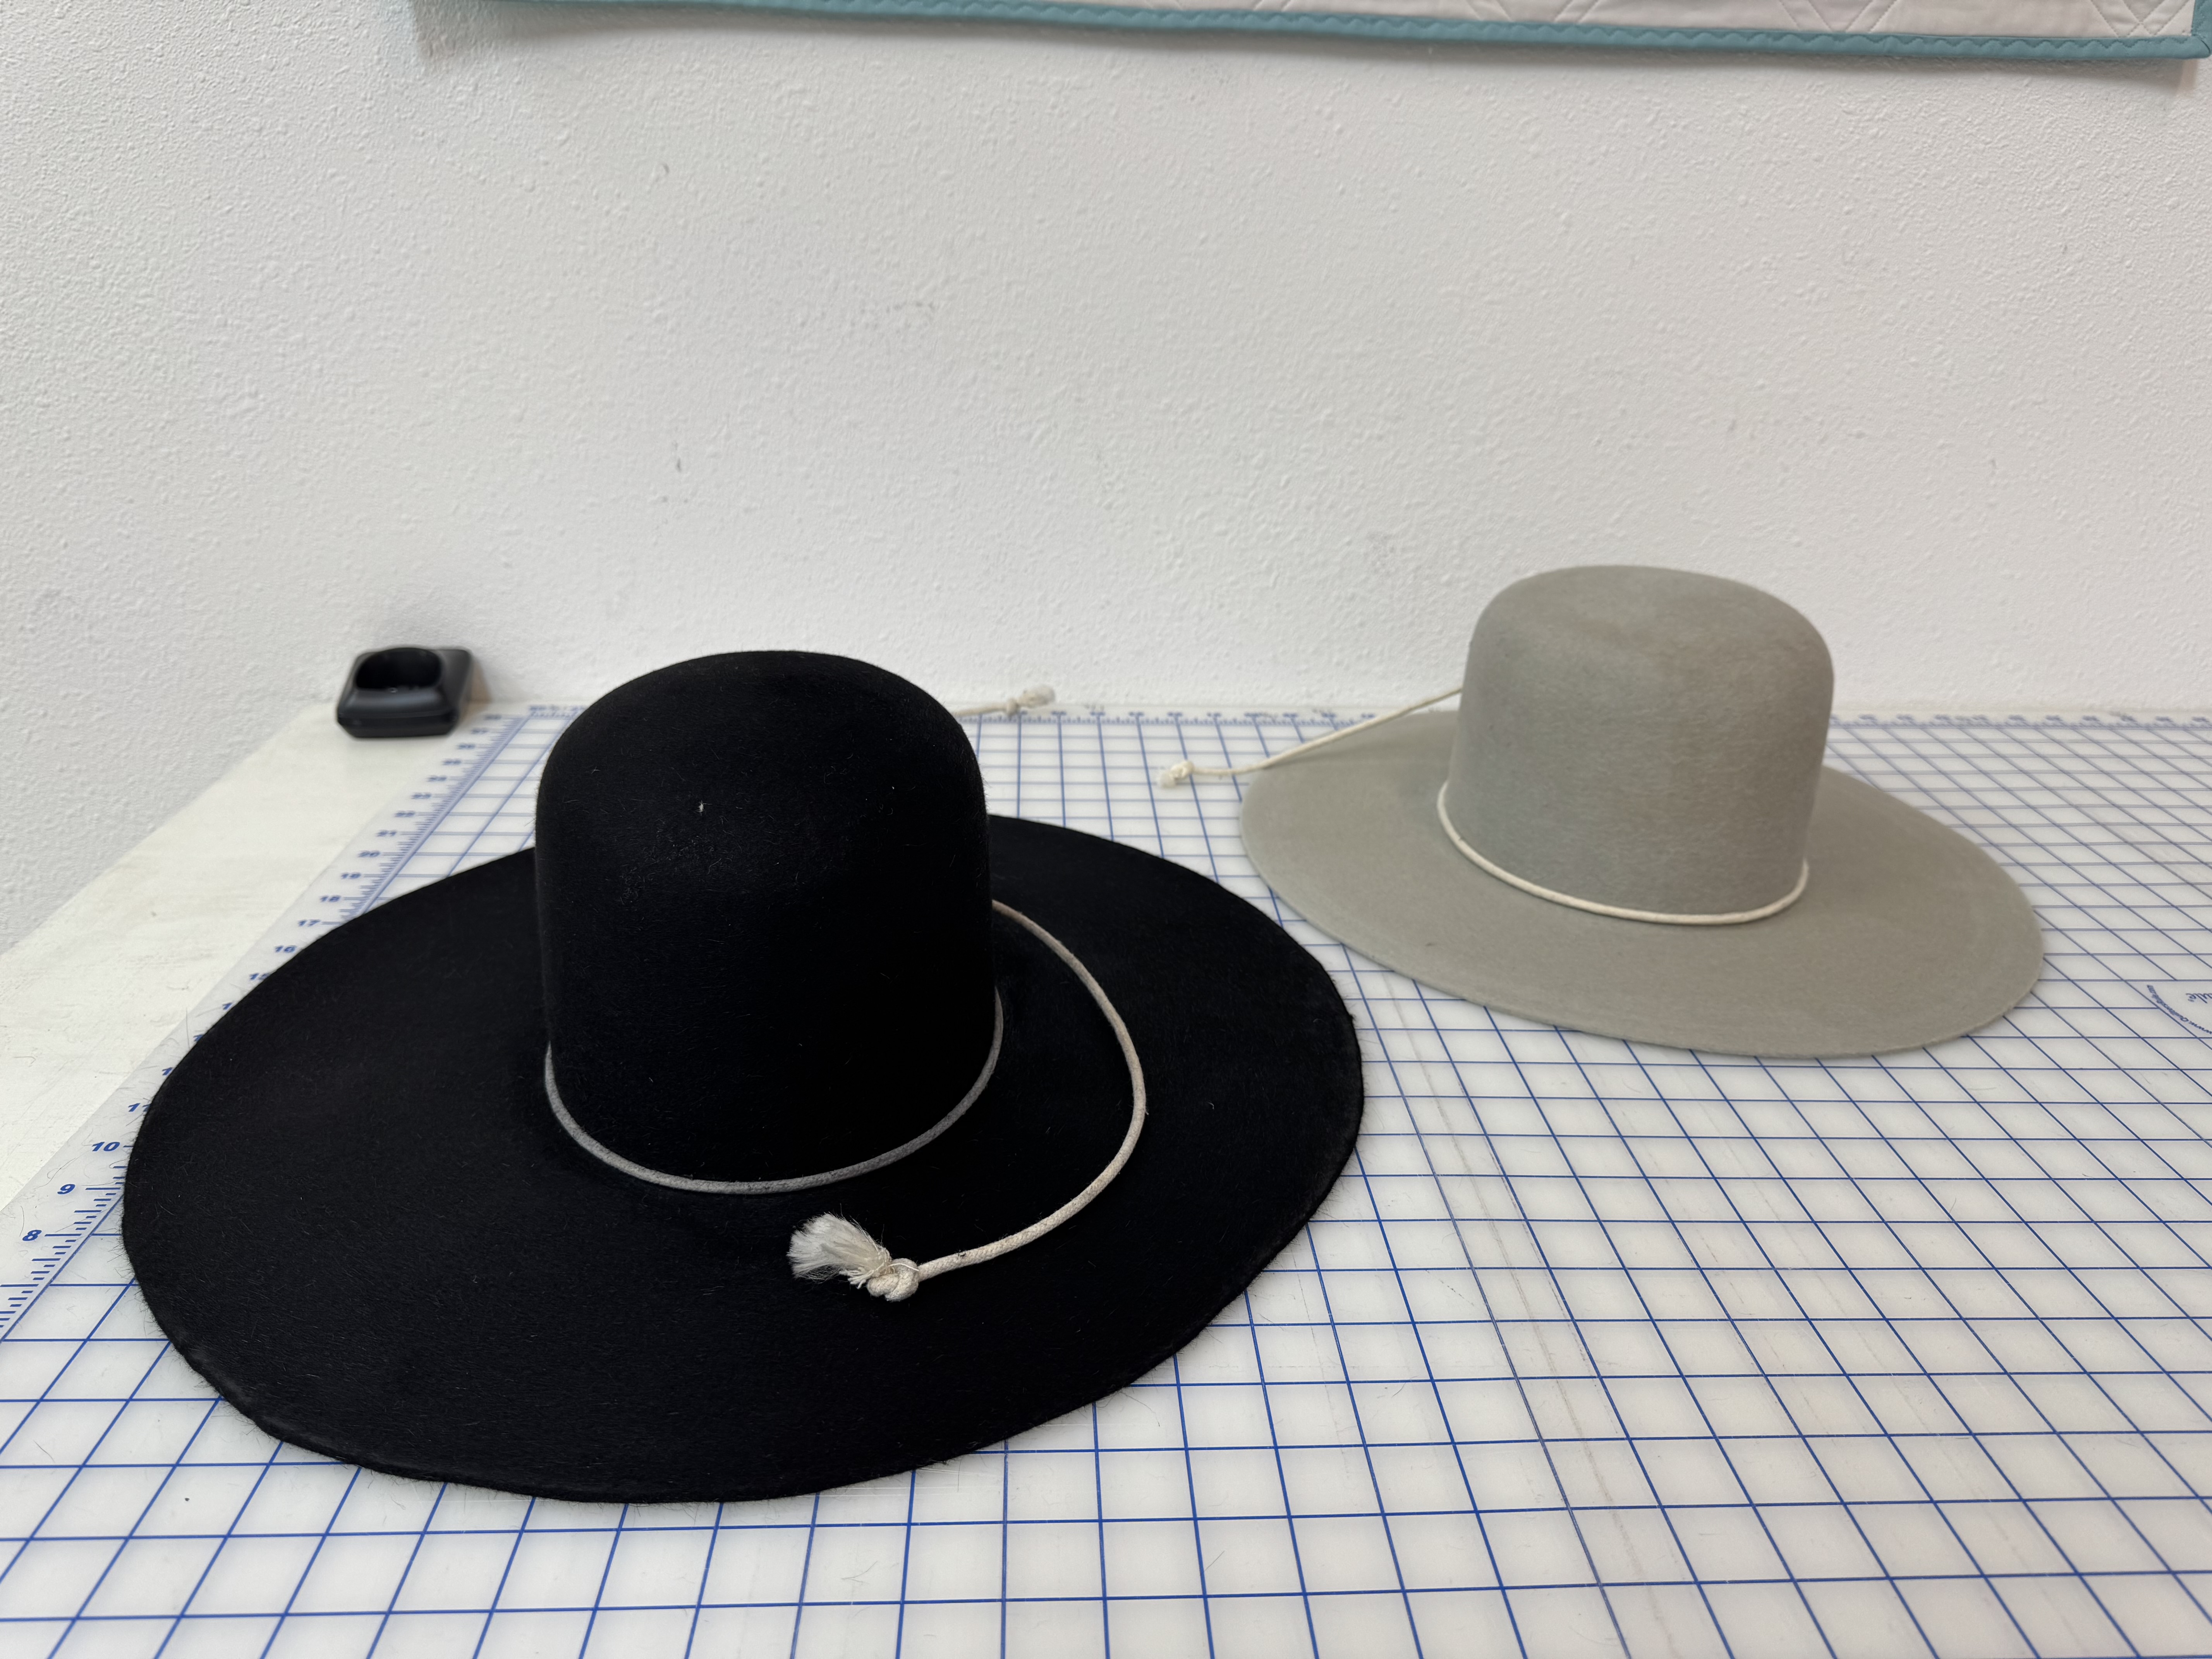
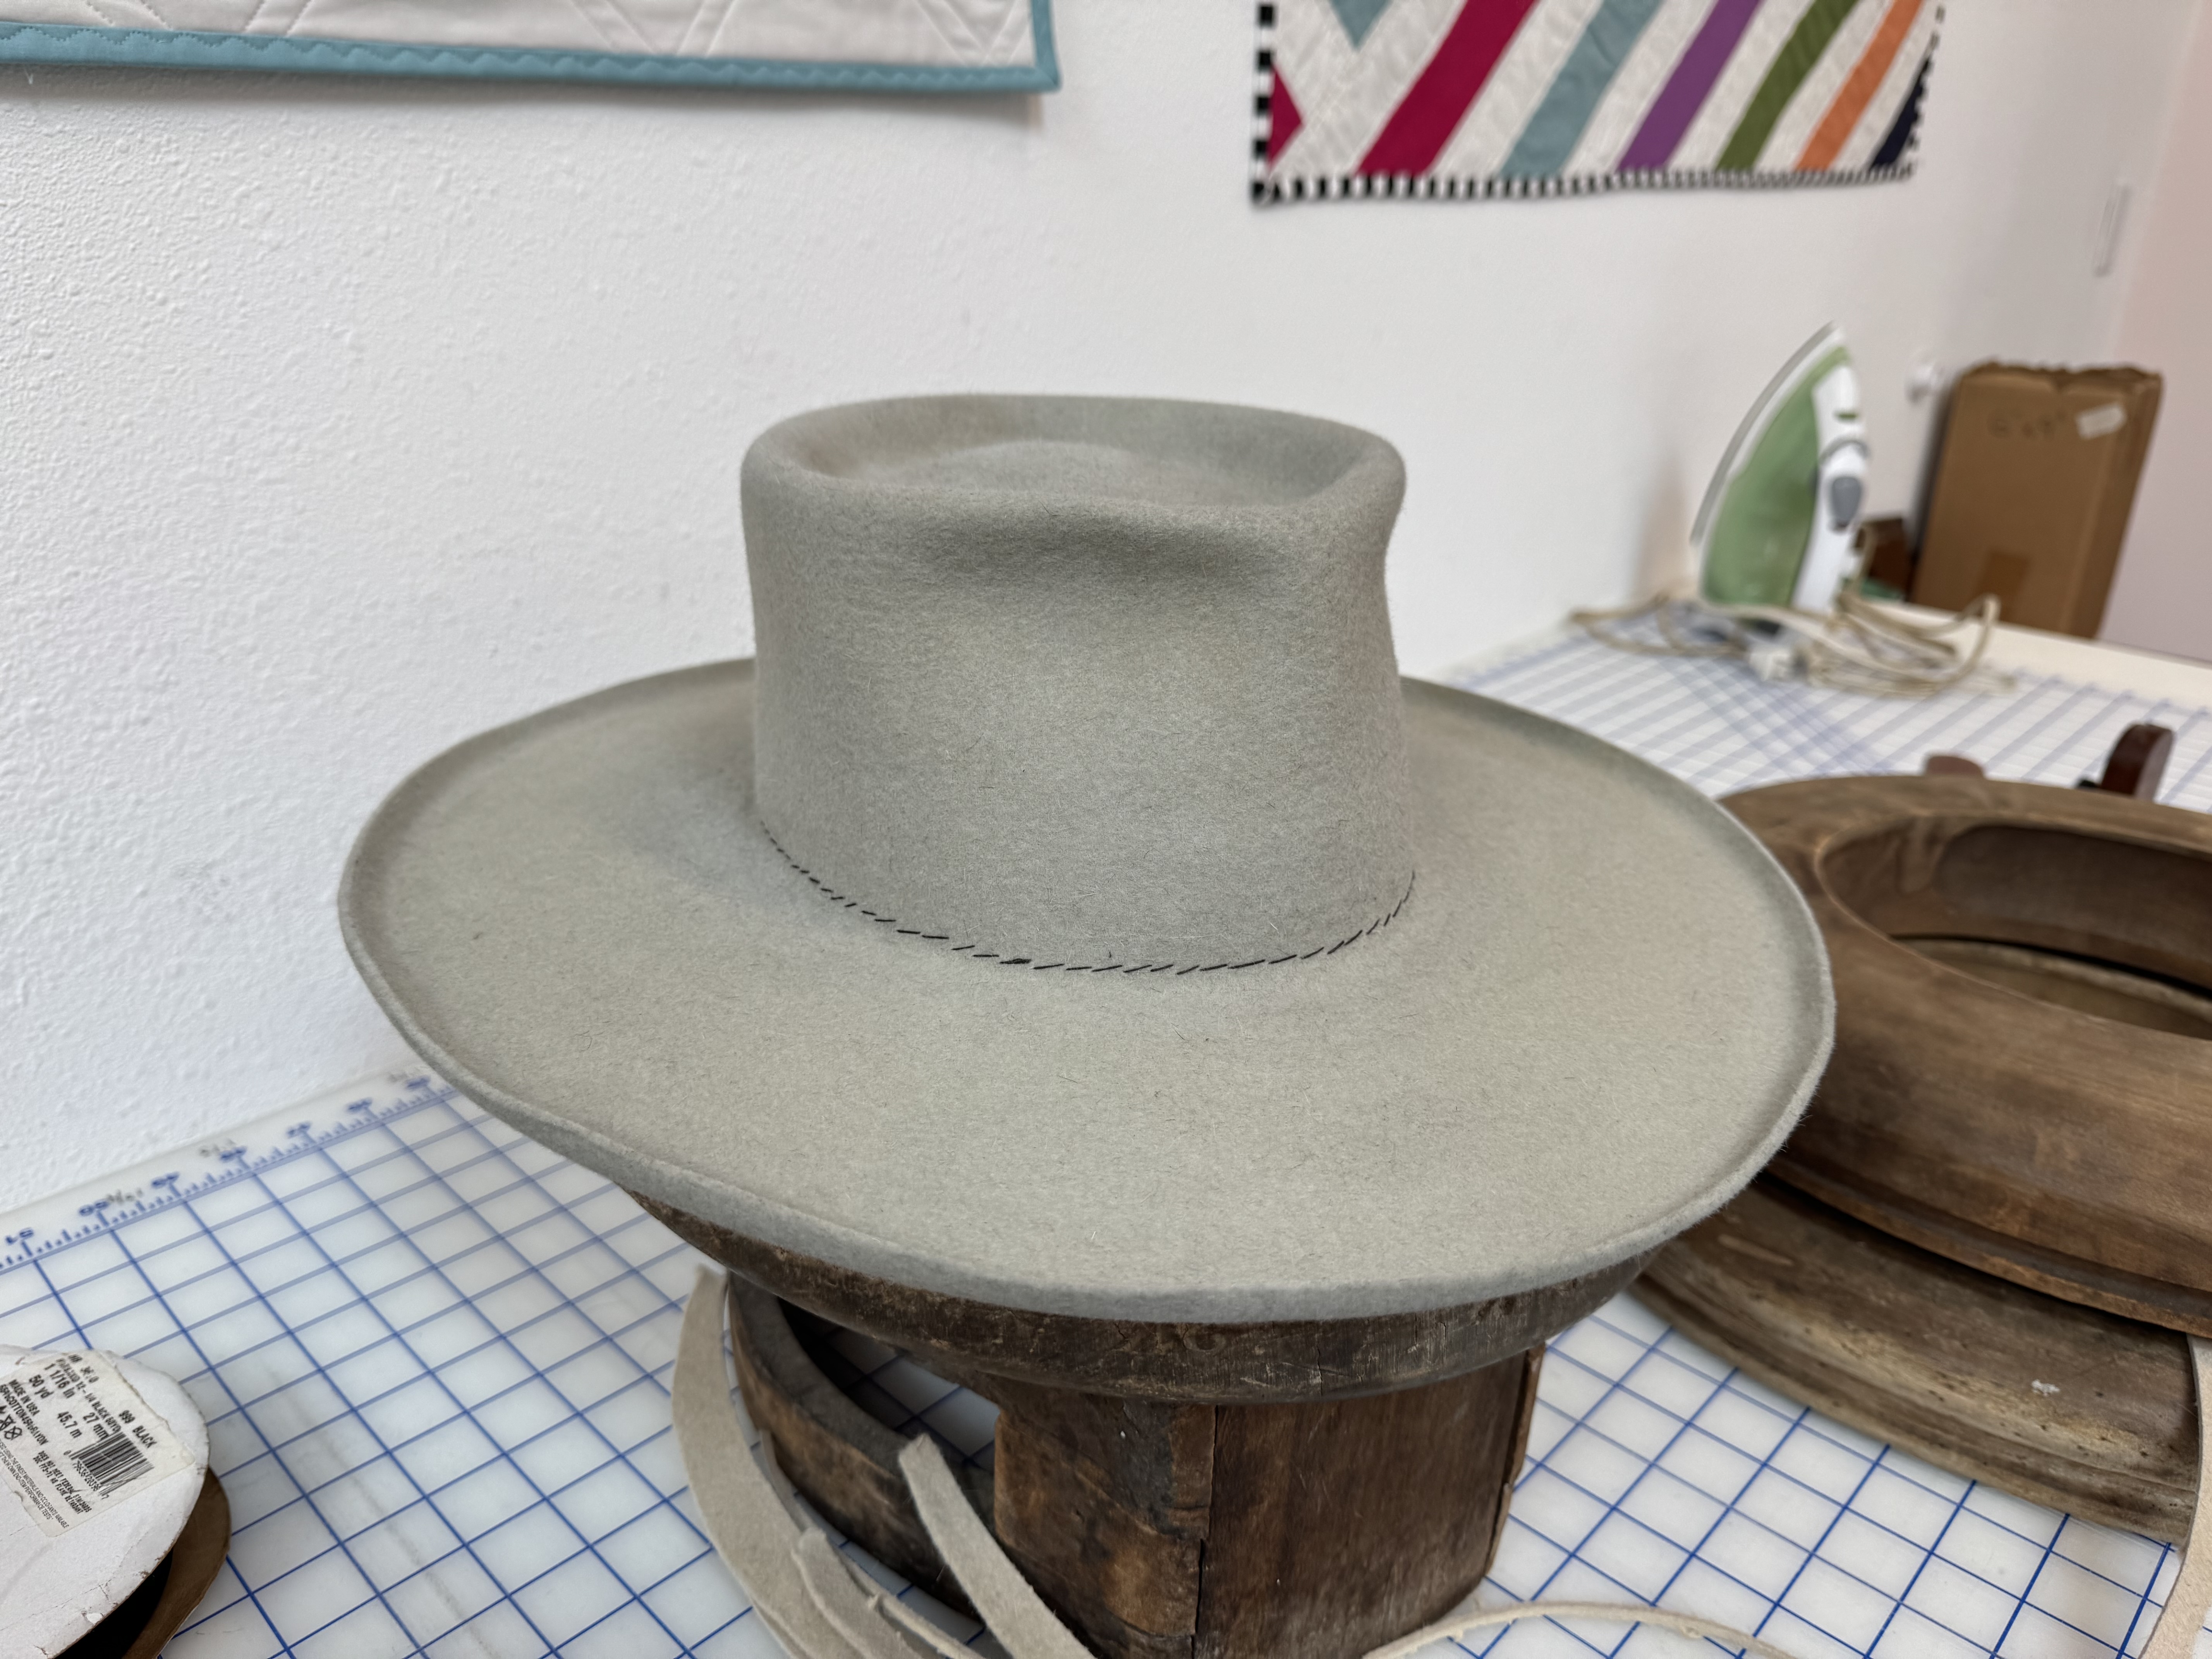
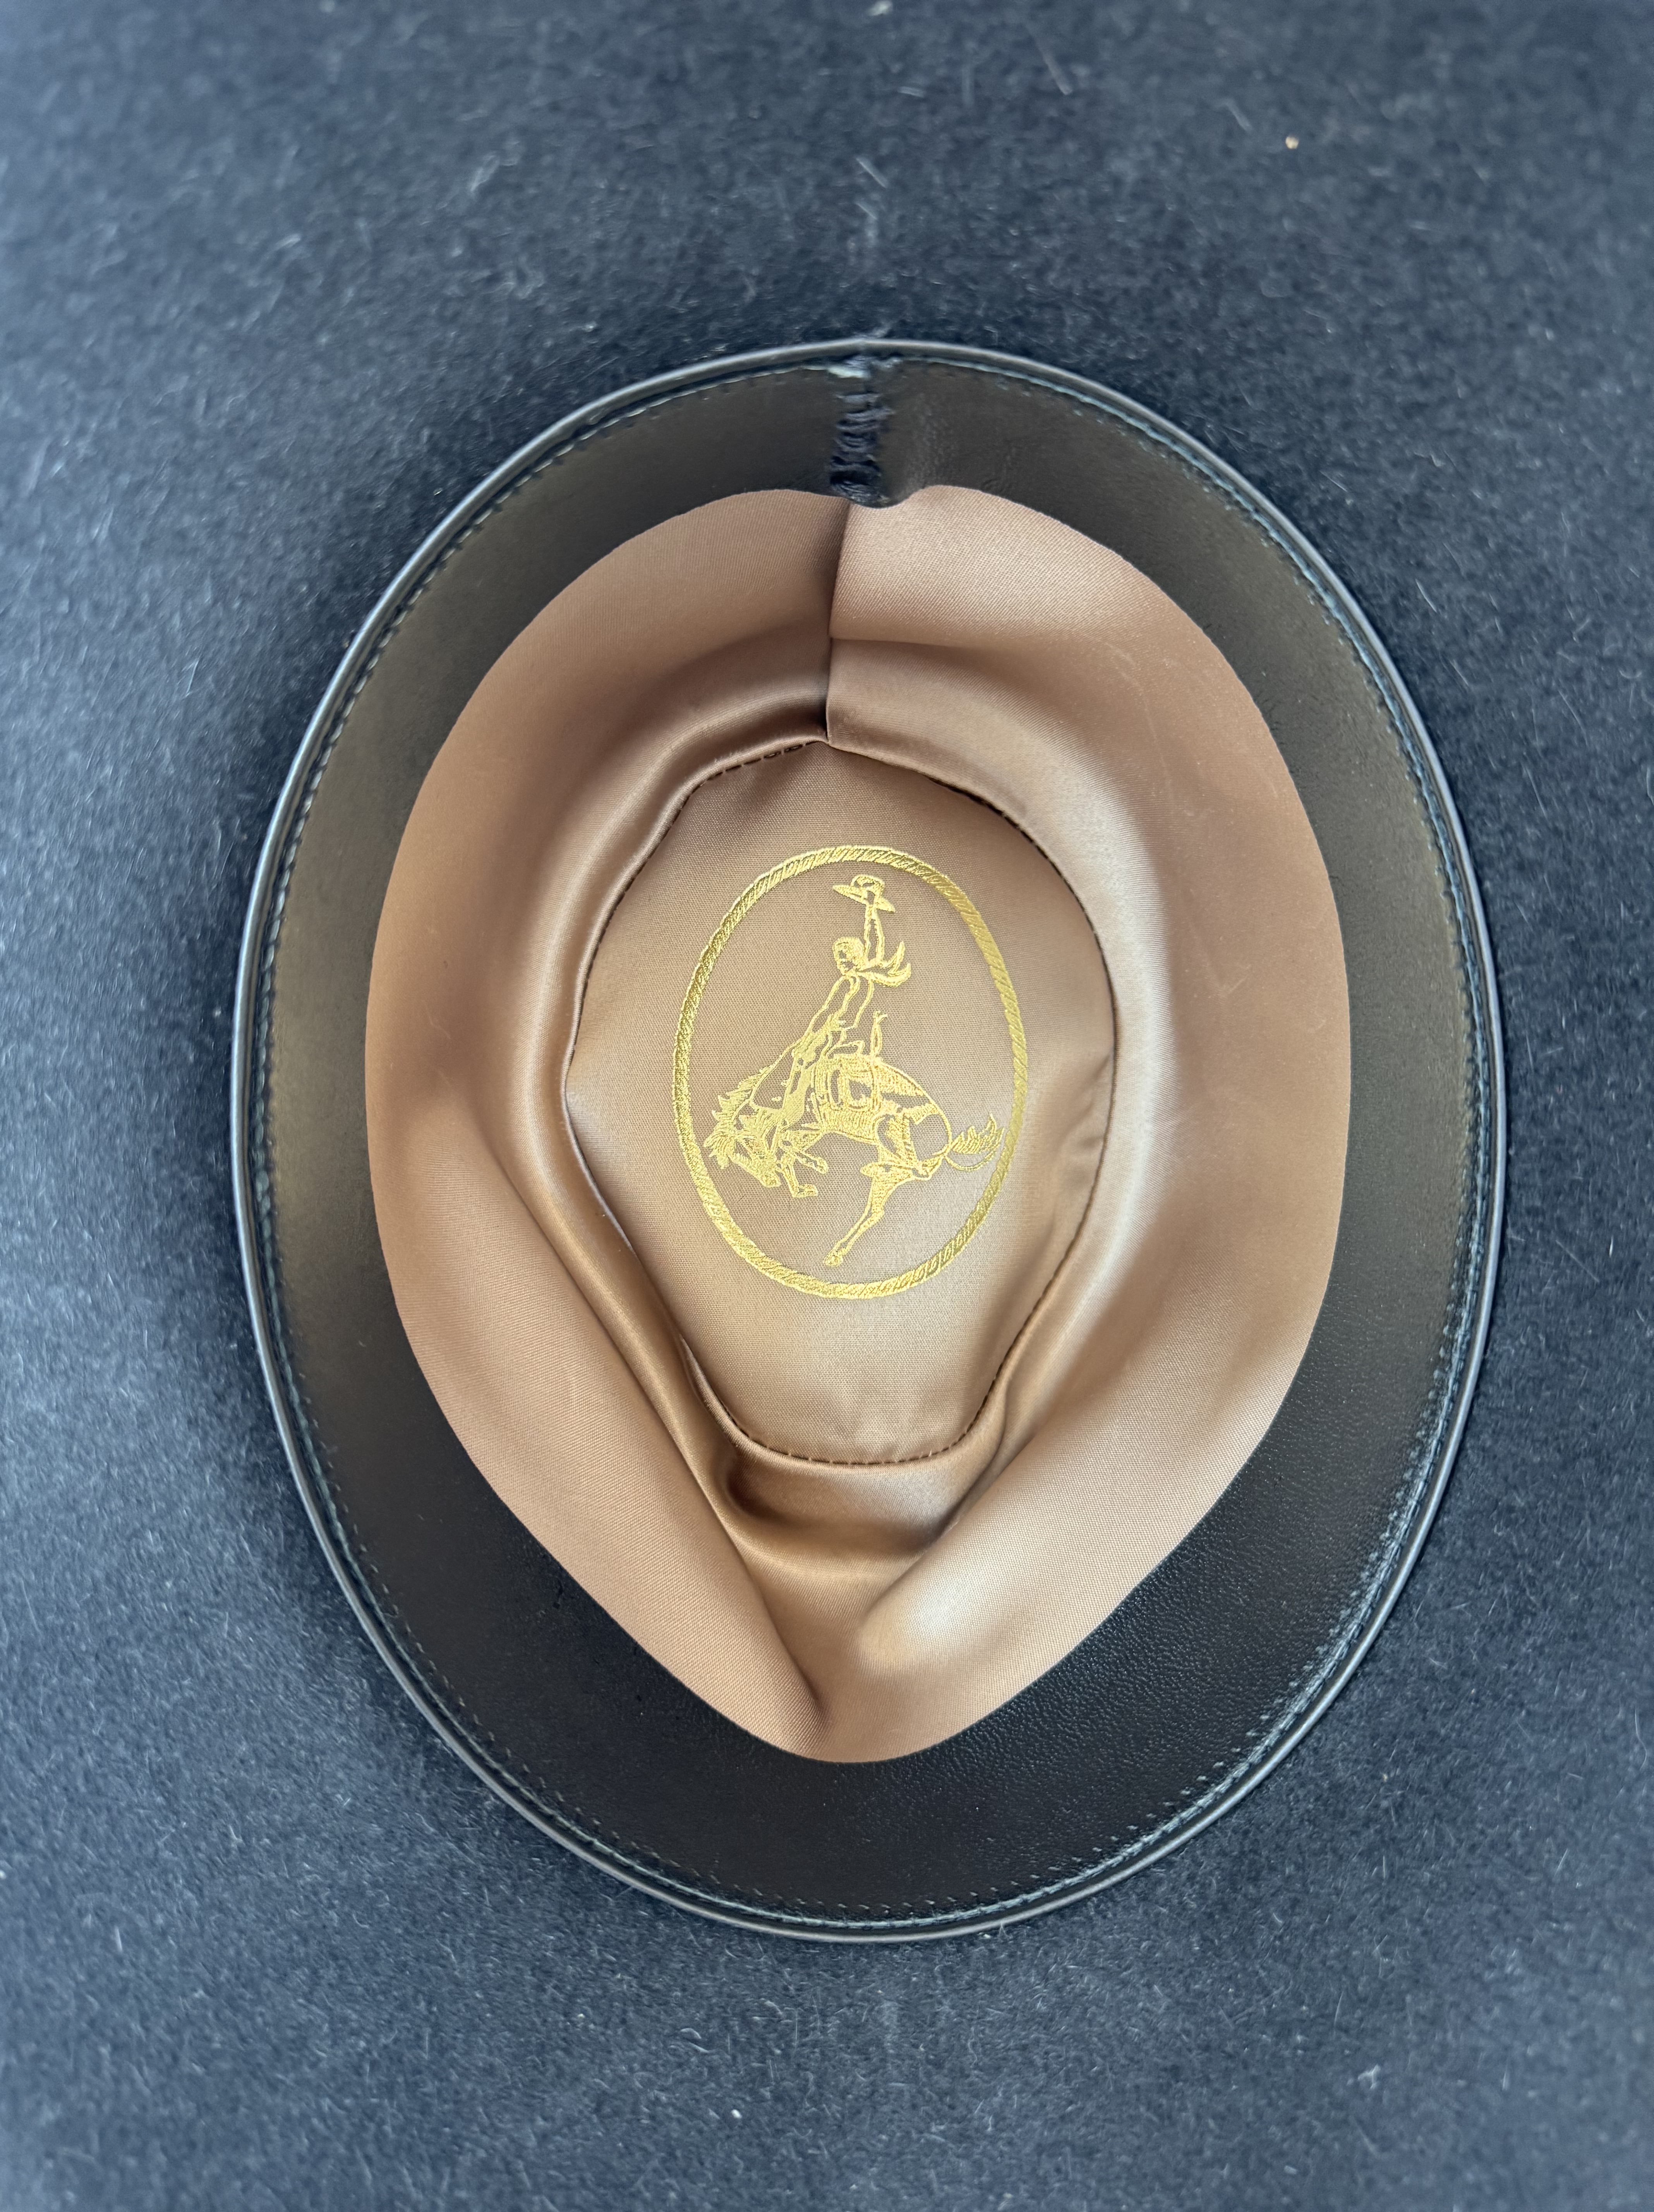
I got back to work on my black hat, repeating all the same steps. This was a tall crown, wide brim hat, and I decided to do a variation of a Gus, a large, “real cowboy” hat. The shape of this came together quickly and it was awesome to have the vision in my head now in my hands! I set this aside, and installed a satin hat liner and simple ribbon hat band on my silverbelly hat. It was complete! Bouncing back to the black hat I tried it on again, and after a few small tweaks to the shape I finished this hat as well.

I can not tell you how proud I was, and making two hats, although a lot more work, really allowed me to absorb the processes involved in making a hat. At the end of the day I thanked Tom, said goodbye to my classmates, and proudly walked out the door in my new handmade hat.